InMobi is a real-time bidder on Google Open Bidding (Google OB) for publishers using both Google Ad Manager (GAM) and AdMob as their primary ad mediation. This guide explains how you can display ads from InMobi on Google Open Bidding in five simple steps:

To know more, see the Onboarding section.
Ensure the following before you get started with this integration:
In-app and mobile web
Banner, Interstitial, Video (any format), and Native
To create your free publisher account with InMobi for Google OB, follow the instructions below:

You have successfully signed up with InMobi for Google OB.

Follow the instructions below to verify your InMobi Account:

To update your company details and payment information, follow the instructions below:

You have successfully updated your company and billing information.
All payments and billing-related communication will be made to Google directly by InMobi. We require you to fill in this information on the InMobi account for customer identification and correspondence only. You can contact the Google team for all billing/payment-related queries. For more information on billed impression and revenue tracking, see your Google account.
To register your published app, website, or unpublished app with InMobi on Google OB, see Add Your App or Website.
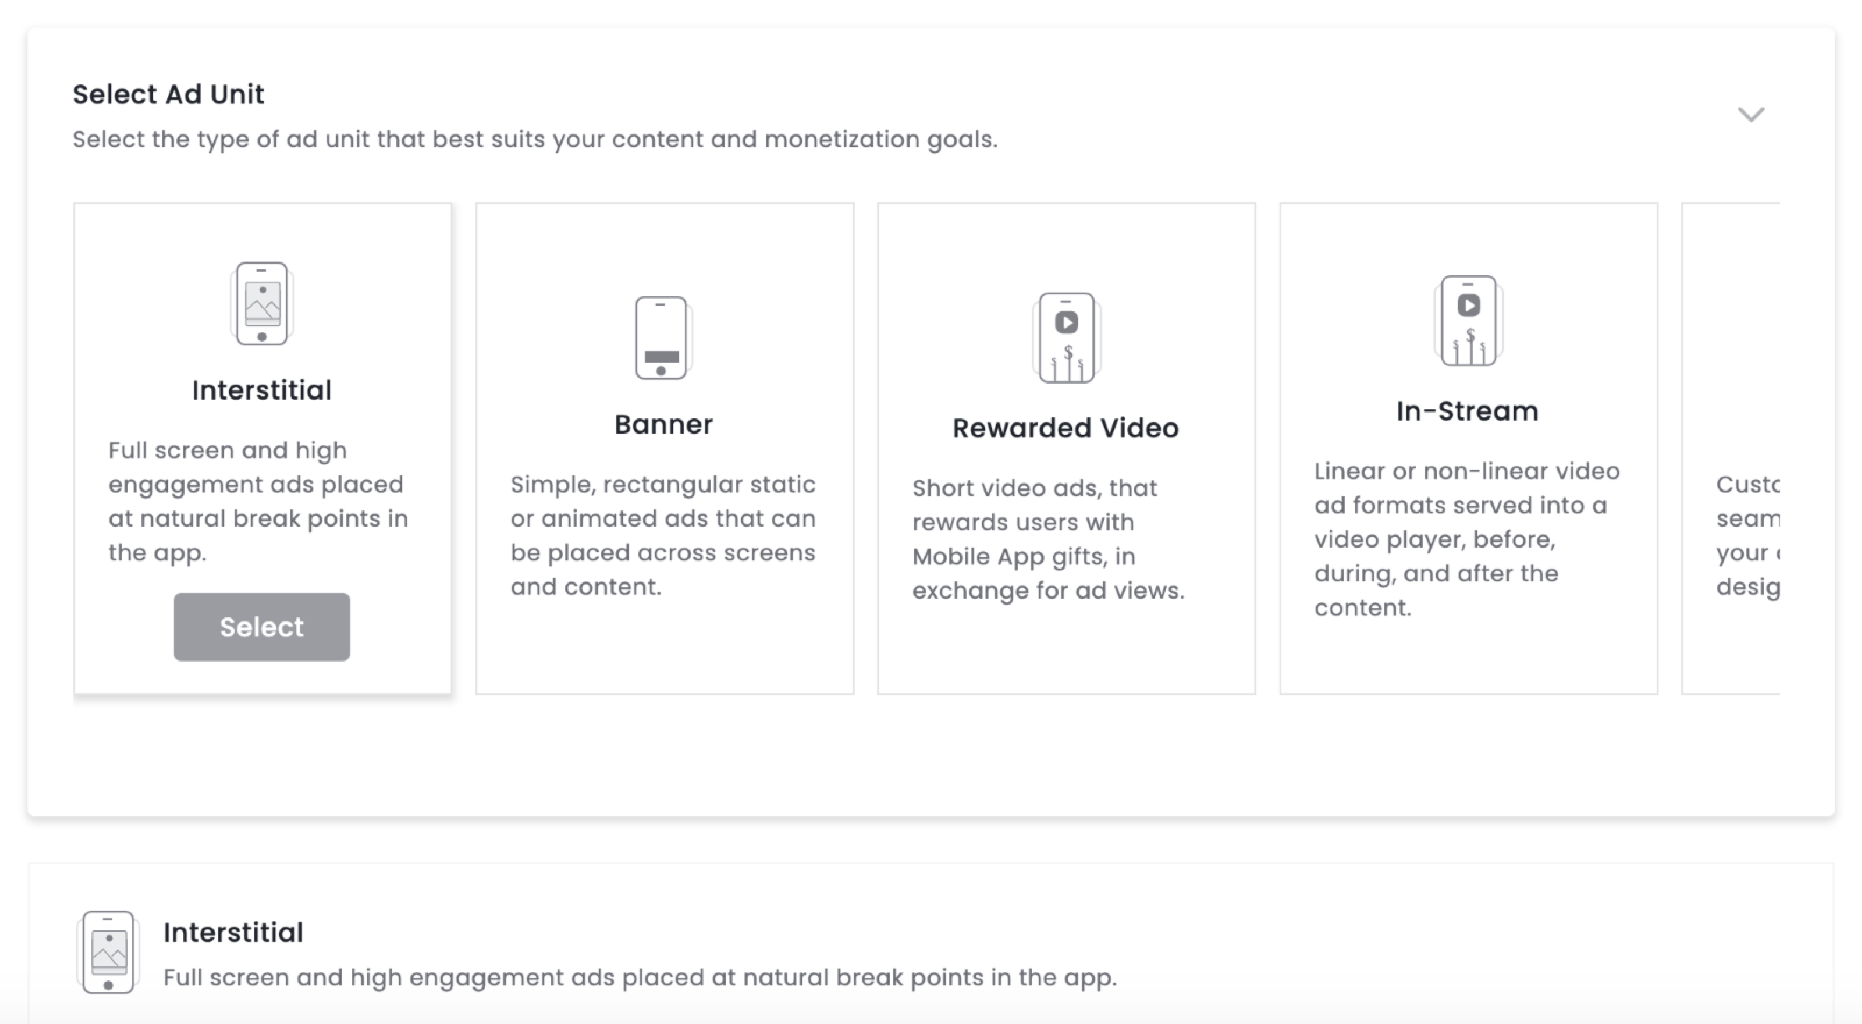
If your apps have been added and you would like to create new placements specifically for bidding on Google, follow the instructions below:


Adding InMobi as an authorized seller to your app-ads.txt file is highly encouraged to protect your inventory and let your buyer know which sellers can sell your in-app inventory. Not completing this step will limit the number of DSPs able to buy your inventory.
Follow the instructions below to copy or download the list of entries from the InMobi Publisher Dashboard:

After setting up your InMobi account, you must enable InMobi on your Google dashboard and start sending us traffic. Follow the instructions below:
If you use Google Ad Manager for Google OB, see the following topics:

If you use AdMob for Google OB, see Add a bidding ad source.
If you are using Google Ad Manager (GAM) SMB or AdMob, you will be prompted to fill out this form as a part of the Onboard Online /Sign Partnership Agreement on your Google Dashboard. InMobi’s terms for Google Open Bidding are listed at the bottom of this form. If you use GAM 360 (premium), you will NOT be shown this prompt on the Google Dashboard. Hence, we recommend filling out the form for faster onboarding.
After completing all five steps, request your Customer Success Manager or write to support@inmobi.com to approve your OB request by sharing the following: InMobi Account Name, InMobi Account ID, Google Publisher ID, and your Country of Registration. Once your request is approved, the integration is complete, and we will start receiving traffic from you.
Follow the additional instructions below about GDPR settings on your Google dashboard for higher monetization results. The following configuration applies to traffic from European Economic Area and publishers using AdMob/GAM CMP for GDPR consent purposes. Google CMP provides two ways of adding ad partners on their AdMob/GAM platform:
InMobi is not part of ‘Commonly used ad partners’ by default, and you must add it manually by selecting Custom ad partners.
Follow the instructions below to enable InMobi under Custom ad partners on your Google dashboard.

By installing this SDK update, you agree that your Children Privacy Compliance setting remains accurate or that you will update that setting, whenever there is a change in your app's audience. You may update the app's Children Privacy Compliance settings at https://publisher.inmobi.com/my-inventory/app-and-placements.
 Support Center
