Introduction
InMobi is a certified bidder on Google Open Bidding (GOB), supporting integration via both Google Ad Manager (GAM) and AdMob across in-app, web, and CTV inventory. This server-side integration uses the OpenRTB protocol and does not require an SDK.
Requirements
To successfully integrate InMobi with Google Open Bidding, ensure you meet the following prerequisites:
- Active account on GAM or AdMob for Mobile App and GAM 360, Google AdX, and GAM SMB (with CTA/Click to Accept feature only) for Web.
- App-ads.txt / ads.txt setup (recommended).
- Supported Ad Formats:
- Mobile App: Banner, Video (any format), and Native
- Web: Banner, Instream and Outstream Video, and Native
- For SDK-based integrations, see Google AdMob and Google Ad Manager.
Configure Google Console
After setting up your InMobi account, you must enable InMobi on your Google dashboard and start sending us traffic. Use the toggles below to view platform-specific integration instructions.
Note
To complete the Google Open Bidding setup, you must view and sign the partnership agreement, fill out the onboarding form, and acknowledge the bidding agreement.
If you already have an InMobi account, you won’t need to fill out the onboarding form again. Instead, you will see a message indicating that an account already exists. This is based on the Google Publisher ID passed by Google, which InMobi uses to identify existing accounts.
Note
All payments and billing-related communication will be made to the intermediary - Google Open Bidding. Contact your intermediary for all billing/payment-related queries.
App
The following steps are common for both Mobile App and CTV inventory.
For GAM
- Sign in to your GAM account.
- Click Delivery > Bidders > Open Bidding and select InMobi.
- Click Go to onboard page to set up InMobi account.

- Fill up the InMobi onboarding form. This will send a request to InMobi on the Google Request Console. For details, see Integration Request Approval.
Add Yield Partner
- In the top menu, click Delivery > Bidders.
- Click Go to Open Bidding, then select New bidder.
- Click Select a bidder, then choose InMobi from the dropdown.
- Depending on if you're an Ad Manager 360 or non-Ad Manager 360 publisher, complete one of the following:
- For Ad Manager 360 publishers:
- Click Acknowledge to send an Open Bidding request to InMobi.
- Confirm that you have an existing contractual agreement with InMobi.After saving, a notification is sent to us to confirm your participation.
- We will also need to add your network to our pretargeting setup.
- For non-Ad Manager 360 publishers:
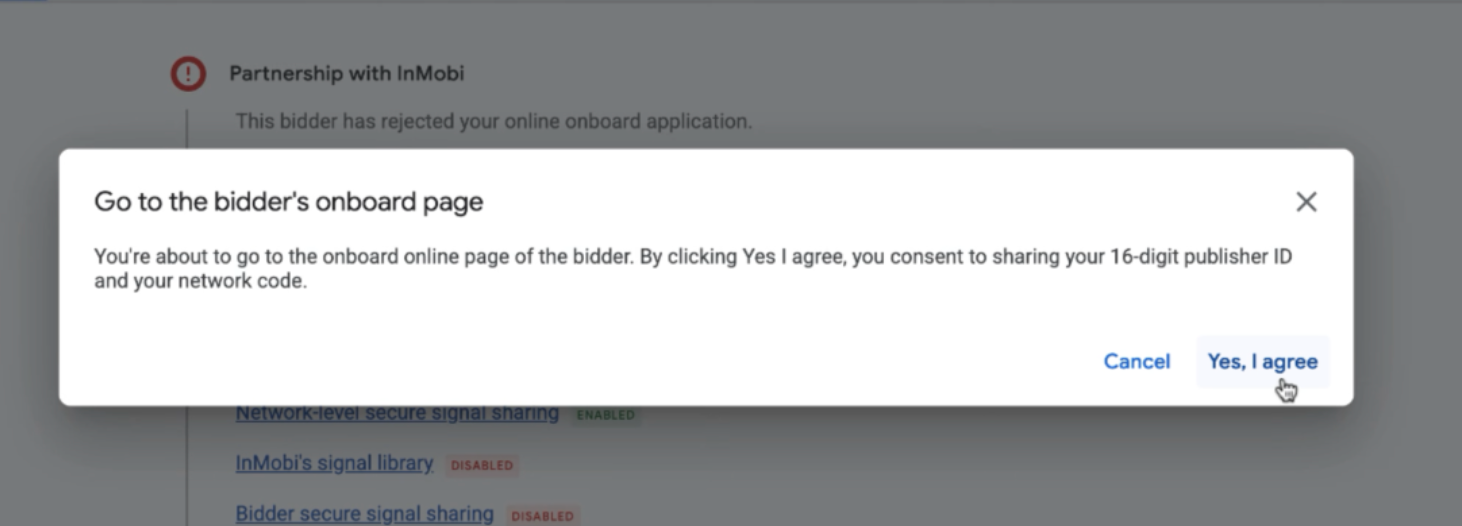
- Click Onboard online now.
- Agree to the partnership agreement by selecting Yes, I agree and provide your 16-digit Publisher ID.
- You will be redirected to the bidder’s website to complete the agreement.
- After completing the process, return to Google Ad Manager and click Continue.
For more information, see Create and manage yield partners.
Add Yield Group
- In the top menu, click Delivery > Yield groups.
- Click New yield group to begin setup.
- Enter a descriptive and unique name for the yield group.
- Select the Ad format and Inventory type the yield group should target.
- Optional: Use device, OS, or geo targeting to fine-tune the scope of your yield group.
- Define where in your inventory the yield group should compete.
- Optional: Add third-party yield partners who will compete for impressions within this group.
- Click Save to save the group without activating it yet. Click Save and activate to immediately begin using the yield group for ad delivery.
For more information, see Create and manage yield groups.
In AdMob
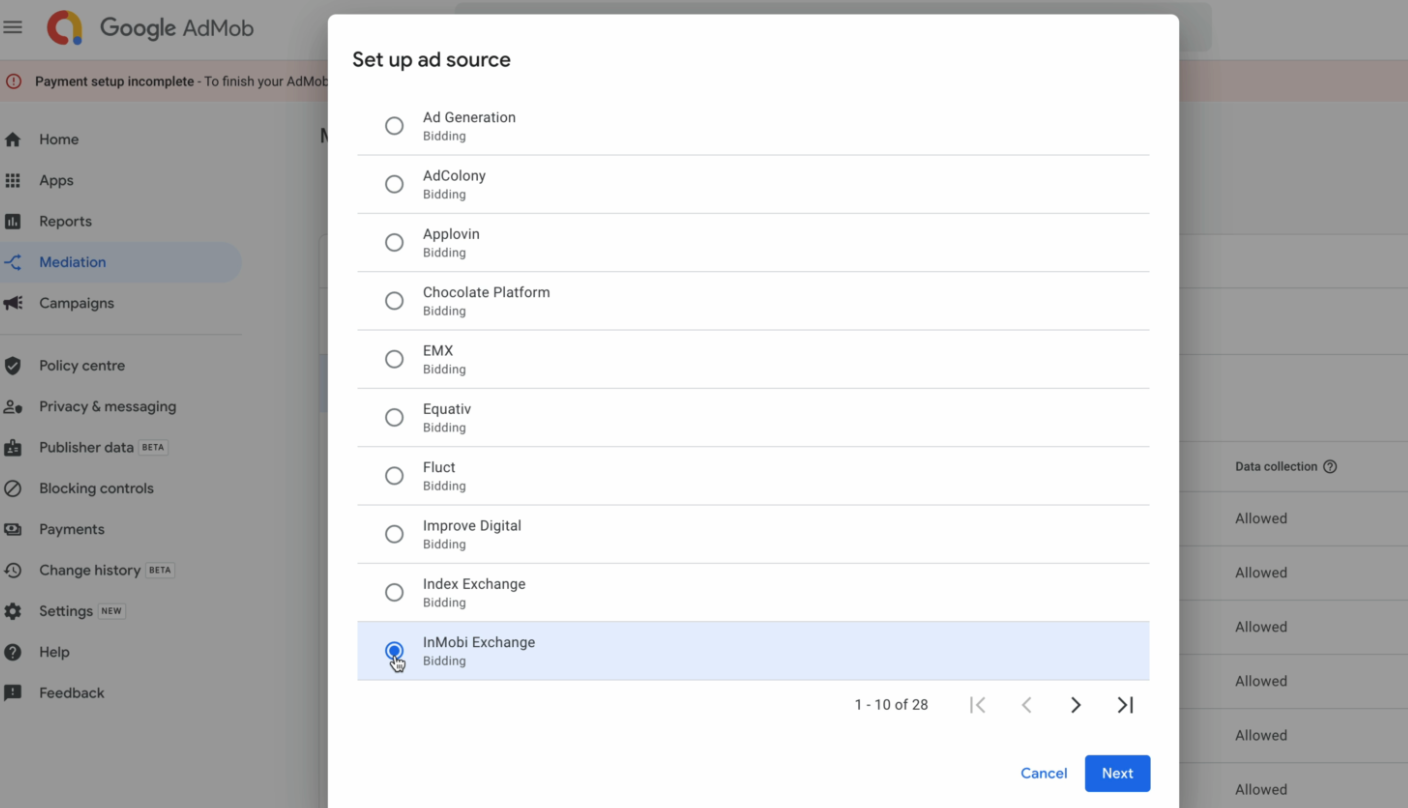
- Sign in to your AdMob account.
- Click Mediation > Set up ad source and select InMobi Exchange. Do not select InMobi(SDK) as it only applicable for Google SDK Bidding and not Google Open Bidding.
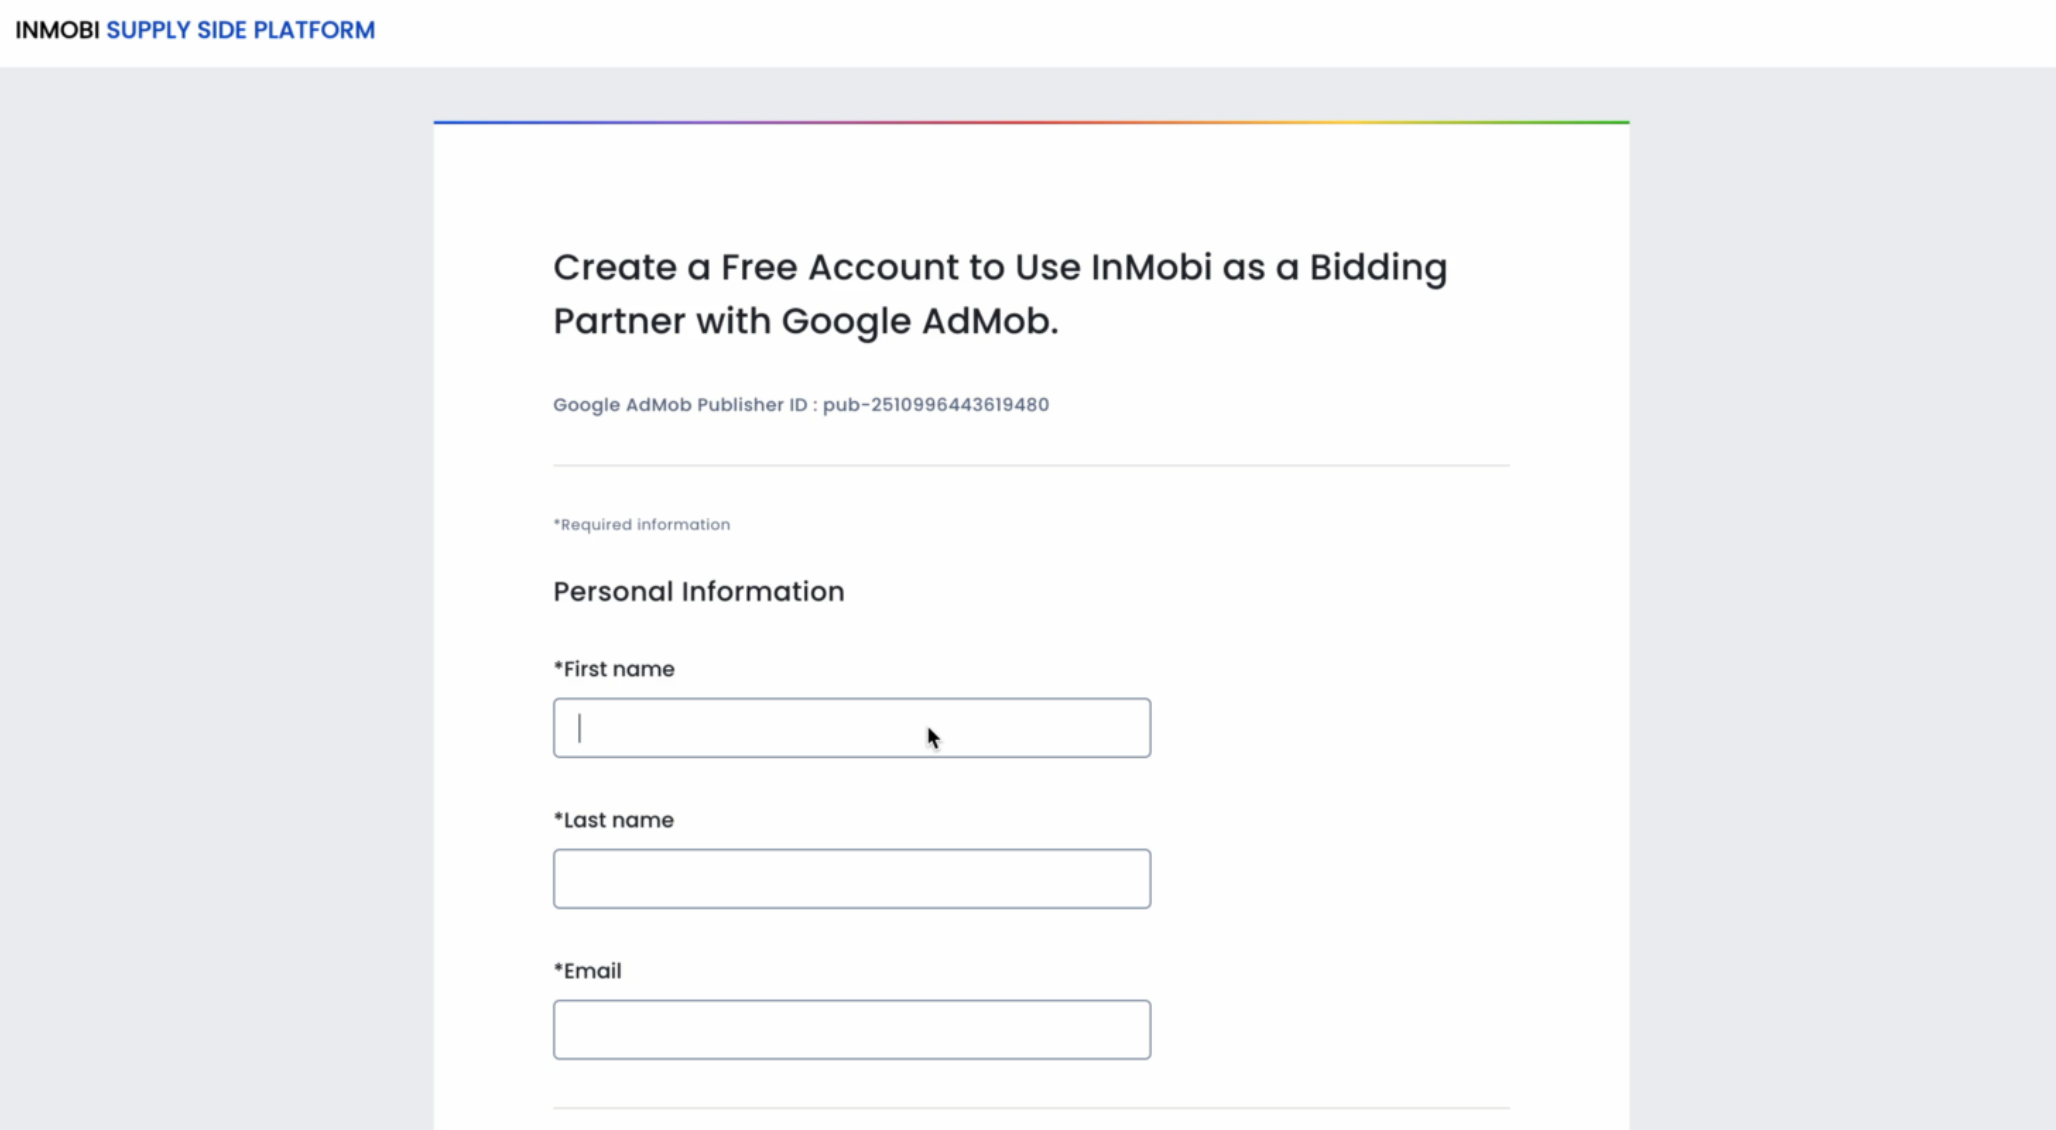
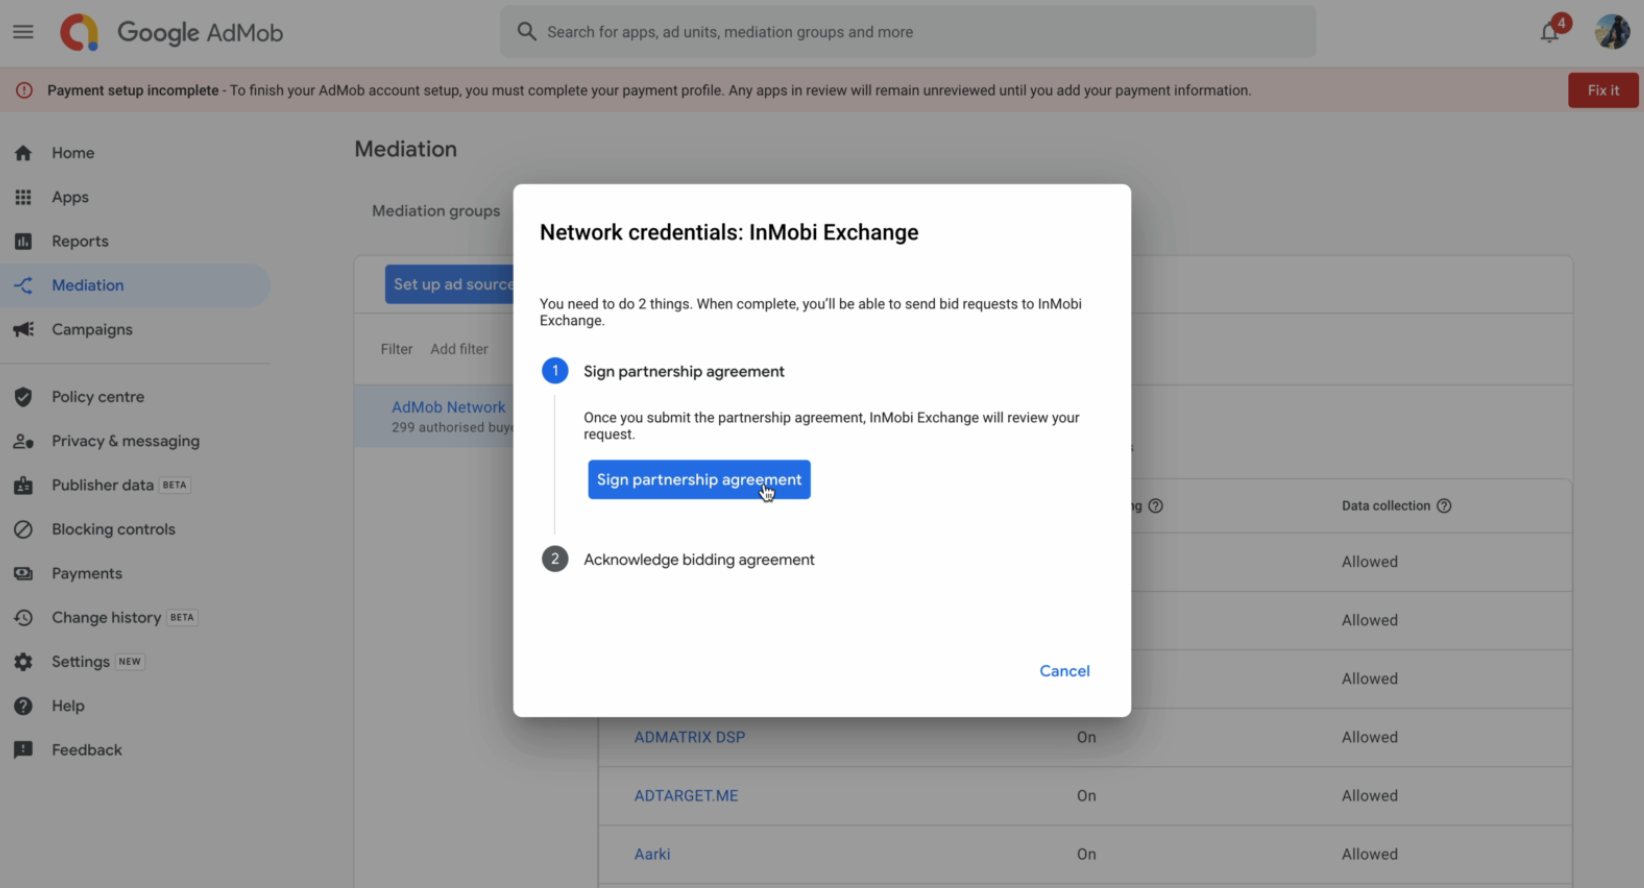
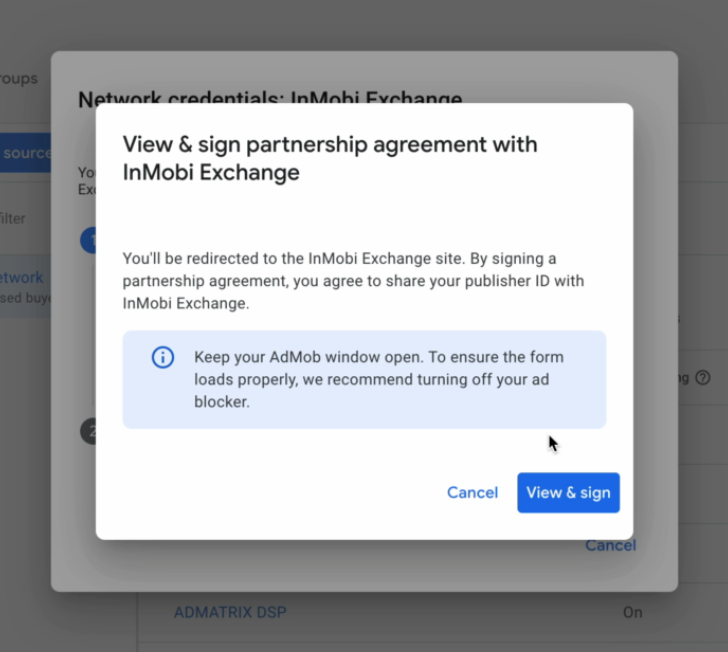
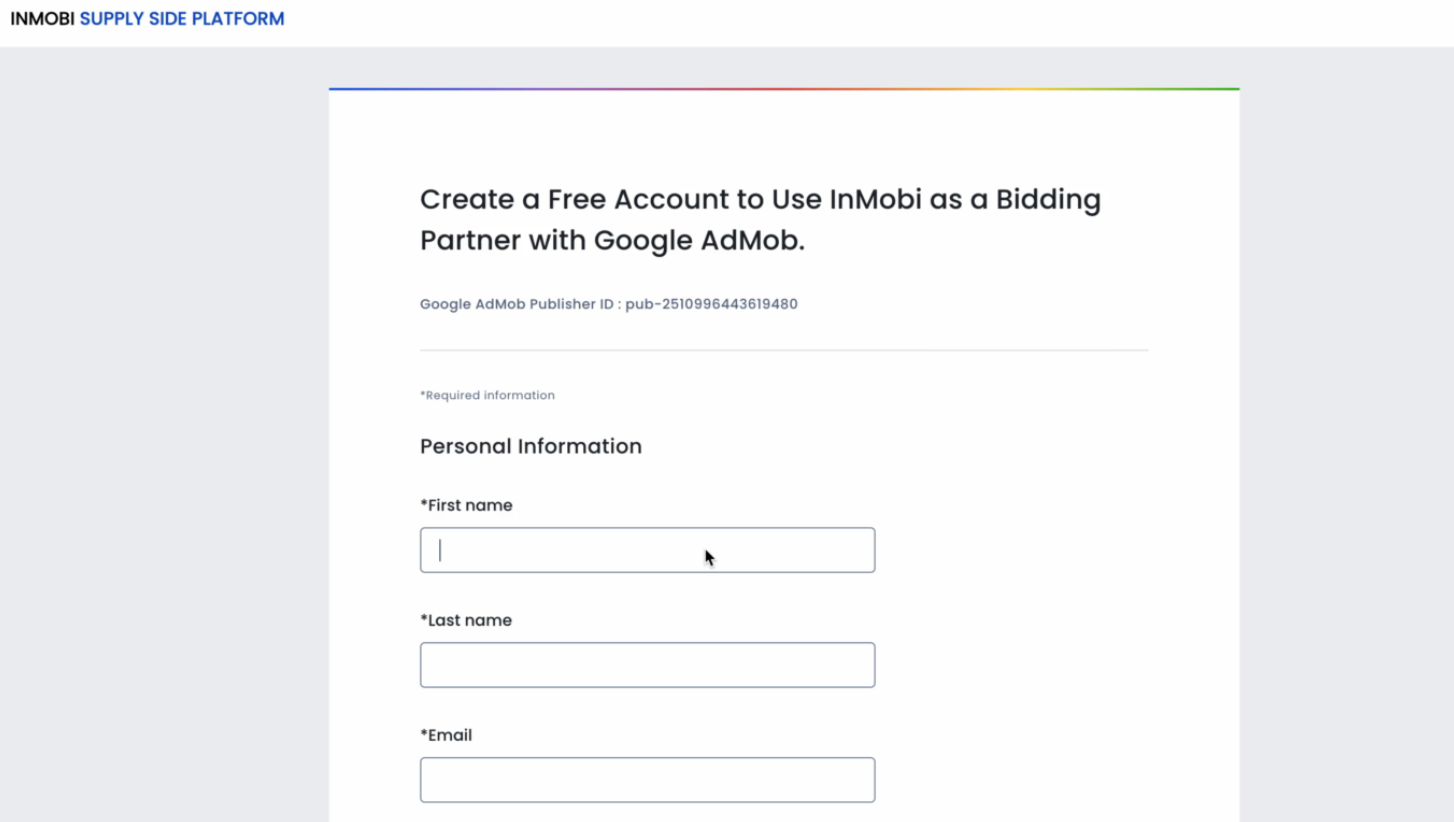
- View and sign the partnership agreement. You will be redirected to the Onboarding form.
- Create an InMobi account if you don't have one. If you already have an InMobi account, you’ll see a message indicating this; no need to fill out the onboarding form again.
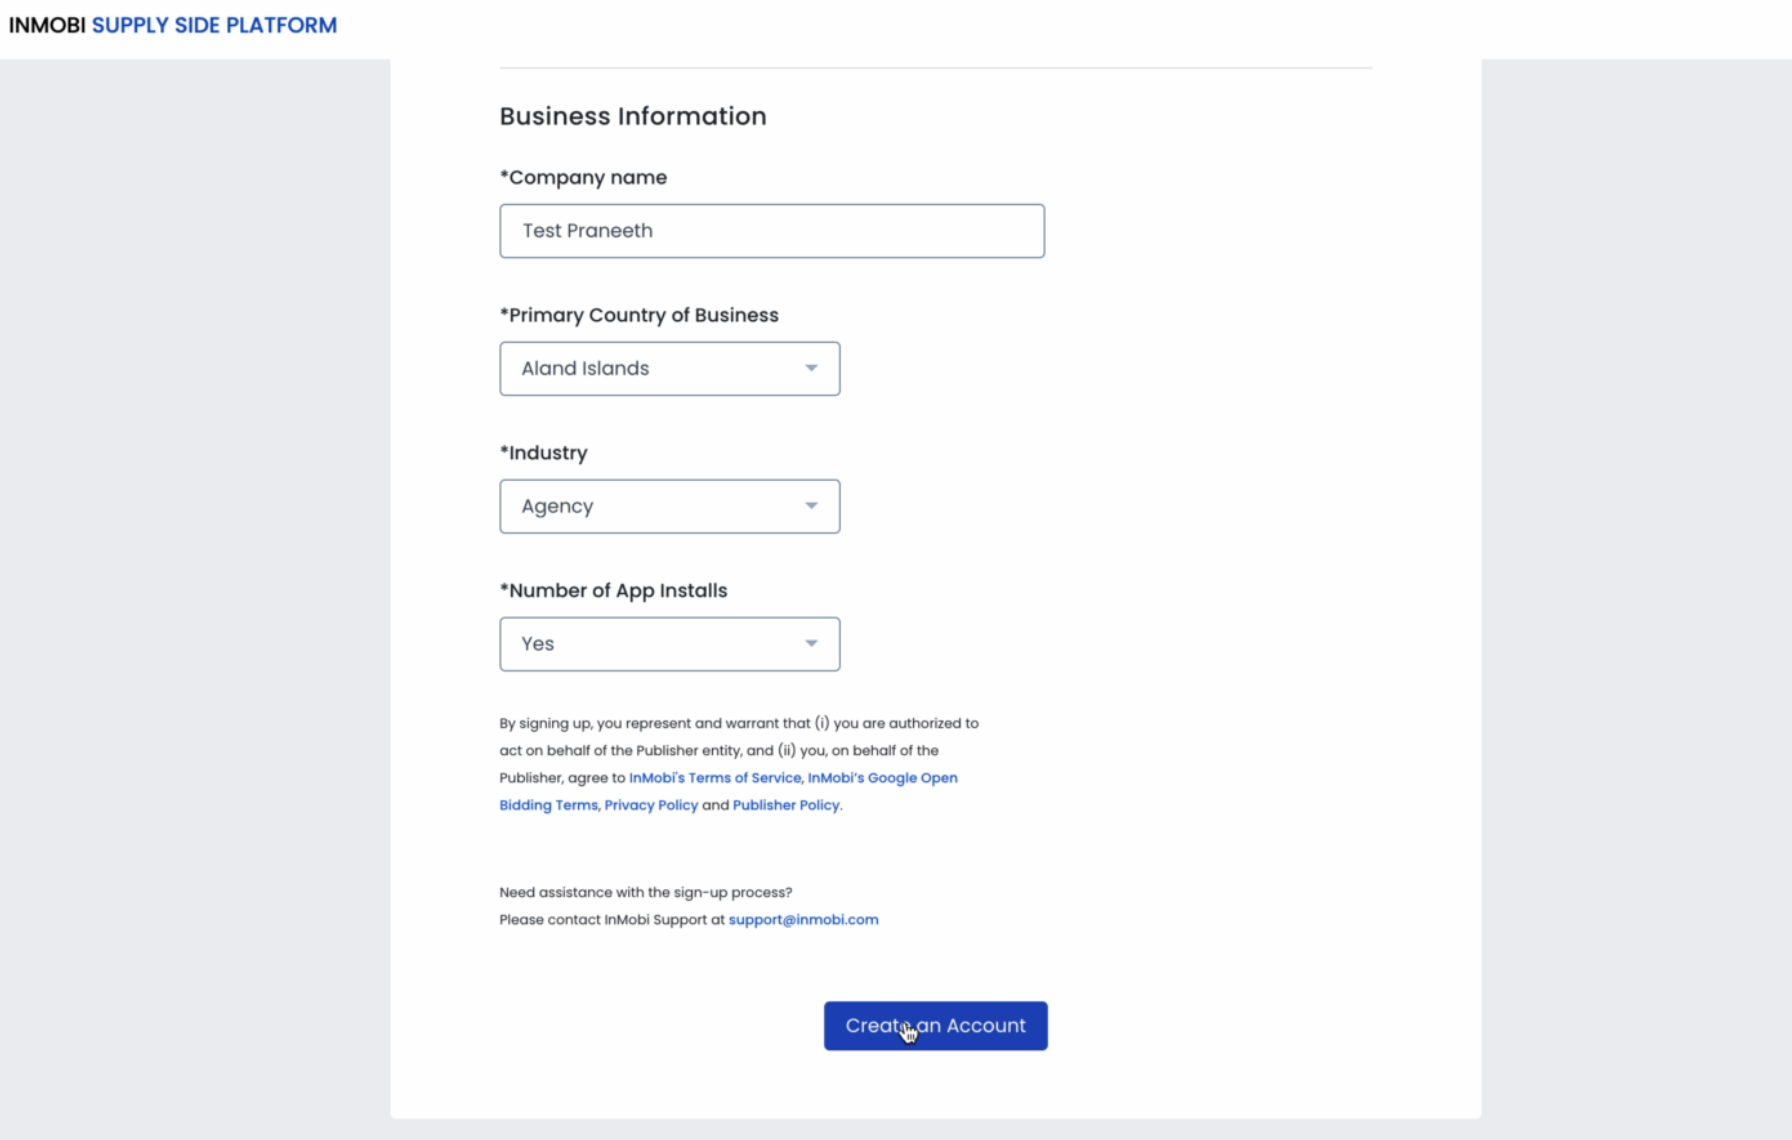
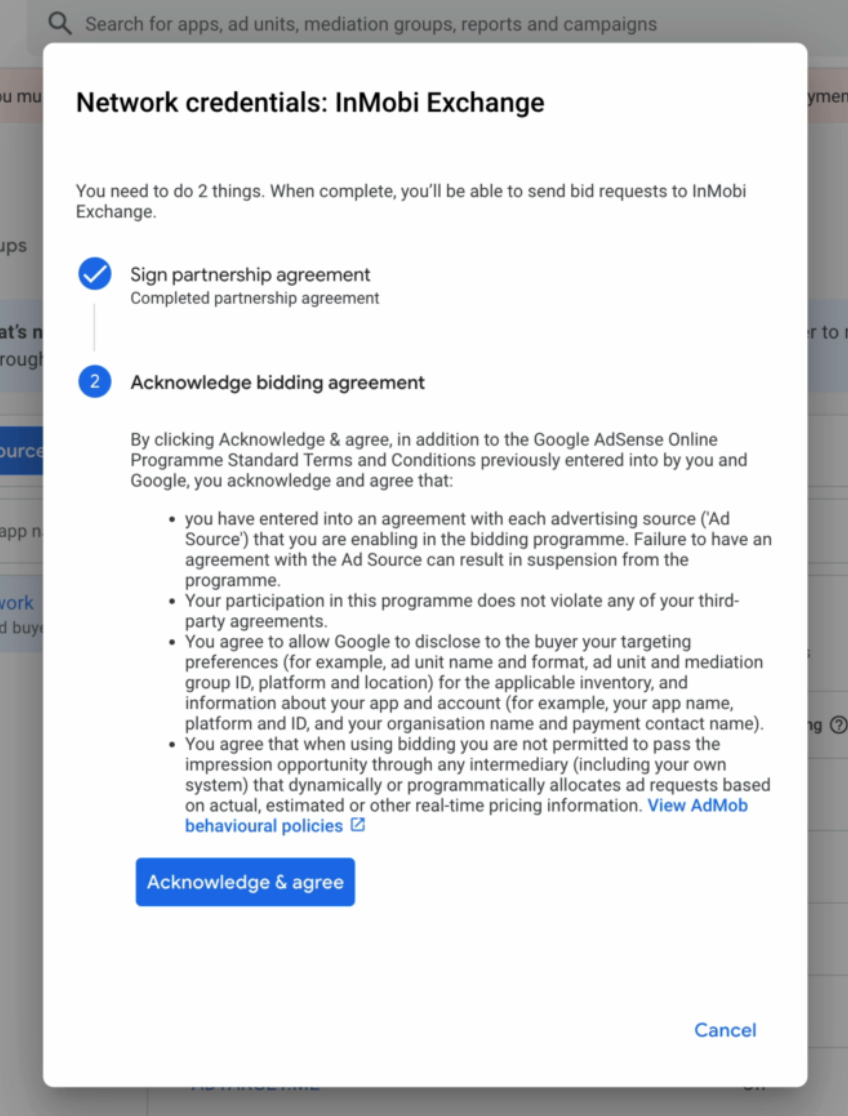
- After filling up the form, you will be redirected back to the AdMob dashboard. Click Acknowledge & agree to add InMobi as a bidder.
For more information, see Set up a bidding ad source.
Web
- Sign in to your GAM account.
- Add InMobi as a yield partner/bidder for Open Bidding.

- Create Yield Groups by ad format and inventory type. Add InMobi to these groups.
For more information, see Create and manage yield partners.
For more information, see Introduction to Open Bidding.
Integration Request Approval
Since Open Bidding does not require an SDK integration, InMobi must approve your request before going live. Once your setup is complete, share your Google Publisher ID with your InMobi Customer Success Manager or email googlebidding@inmobi.com.
Note
Contact InMobi for approval only after completing your setup. Approval activates ad requests, and incomplete setups will result in failed ad responses. If your status shows as Rejected, it can be reversed. This is not permanent and may be due to previous manual clean-ups of pending requests.
Configure InMobi Dashboard
Use the toggle below to view the differences in dashboard configuration across platforms.
Note
All payments and billing-related communication will be made to the intermediary - Google Open Bidding. Please contact your intermediary for all billing/payment-related queries.
App
The following steps are common for both Mobile App and CTV inventory.
- Log in to the InMobi Publisher Dashboard.
- Navigate to Inventory > Add Inventory > Mobile App.
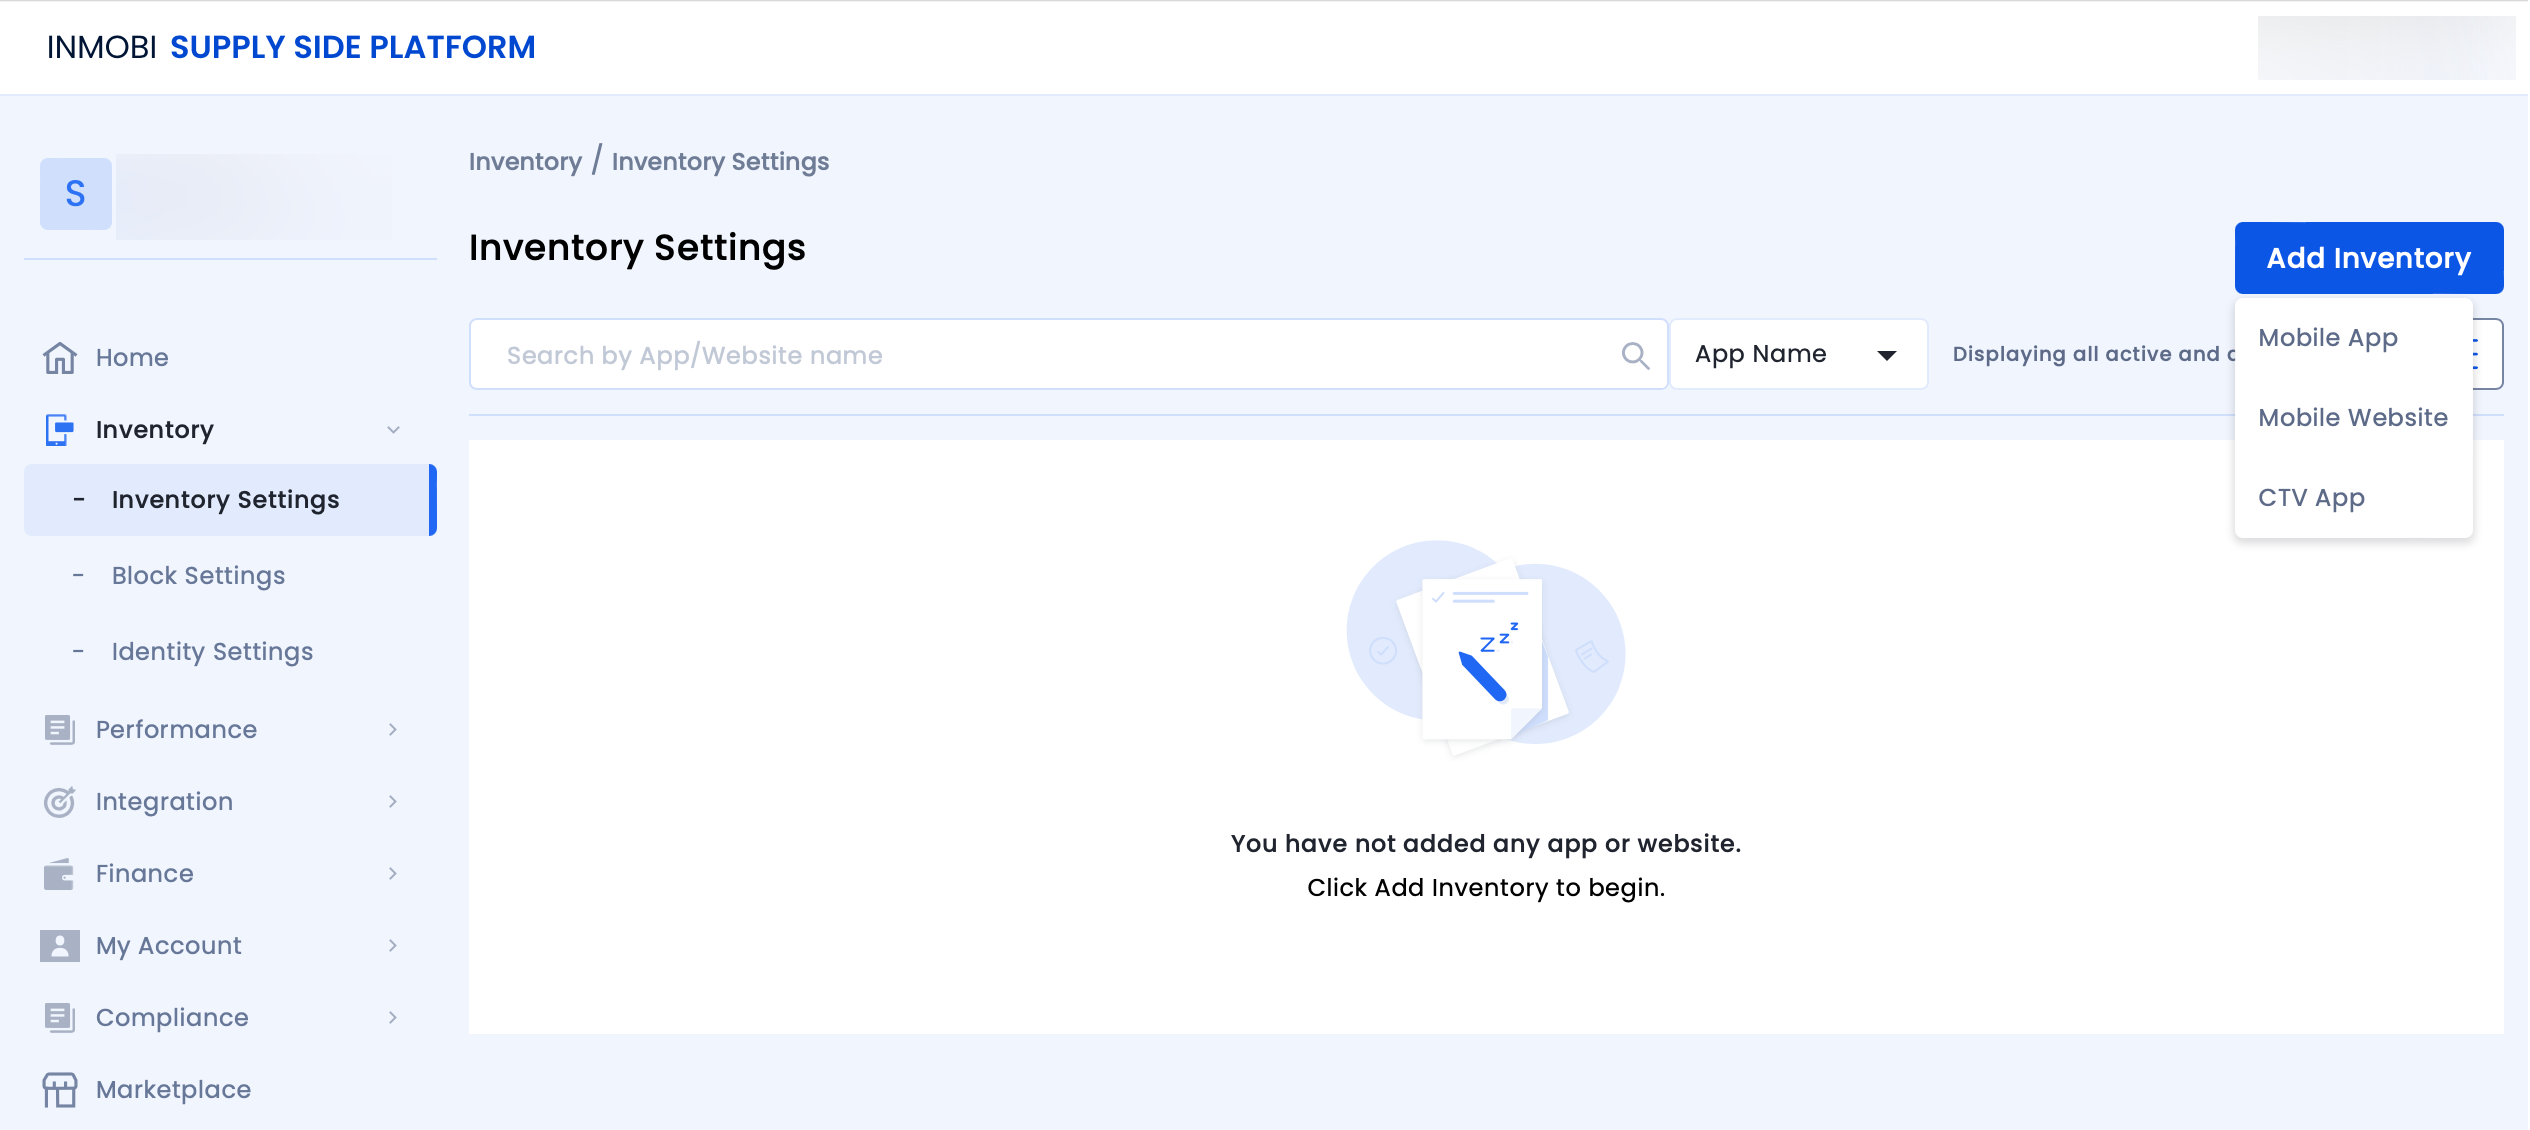
- To register your published or unpublished app, see Add Your App/Website.
- To create placements specifically for Google Open Bidding for newly added or existing apps, follow these steps:
- Search for the app or website on which you want to create a placement and click + Add a placement.

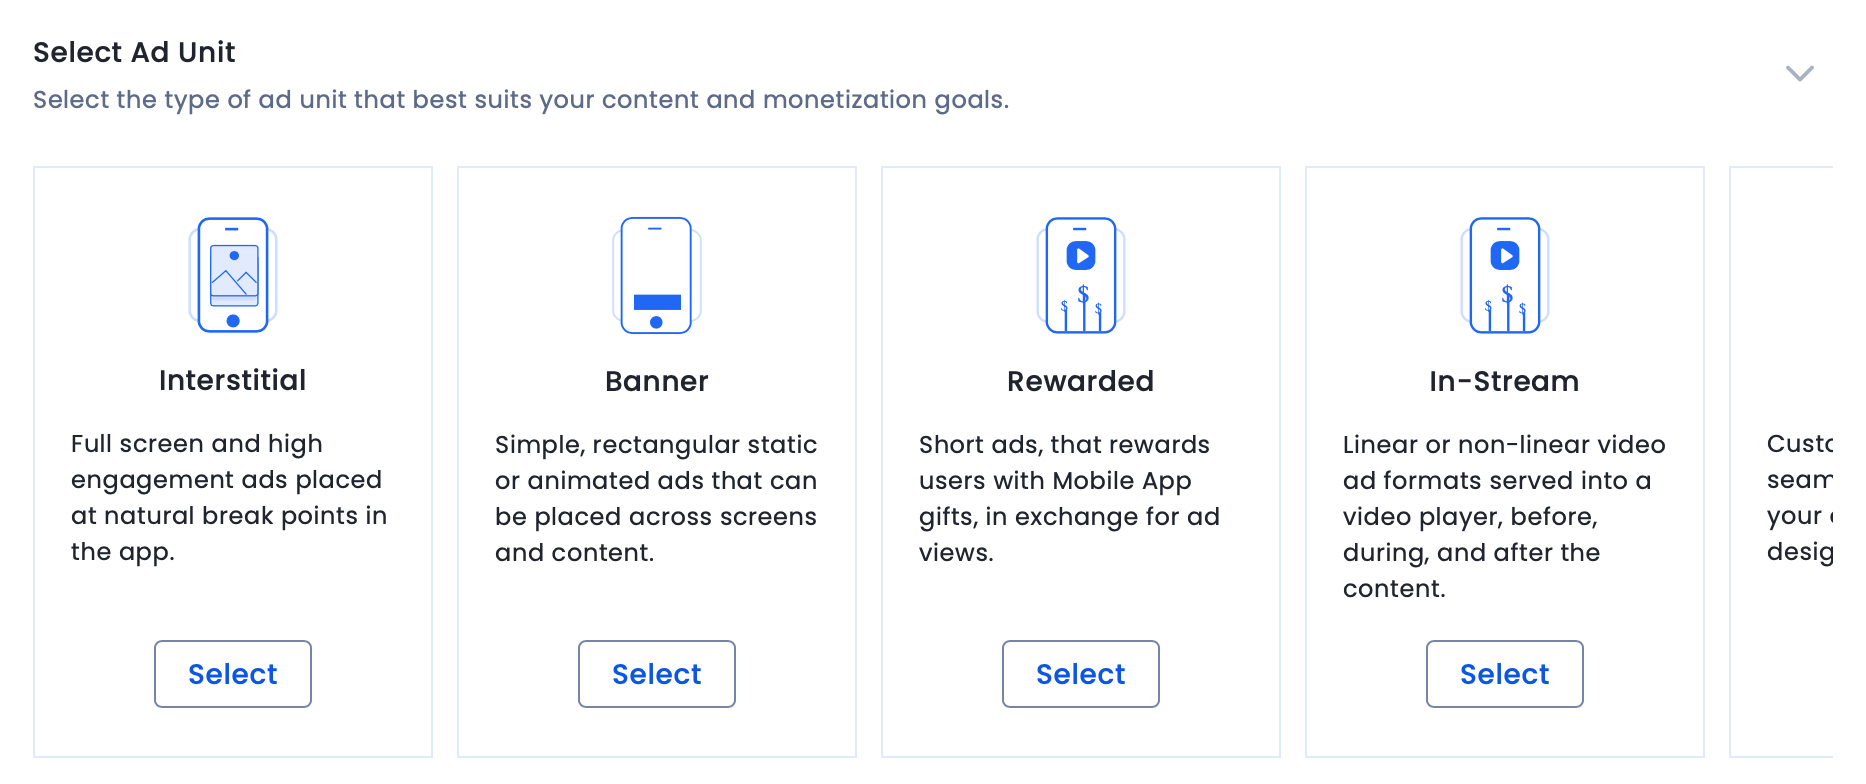
- Select the ad unit. For more information about ad unit types, see Ad Units.
- Enter Placement details. Select On from the Audience Bidding and select Google Open Bidding from the Partner dropdown. Create only one placement per ad format. If you don't see Google Open Bidding in the Partner dropdown, then your setup is incomplete or incorrect.

- Save the placement.
Web
- Log in to the InMobi Publisher Dashboard.
- Navigate to Inventory > Add Inventory > Mobile Website.
- To register your published or unpublished app, see Add Your App/Website.
- Set Child Compliance and Block settings.
- To create placements specifically for Google Open Bidding for newly added or existing apps, follow these steps:
- Search for the app or website on which you want to create a placement and click + Add a placement.
- Select the ad unit. For more information about ad unit types, see Ad Units.
- Enter Placement details. Select On from the Audience Bidding and select Google Open Bidding from the Partner dropdown. Create only one placement per ad format.
- Save the placement.
Add Ads.txt Entries
- Navigate to Inventory > ads.txt.
- Scroll down and download the ads.txt file.
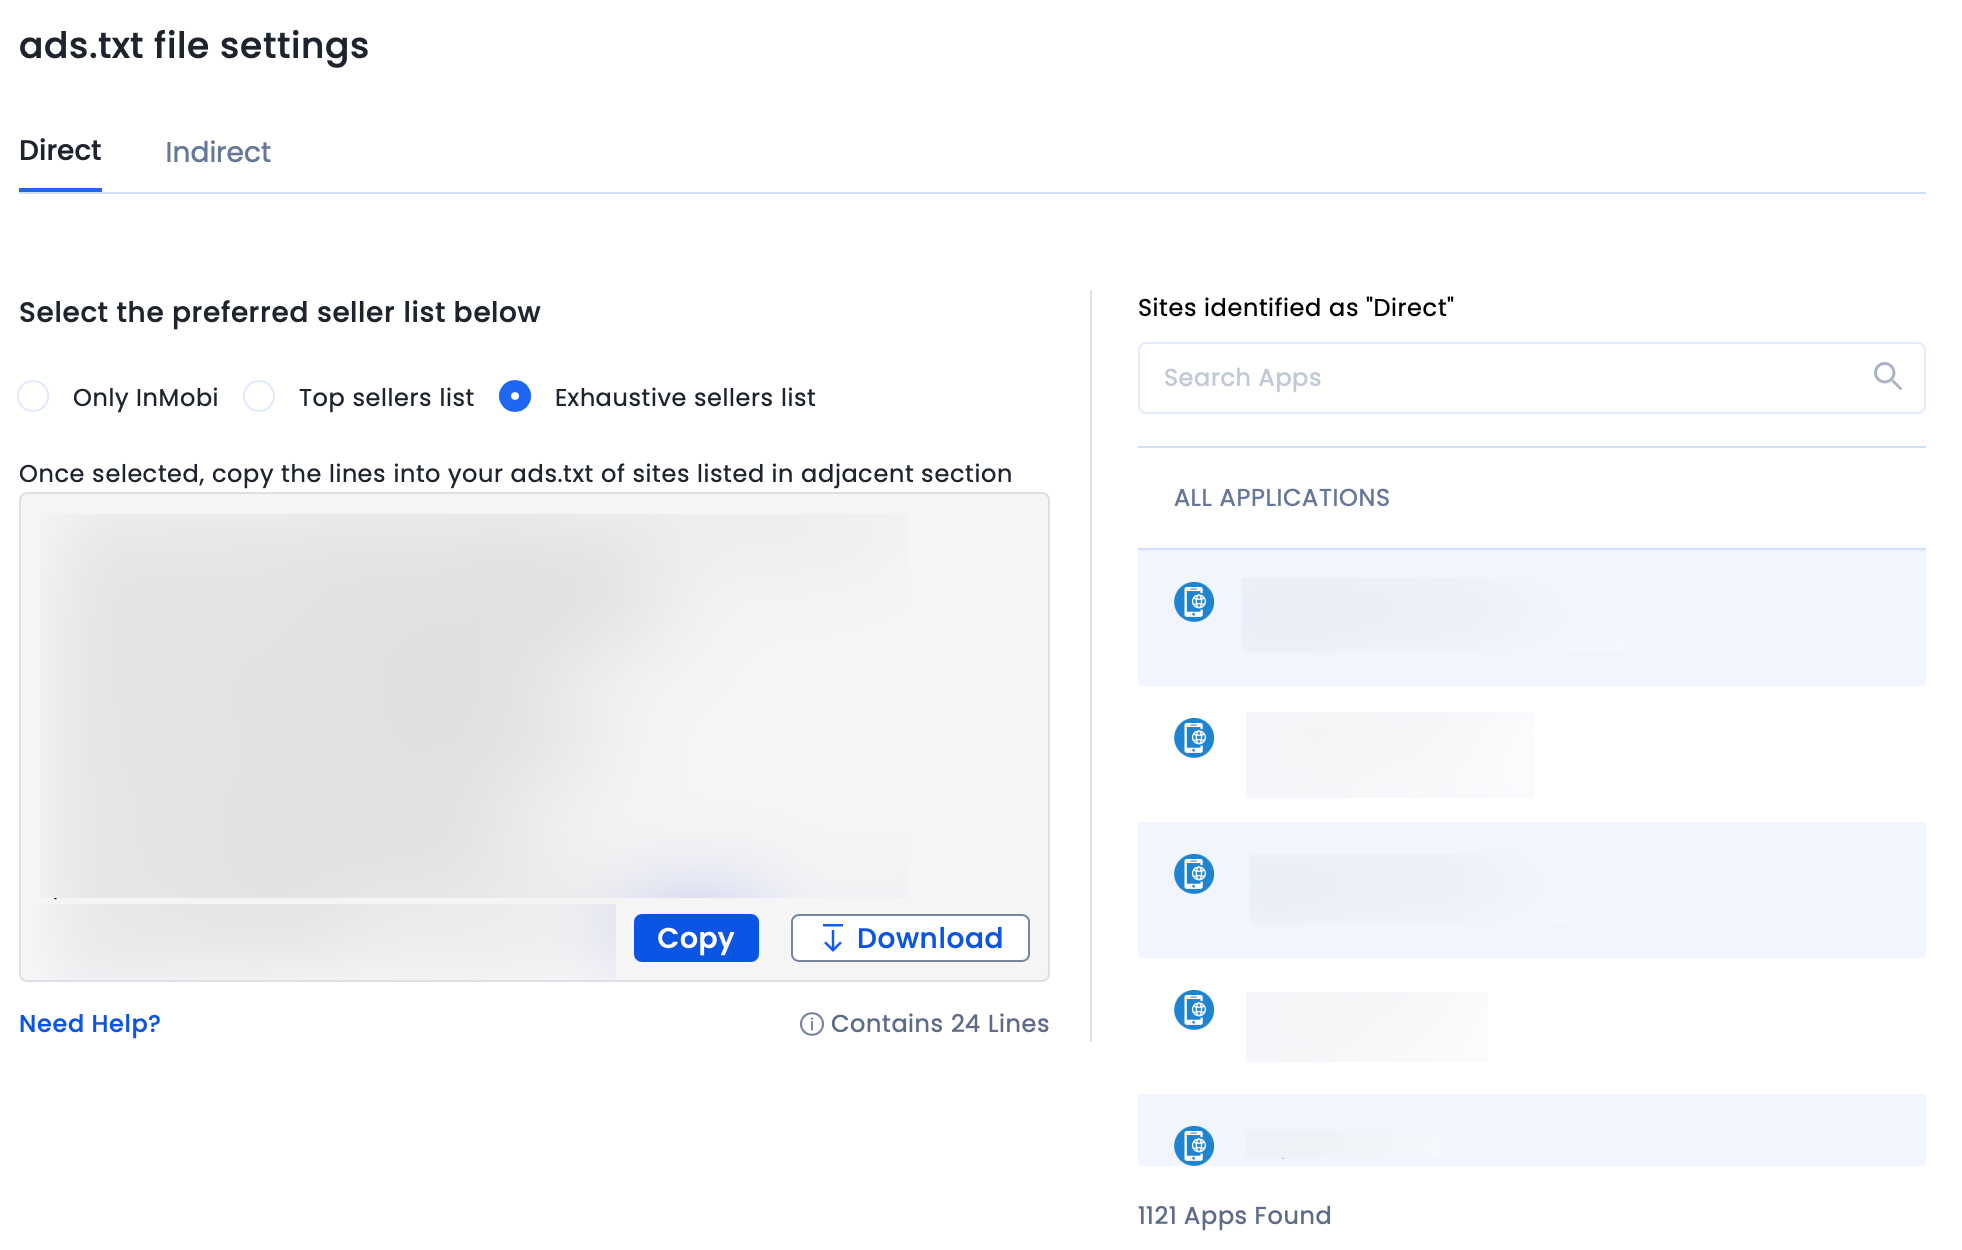
- Append entries to your ads.txt file.
Additional Instructions for GDPR
Follow the additional instructions below about GDPR settings on your Google dashboard for higher monetization results. This configuration applies to traffic from European Economic Area (EEA) and publishers using AdMob/GAM CMP for GDPR consent purposes. Google CMP provides two ways of adding ad partners on their AdMob/GAM platform:
- Commonly used ad partners
- Custom ad partners
Note
InMobi is not part of ‘Commonly used ad partners’ by default, and you must add it manually by selecting Custom ad partners.
Follow the instructions below to enable InMobi under Custom ad partners on your Google dashboard.
- On the Google Dashboard, select Privacy & messaging GDPR Settings Review your ad partners.
- Select Custom ad partners and then InMobi from the list and save the setting.

For further assistance, Contact Us.
 Support Center


