Create Theme
After creating your property, it's time to create a theme for it. InMobi CMP allows you the freedom to tailor your message, branding, and display to your audience.
A Theme is a customizable bundle of design and configuration settings, like layout, text, colors, and legal link behavior, that defines the look and feel of your CMP. Once created, you can save and assign themes to multiple sites.
- Navigate to the Themes tab and click Create Theme. Select App Theme from the dropdown.
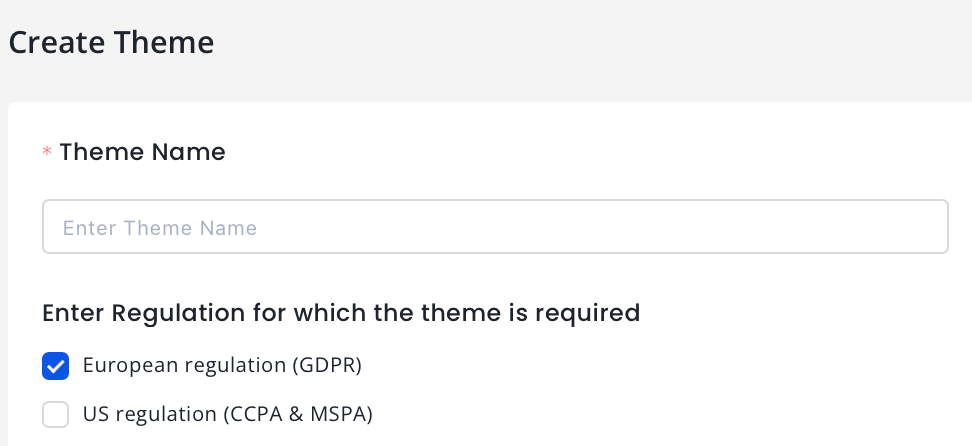
- Theme Name (required): Enter a name for your theme.
- For Regulation for which the theme is required, select European regulation (GDPR) or US regulation (CCPA & MSPA) or both. For more information, see GDPR and CCPA.
The theme creation process is divided into three sections for each regulation.
- Language & Text
- Colors
- Typography
- Customize Privacy
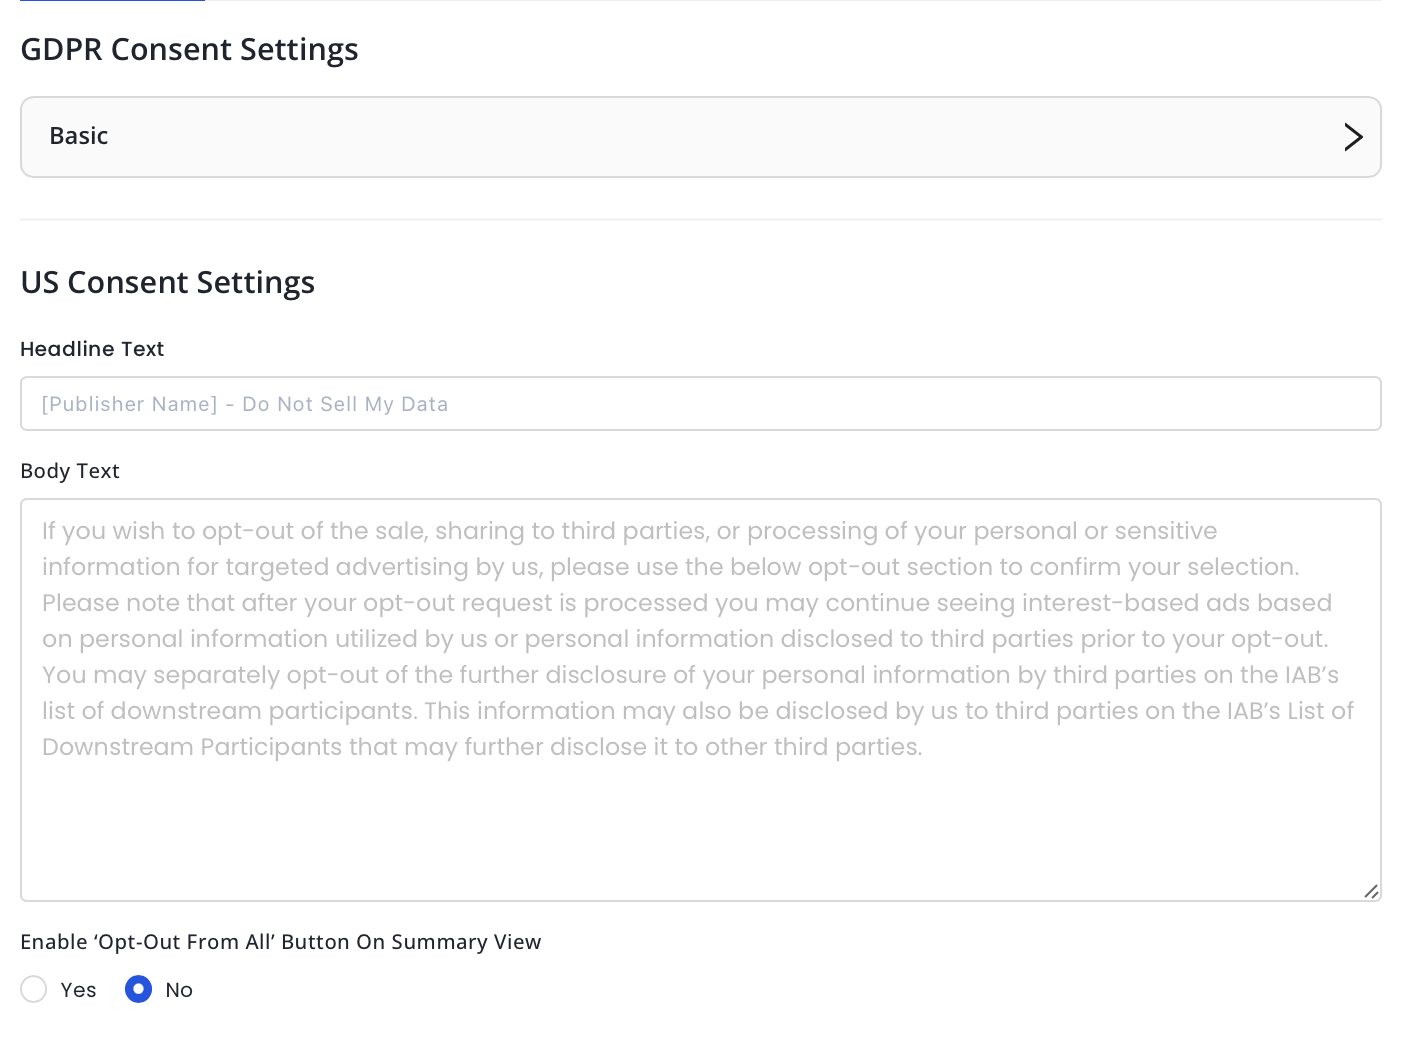
GDPR Consent Settings
Language and Text
Basic
- Choose from supported languages or use Auto‑Detect for the CMP UI.
- Choose Layout of your consent pop-up.
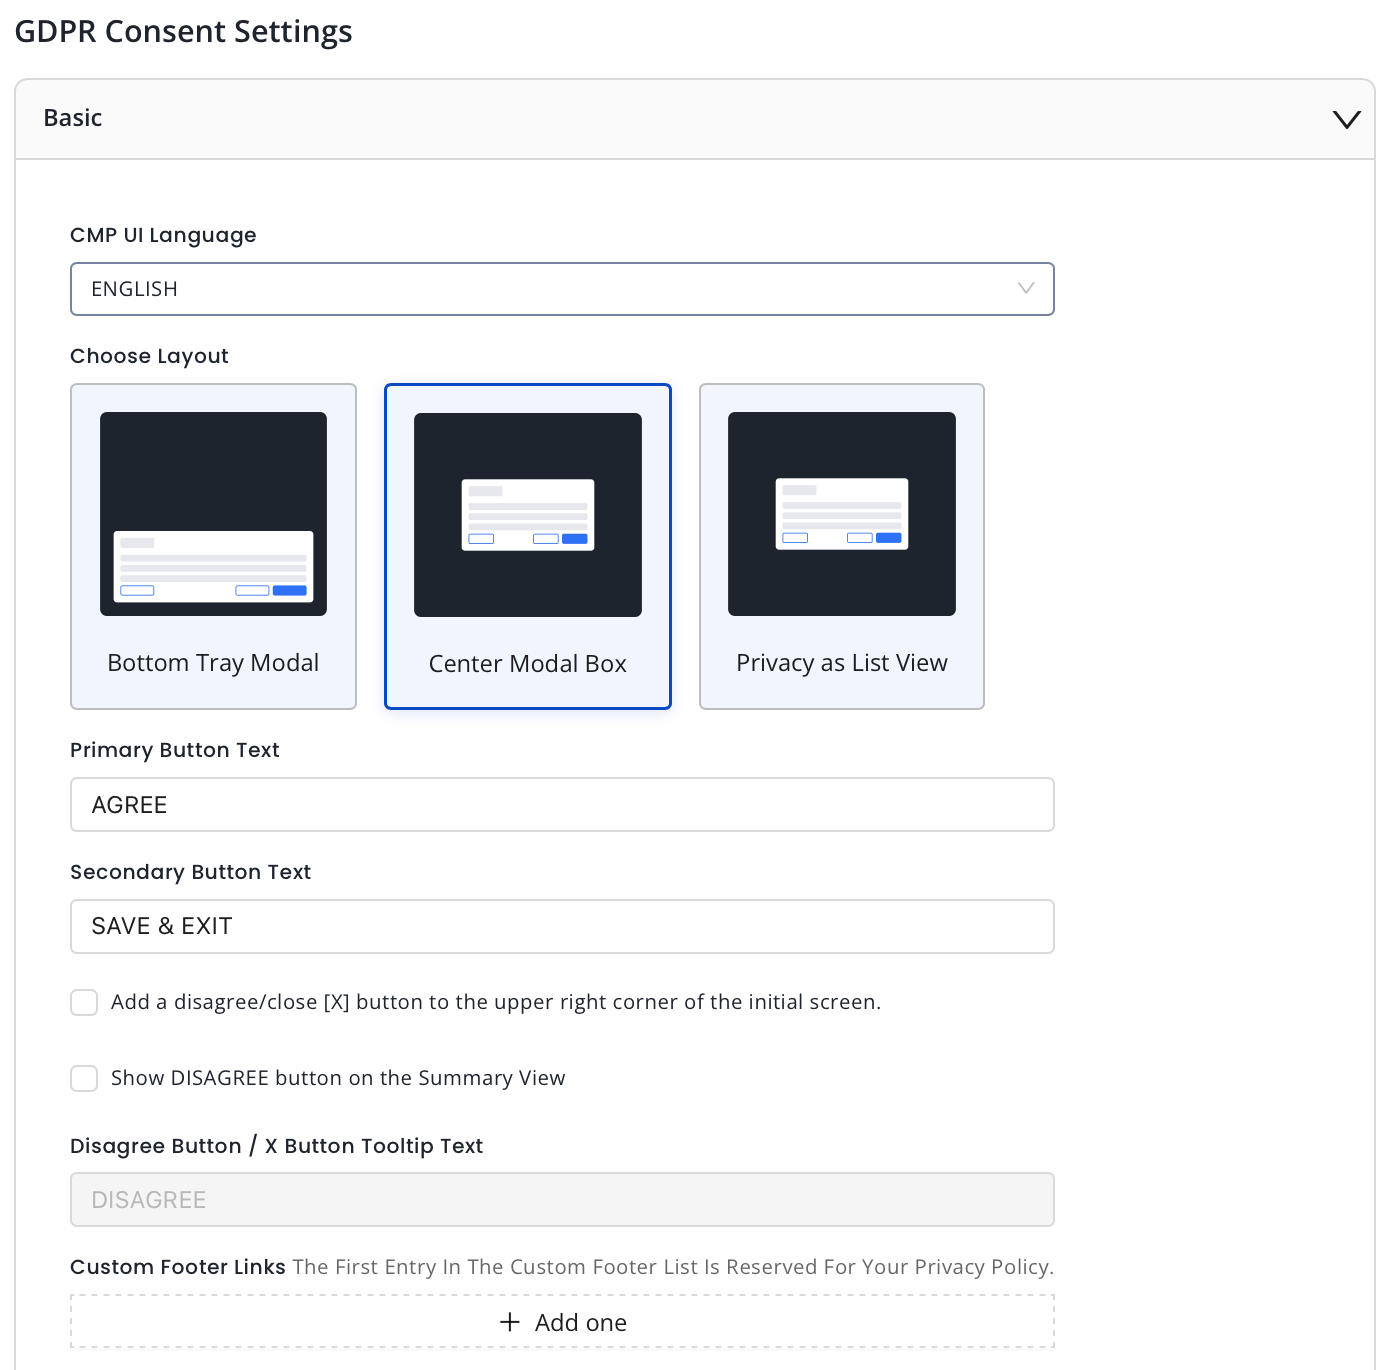
- Enter the desired text for your primary button.
- Enter the desired text for your secondary button.
- Add a disagree/close [X] button to the upper right corner of the initial screen: Check this box to display the X button on the upper right corner of the summary page.
- Show DISAGREE button on the Summary View: Check this box to display a DISAGREE BUTTON.
- Enter the desired text for your Disagree button if selected in the previous step.
- Add custom footer links as needed. The first entry is reserved as the privacy policy link.
Advanced Customization (for Premium properties only)
Advanced customization lets you modify the text for your GDPR consent screen and buttons in different languages. Currently, this feature is available only for Premium properties. For details, see Advanced Customization.
Consent or Pay (for Premium properties only)
InMobi CMP enables publishers to provide a free option to opt out of data tracking and receiving personalized ads with the Partial Accept option. Currently, theme setting under Consent or Pay is available only for Premium properties.. For details, see Consent or Pay.
Colors
Note
Color Customization is a premium feature and any changes made will be applied to only premium properties in the CMP.
While color customization can be done through code, InMobi CMP gives priority to color customization enabled through the portal. First, we will consider the customisations from the portal; if there are none, we will consider the customisations made through code. In case there are no changes made through code, we will apply the default colours.
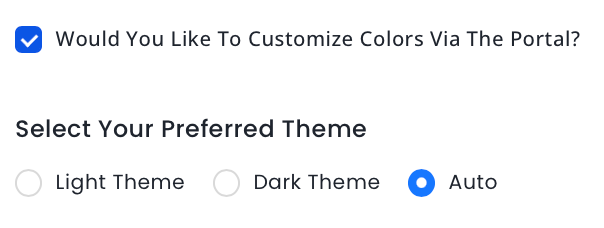
- Check the box Would You Like To Customize Colors Via The Portal? if you wish to customize your theme from the CMP portal.
- Next, choose a theme from Light Theme, Dark Theme or Auto.
- Set colors for Light or Dark Theme.
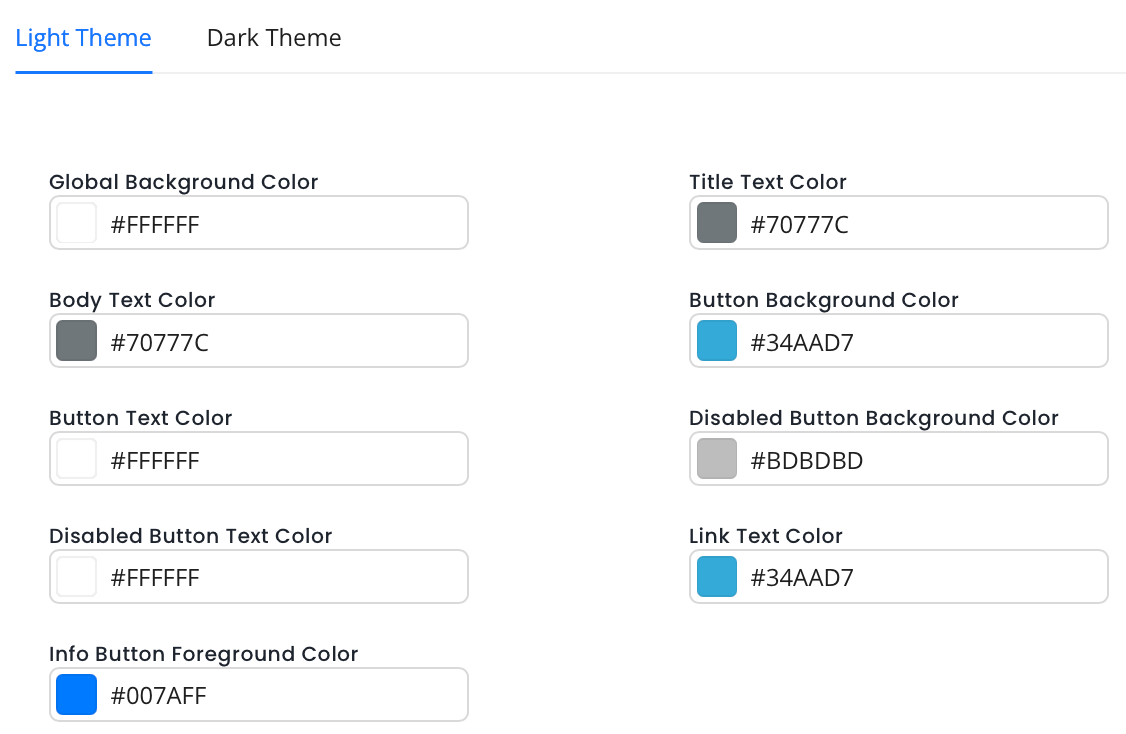
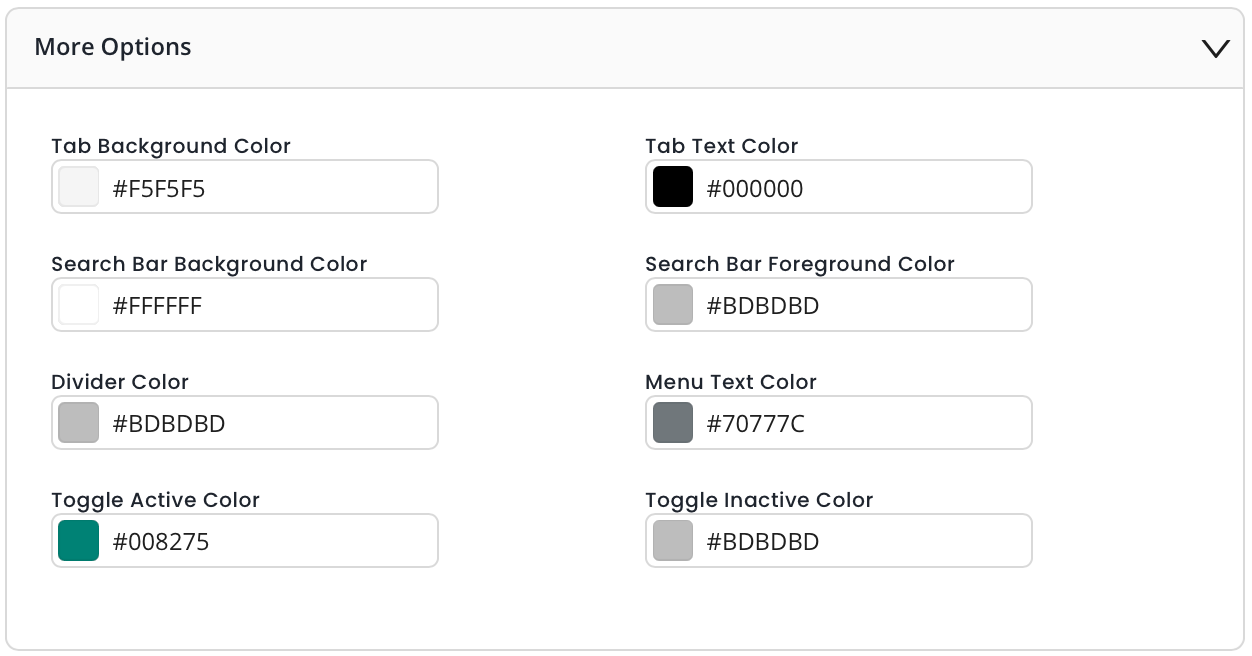
- Click More Options for further customizations.
Typography
Note
Typography is a premium feature and any changes made will be applied to only premium properties in the CMP.
While font customization can be done through code, InMobi CMP gives priority to font customization enabled through the portal. First, we will consider the customisations from the portal; if there are none, we will consider the customisations made through code. In case there are no changes made through code, we will apply the default fonts.
- Check the box Would You Like To Customize Font Via The Portal? if you wish to customize your theme from the CMP portal.
- Choose your preferences for the following fields.
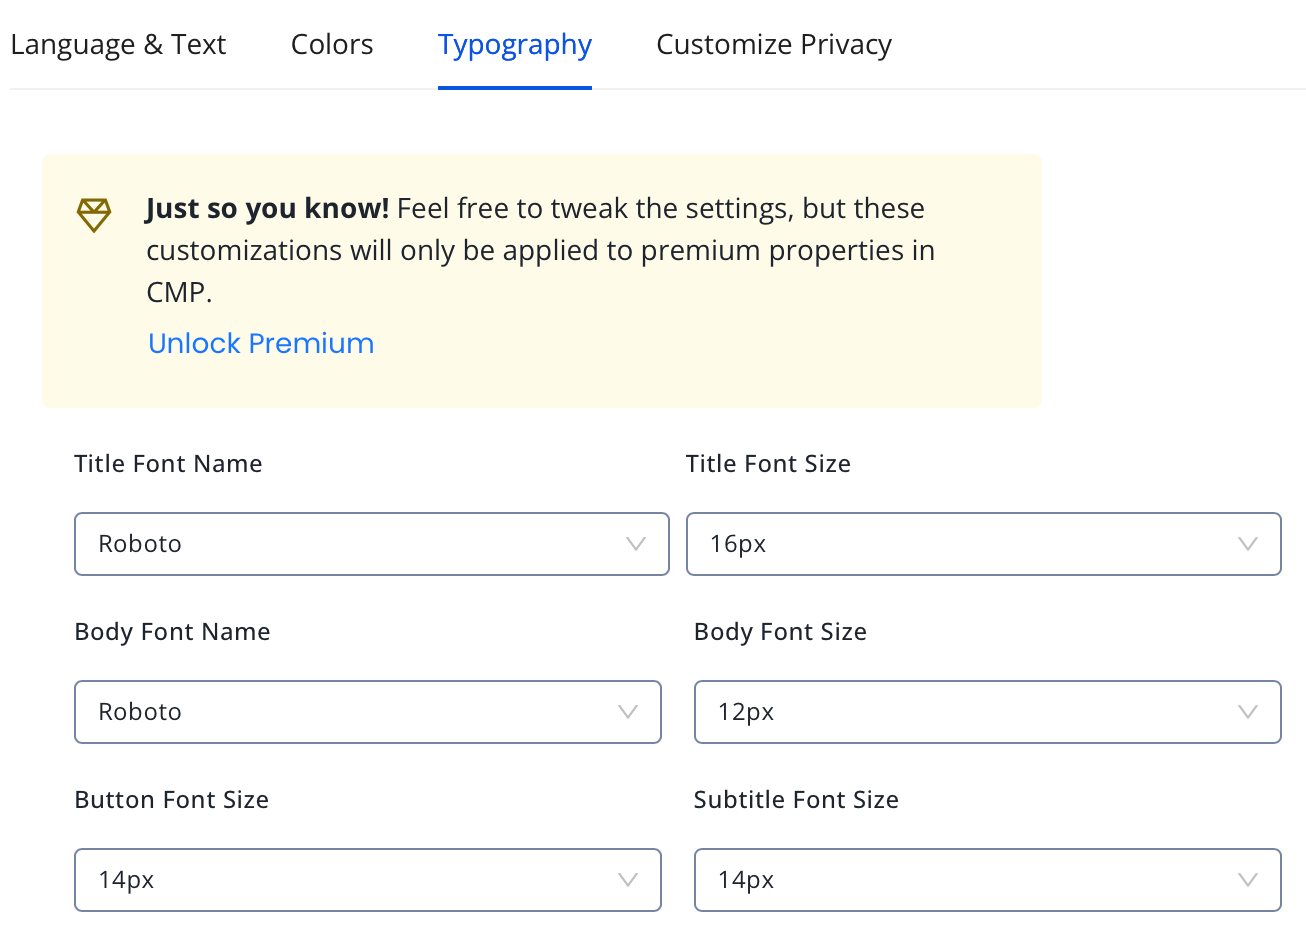
- Title Font Name: Select the font for the consent screen title.
- Title Font Size: Select the font size for the consent screen title.
- Body Font Name: Select the font name for the body content.
- Body Font Size: Select the font size for the body content.
- Button Font Size: Select the font size for the buttons.
- Subtitle Font Size: Select the font size for the subtitle.
Customize Privacy
- Select TCF Version. We recommend using the latest TCF 2.2.

- Choose How Do You Want To Show The Customise Privacy Options?.
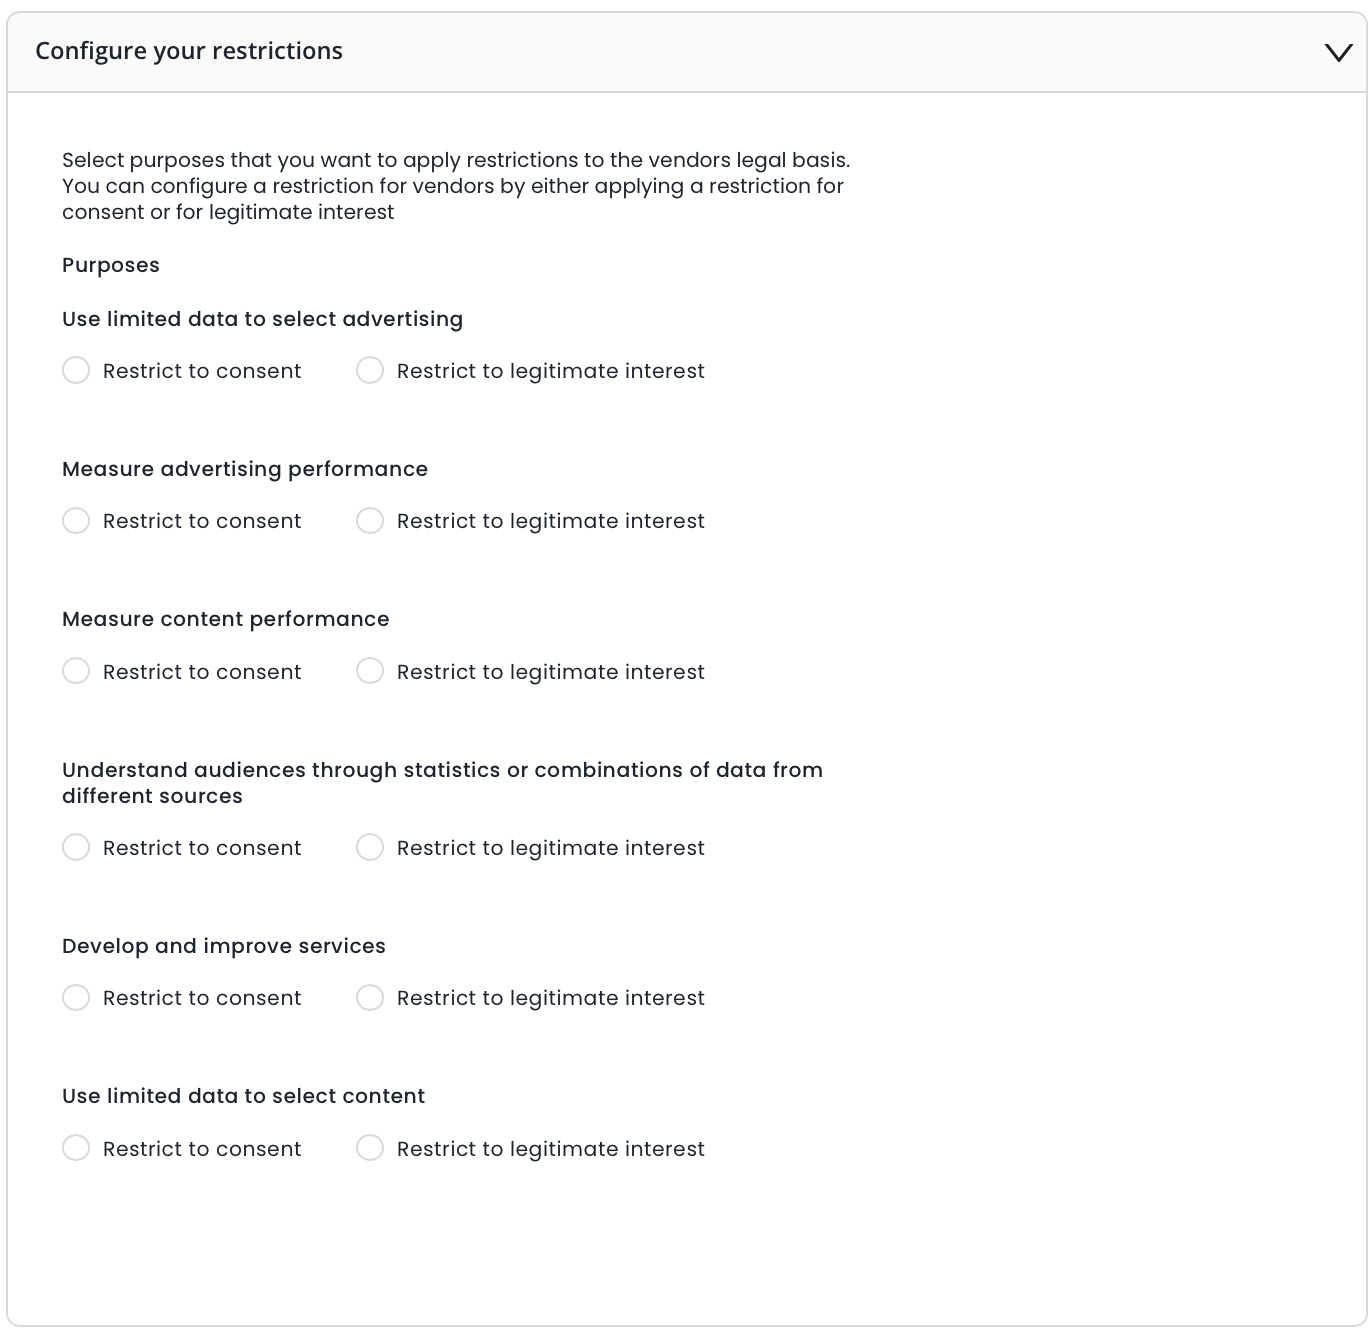
- Select the purposes that you want to apply restrictions to the vendors' legal basis.
- Click Create Theme.
Advanced Customization (for Premium properties only)
- Choose from supported languages for the CMP UI.
- Enter the desired text for your primary button.
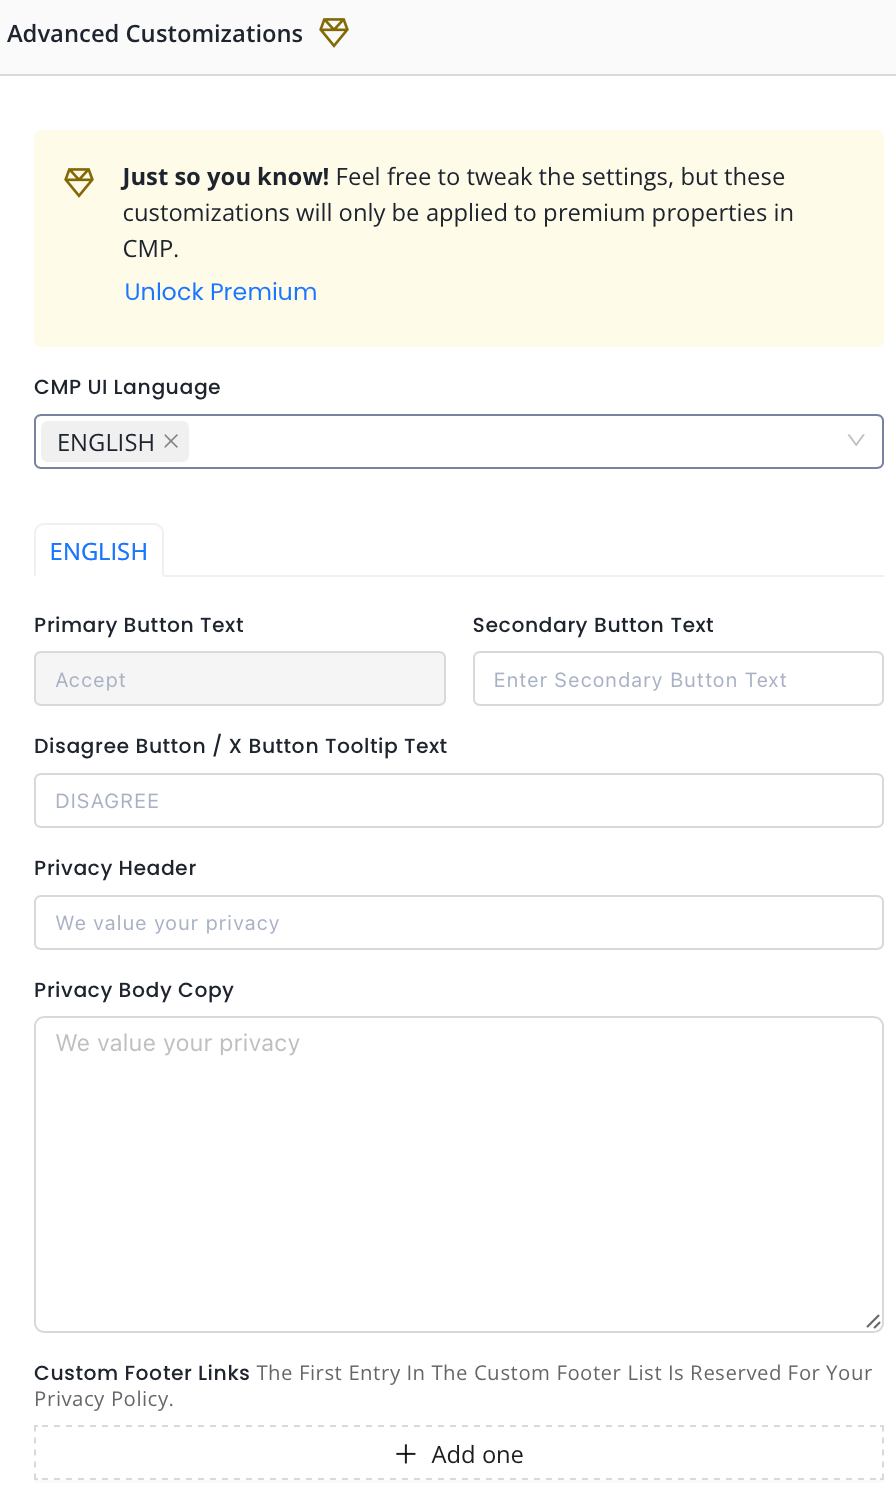
- Enter the desired text for your secondary button.
- Enter the desired text for your Disagree button or X Button Tooltip text.
- Enter the Privacy Header text.
- Add the Privacy Body copy.
- Add custom footer links as needed. The first entry is reserved as the privacy policy link.
Choose Font Name & Font Size
Once you've set the language and text of your consent screen, you can further customize it by choosing the font and font size you prefer.
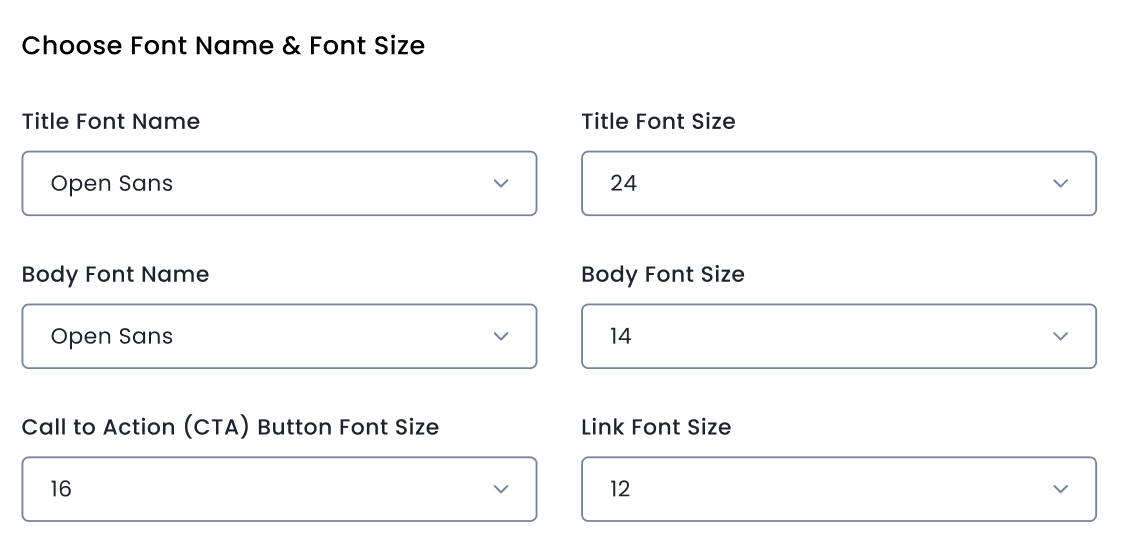
- Select the Title Font for the heading of your consent pop-up.
- Select the size of the font for your consent pop-up's title. Ensure Font size is constrained between 10px and 24px.
- Select the Body Font Name and Body Font Size for the body text of your consent pop-up.
- Choose the Font Size for the Call to Action Button on the consent pop-up.
- Choose the Font Size for the Privacy Policy link.
Consent or Pay (for Premium properties only)
- Choose from supported languages for the CMP UI.
- Choose Layout of your consent pop-up.
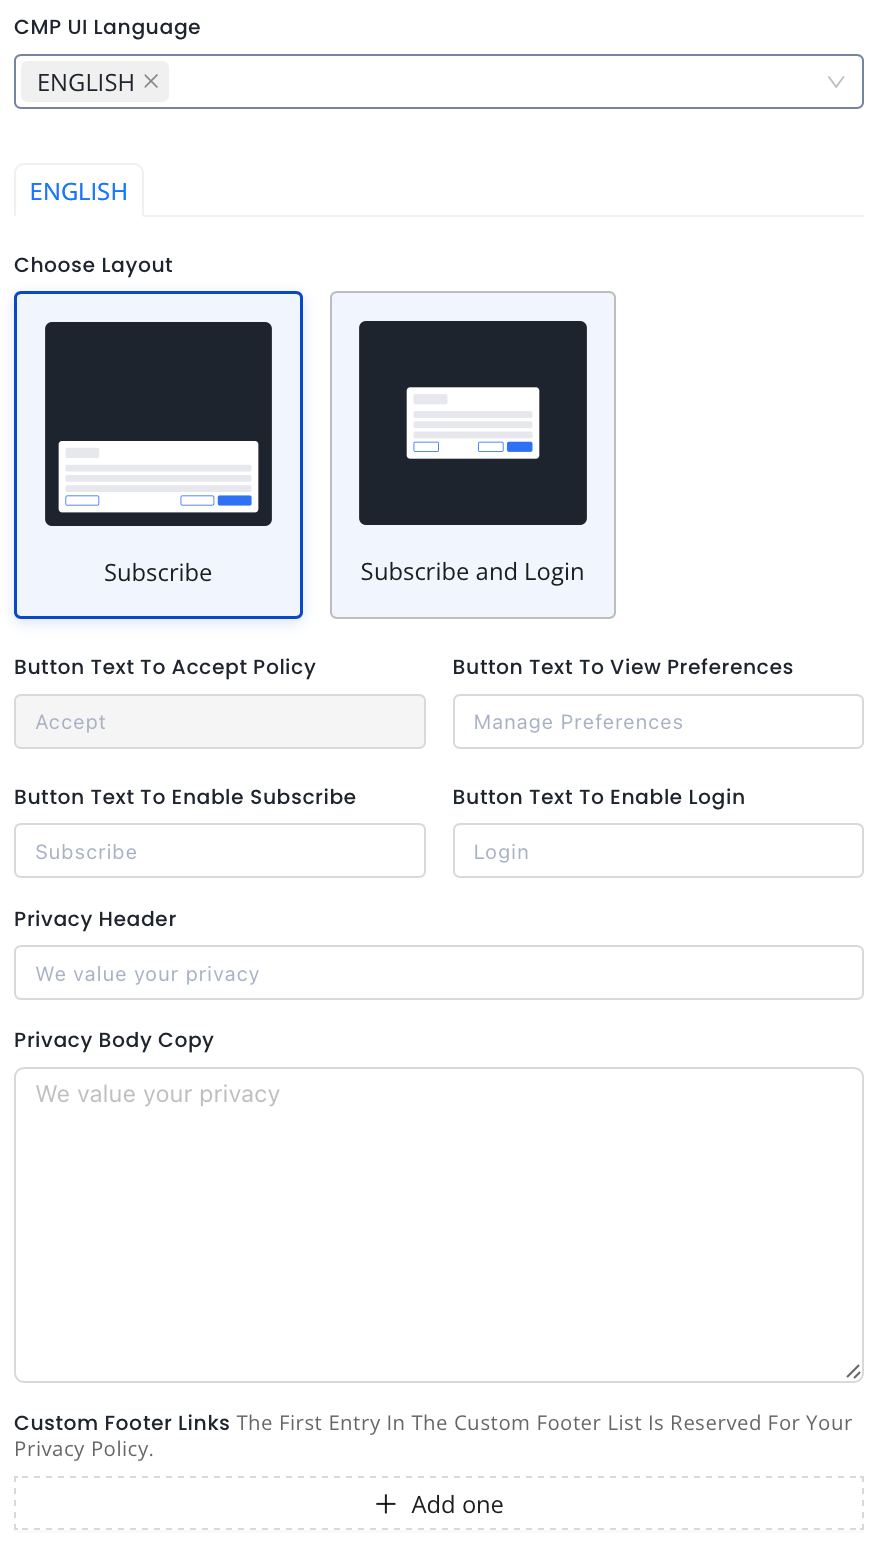
- Enter the Button Text for Accept Policy.
- Enter Button Text to View Preferences.
- Enter Button Text to Enable Subscribe.
- Enter Button Text to Enable Login.
- Enter the Privacy Header text.
- Add the Privacy Body Copy.
- Add custom footer links as needed. The first entry is reserved as the privacy policy link.
Choose Font Name & Font Size
Once you've set the language and text of your consent screen, you can further customize it by choosing the font and font size you prefer.
- Select the Title Font for the heading of your consent pop-up.
- Select the size of the font for your consent pop-up's title. Ensure Font size is constrained between 10px and 24px.
- Select the Body Font Name and Body Font Size for the body text of your consent pop-up.
- Choose the Font Size for the Call to Action Button on the consent pop-up.
- Choose the Font Size for the Privacy Policy link.
US Consent Settings
Language and Text
- Enter Headline text.
- Enter Body text.
- Choose to enable the 'Opt-Out From All' on the Summary view.
- Select the Suppress MSPA Links checkbox if you only want to support the IAB CCPA Framework. This will suppress the links to the Data Deletion, Data Access, and Data Privacy Policy.
- Add Link Text and Link URL to your Data Deletion tool, if applicable.
- Add Link Text and Link URL to your Data Access tool, if applicable.
- Add Link Text and Link URL to your Privacy Policy, if applicable.
Colors
Note
Color Customization is a premium feature and any changes made will be applied to only premium properties in the CMP.
While color customization can be done through code, InMobi CMP gives priority to color customization enabled through the portal. First, we will consider the customisations from the portal; if there are none, we will consider the customisations made through code. In case there are no changes made through code, we will apply the default colours.
- Check the box Would You Like To Customize Colors Via The Portal? if you wish to customize your theme from the CMP portal.
- Next, choose a theme from Light Theme, Dark Theme or Auto.
- Set colors for Light or Dark Theme.
- Click More Options for further customizations.
Typography
Note
Typography is a premium feature and any changes made will be applied to only premium properties in the CMP.
While font customization can be done through code, InMobi CMP gives priority to font customization enabled through the portal. First, we will consider the customisations from the portal; if there are none, we will consider the customisations made through code. In case there are no changes made through code, we will apply the default fonts.
- Check the box Would You Like To Customize Font Via The Portal? if you wish to customize your theme from the CMP portal.
- Choose your preferences for the following fields.
- Title Font Name: Select the font for the consent screen title.
- Title Font Size: Select the font size for the consent screen title.
- Body Font Name: Select the font name for the body content.
- Body Font Size: Select the font size for the body content.
- Button Font Size: Select the font size for the buttons.
- Subtitle Font Size: Select the font size for the subtitle.
Customize Privacy
- Select TCF Version. We recommend using the latest TCF 2.2.
- Choose How Do You Want To Show The Customise Privacy Options.
- Select the purposes that you want to apply restrictions to the vendors legal basis.
- Click Create Theme.
 Support Center


