This documentation outlines implementing the Consent or Pay model with InMobi CMP. InMobi CMP enables publishers to provide a free option to opt out of data tracking and receiving personalized ads with the Partial Accept option. For more information on Consent or Pay, see Overview.
Portal Configuration
- To start, login to your InMobi CMP account here.
- On the Properties page, select the property you wish to enable Consent or Pay for, and click the edit icon.

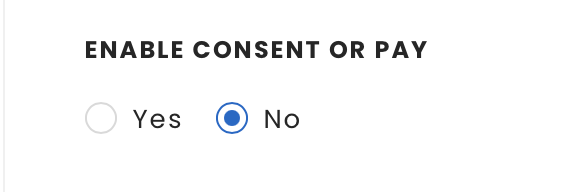
- On the General Settings page, scroll down to ENABLE CONSENT AND PAY and select Yes.
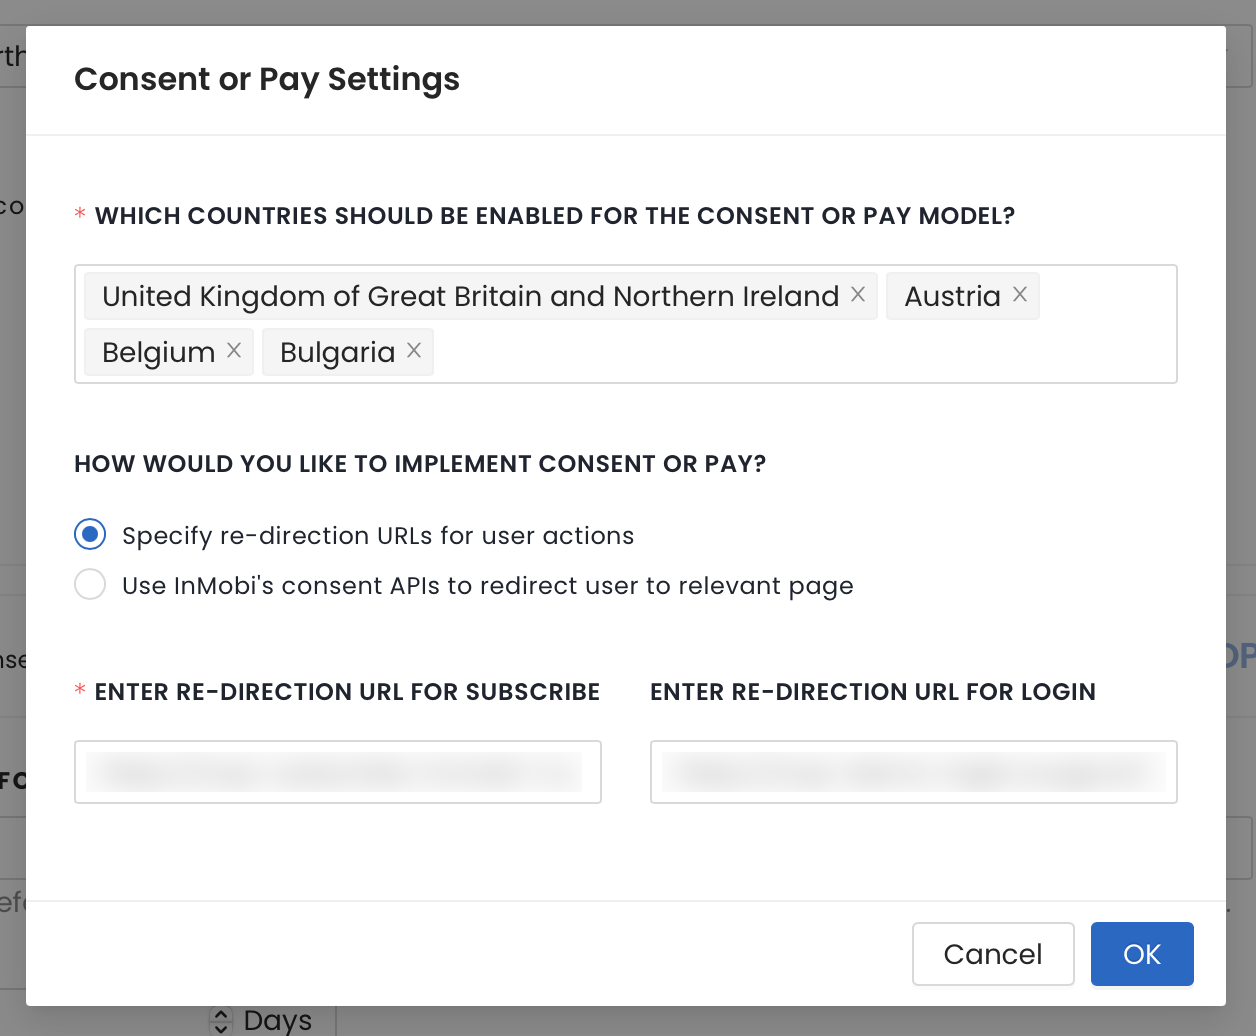
- On the pop up, select the countries where you want to implement Consent or Pay and the redirection URL settings.
Note
Consent or Pay will only be implemented for the selected countries. For the remaining countries, GDPR will apply.
- Select OK to save your settings.
Themes
Configuring Themes settings allows you to manage the look and feel of the consent screen.
- Navigate to the Themes tab on the top of the page and click the edit icon next to the desired property.

- Under Configure your theme, go to Consent and Pay Settings.

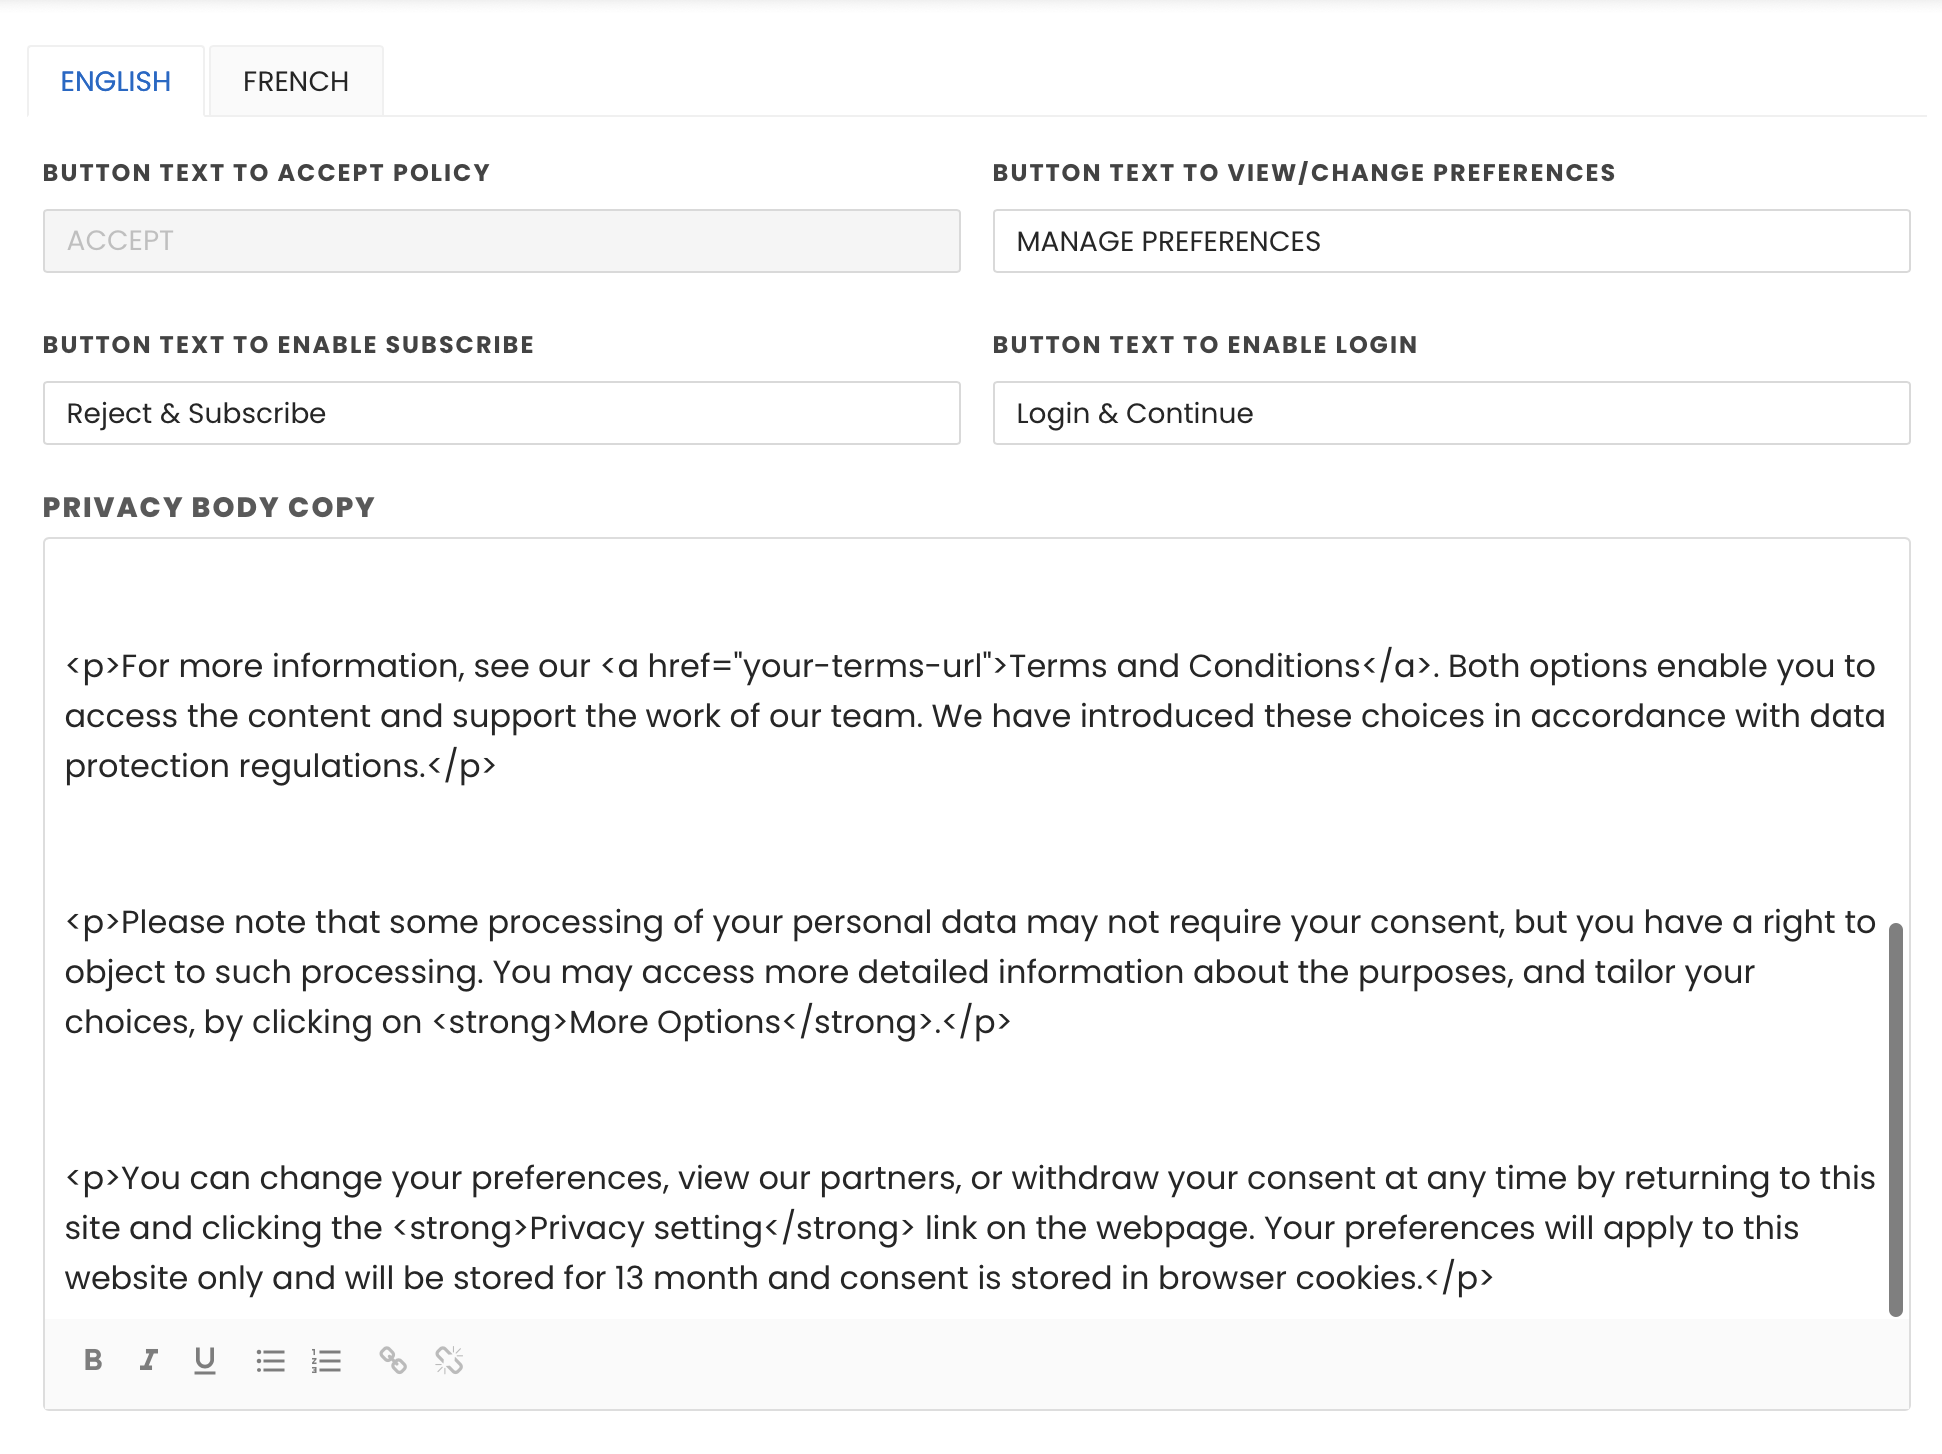
- Choose the languages in which you wish to translate the consent screen and button texts.

- Next, select the layout for your screen and buttons. InMobi CMP offers two layouts with the 'Subscribe' and the 'Subscribe and Login' buttons respectively.

- Edit the button and consent screen texts as per the languages chosen earlier.
Note
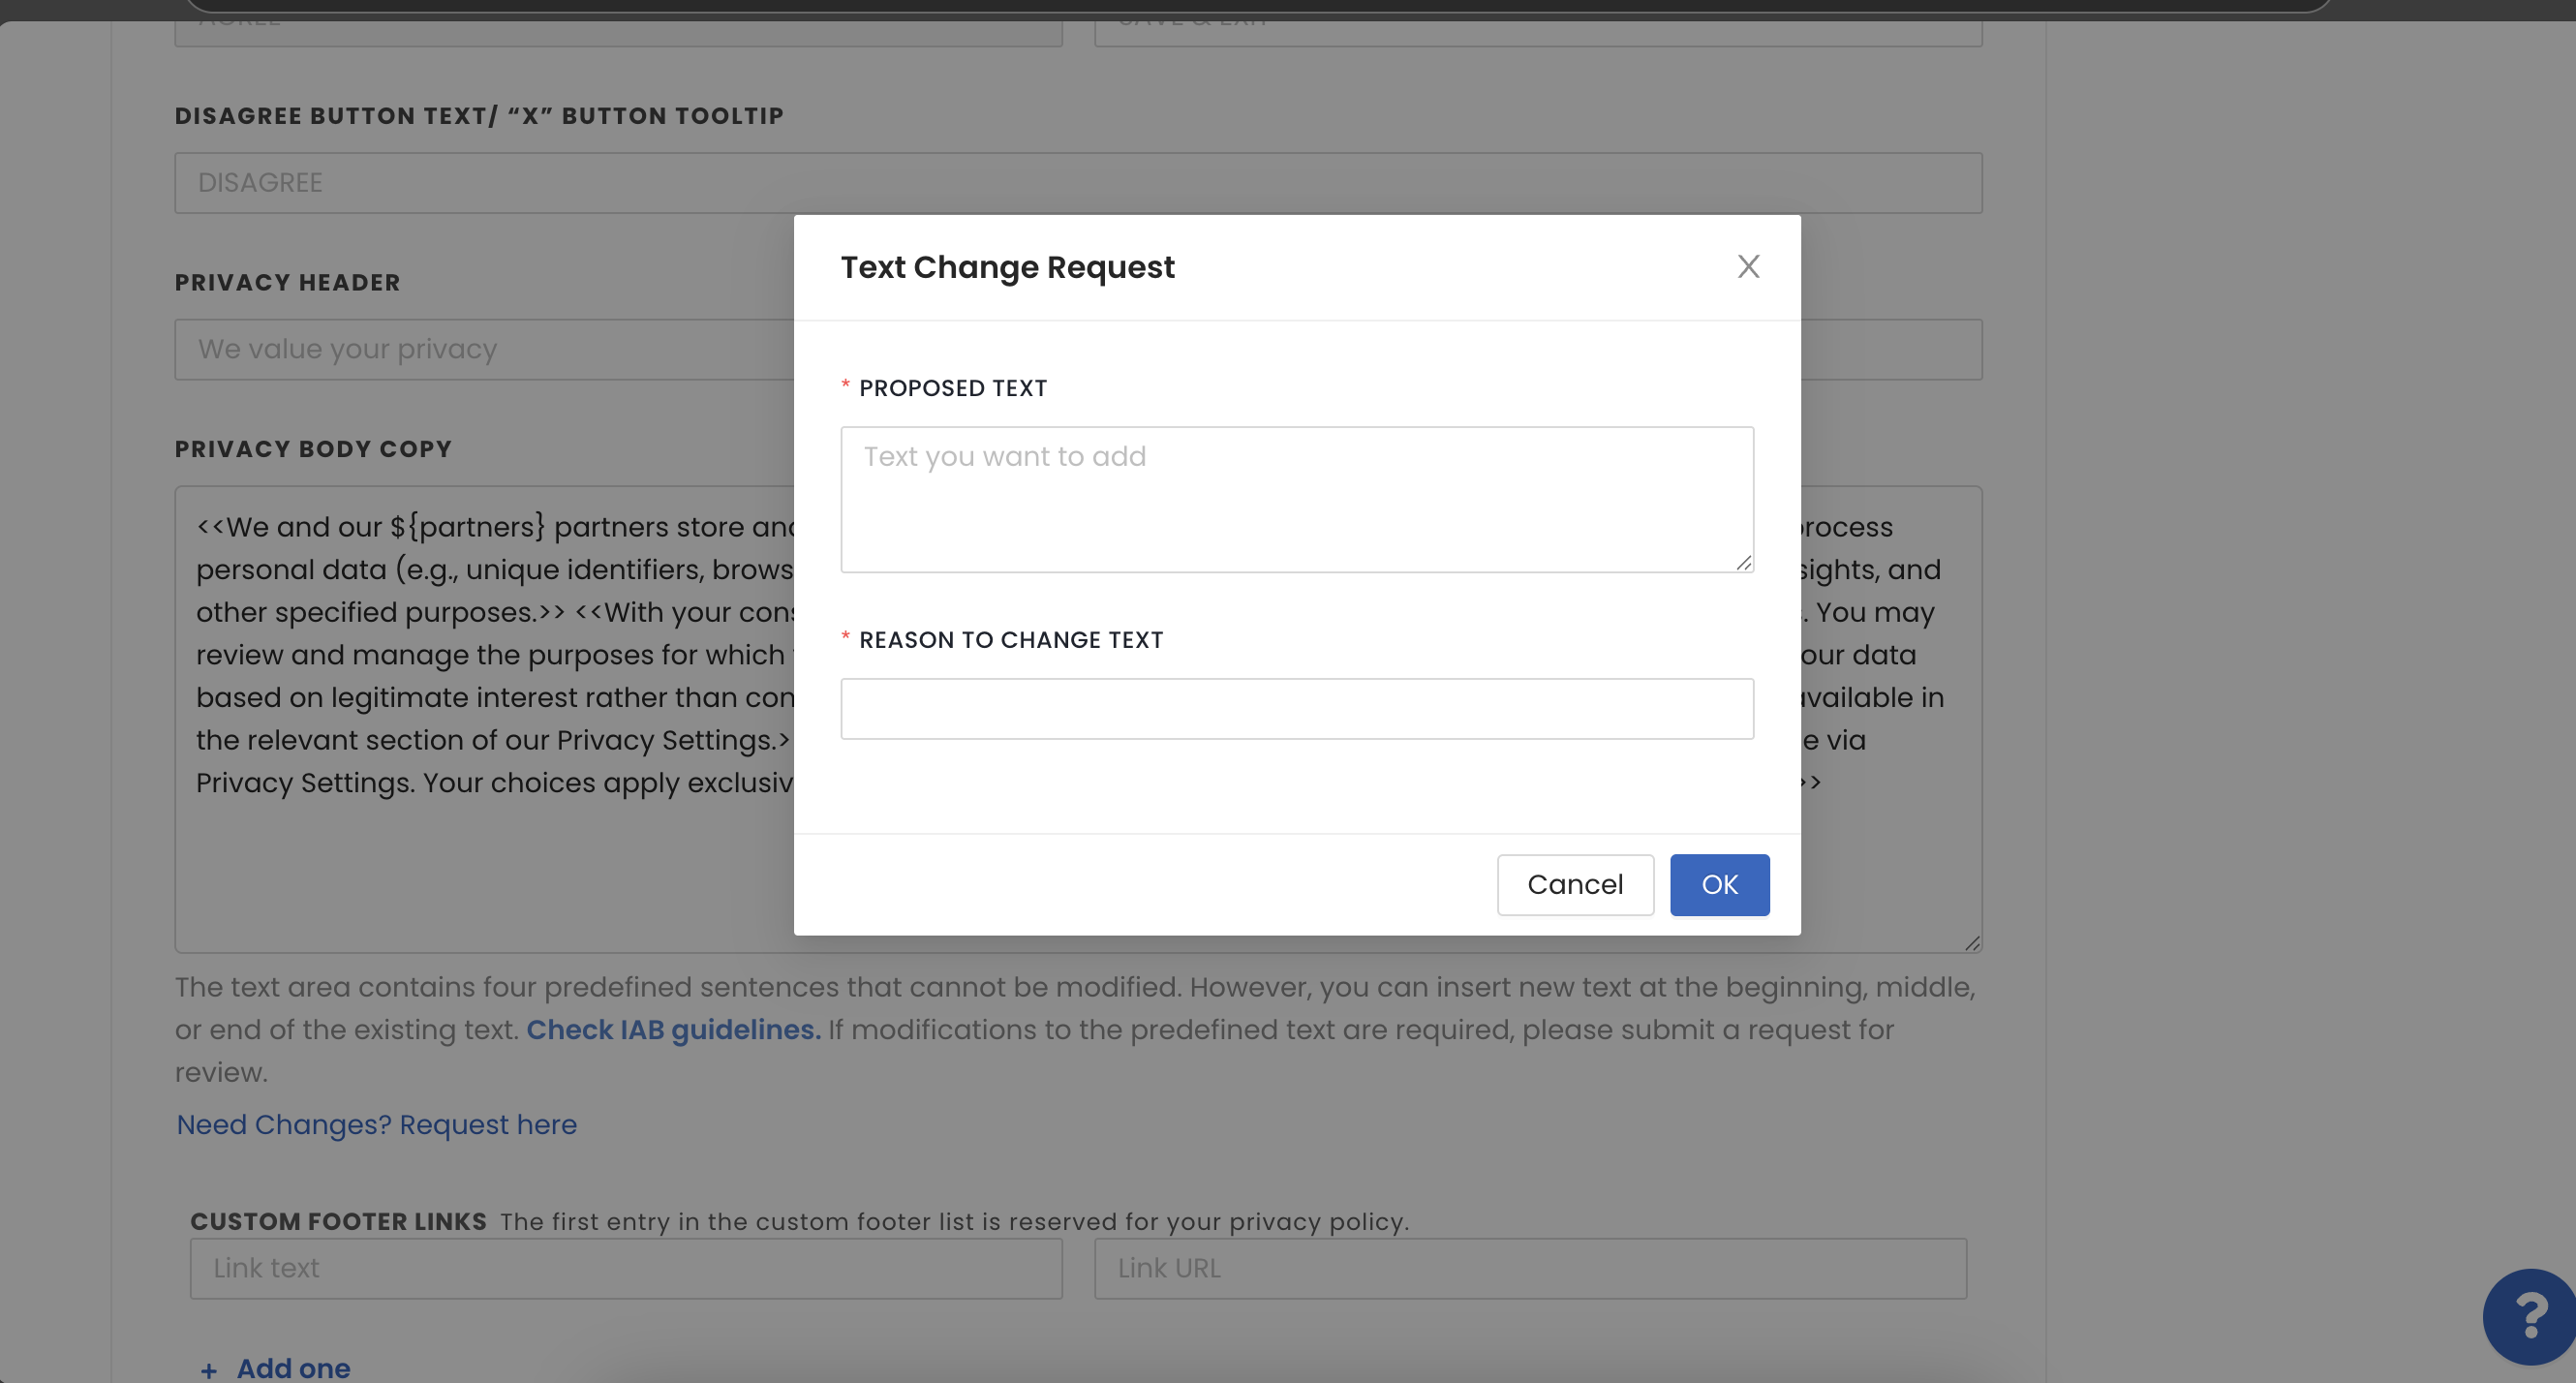
Certain sections of the CMP banner text (L1, L2, L3, and L4) must remain unchanged to ensure compliance with IAB-TCF guidelines. However, you can add content before, after, or between these sections without requiring approval. If you attempt to edit these sections, a structured review request process will be triggered to ensure flexibility for you to have desired content but as per IAB guidelines.
- To request a text change, click Need Changes? Request here. Add details of the required text changes and reason for change.
Note
Once the request is raised:
- You will receive an acknowledgment via email and a unique Ticket ID will be generated.
- You cannot raise another request while one is in progress.
- If they text is approved, you cannot raise another request for the next 15 days.
- The advanced customizations will remain unaffected during the review process and will continue to have default text/settings.
- You will see the updated consent banner text once it is updated from the backend after approval.
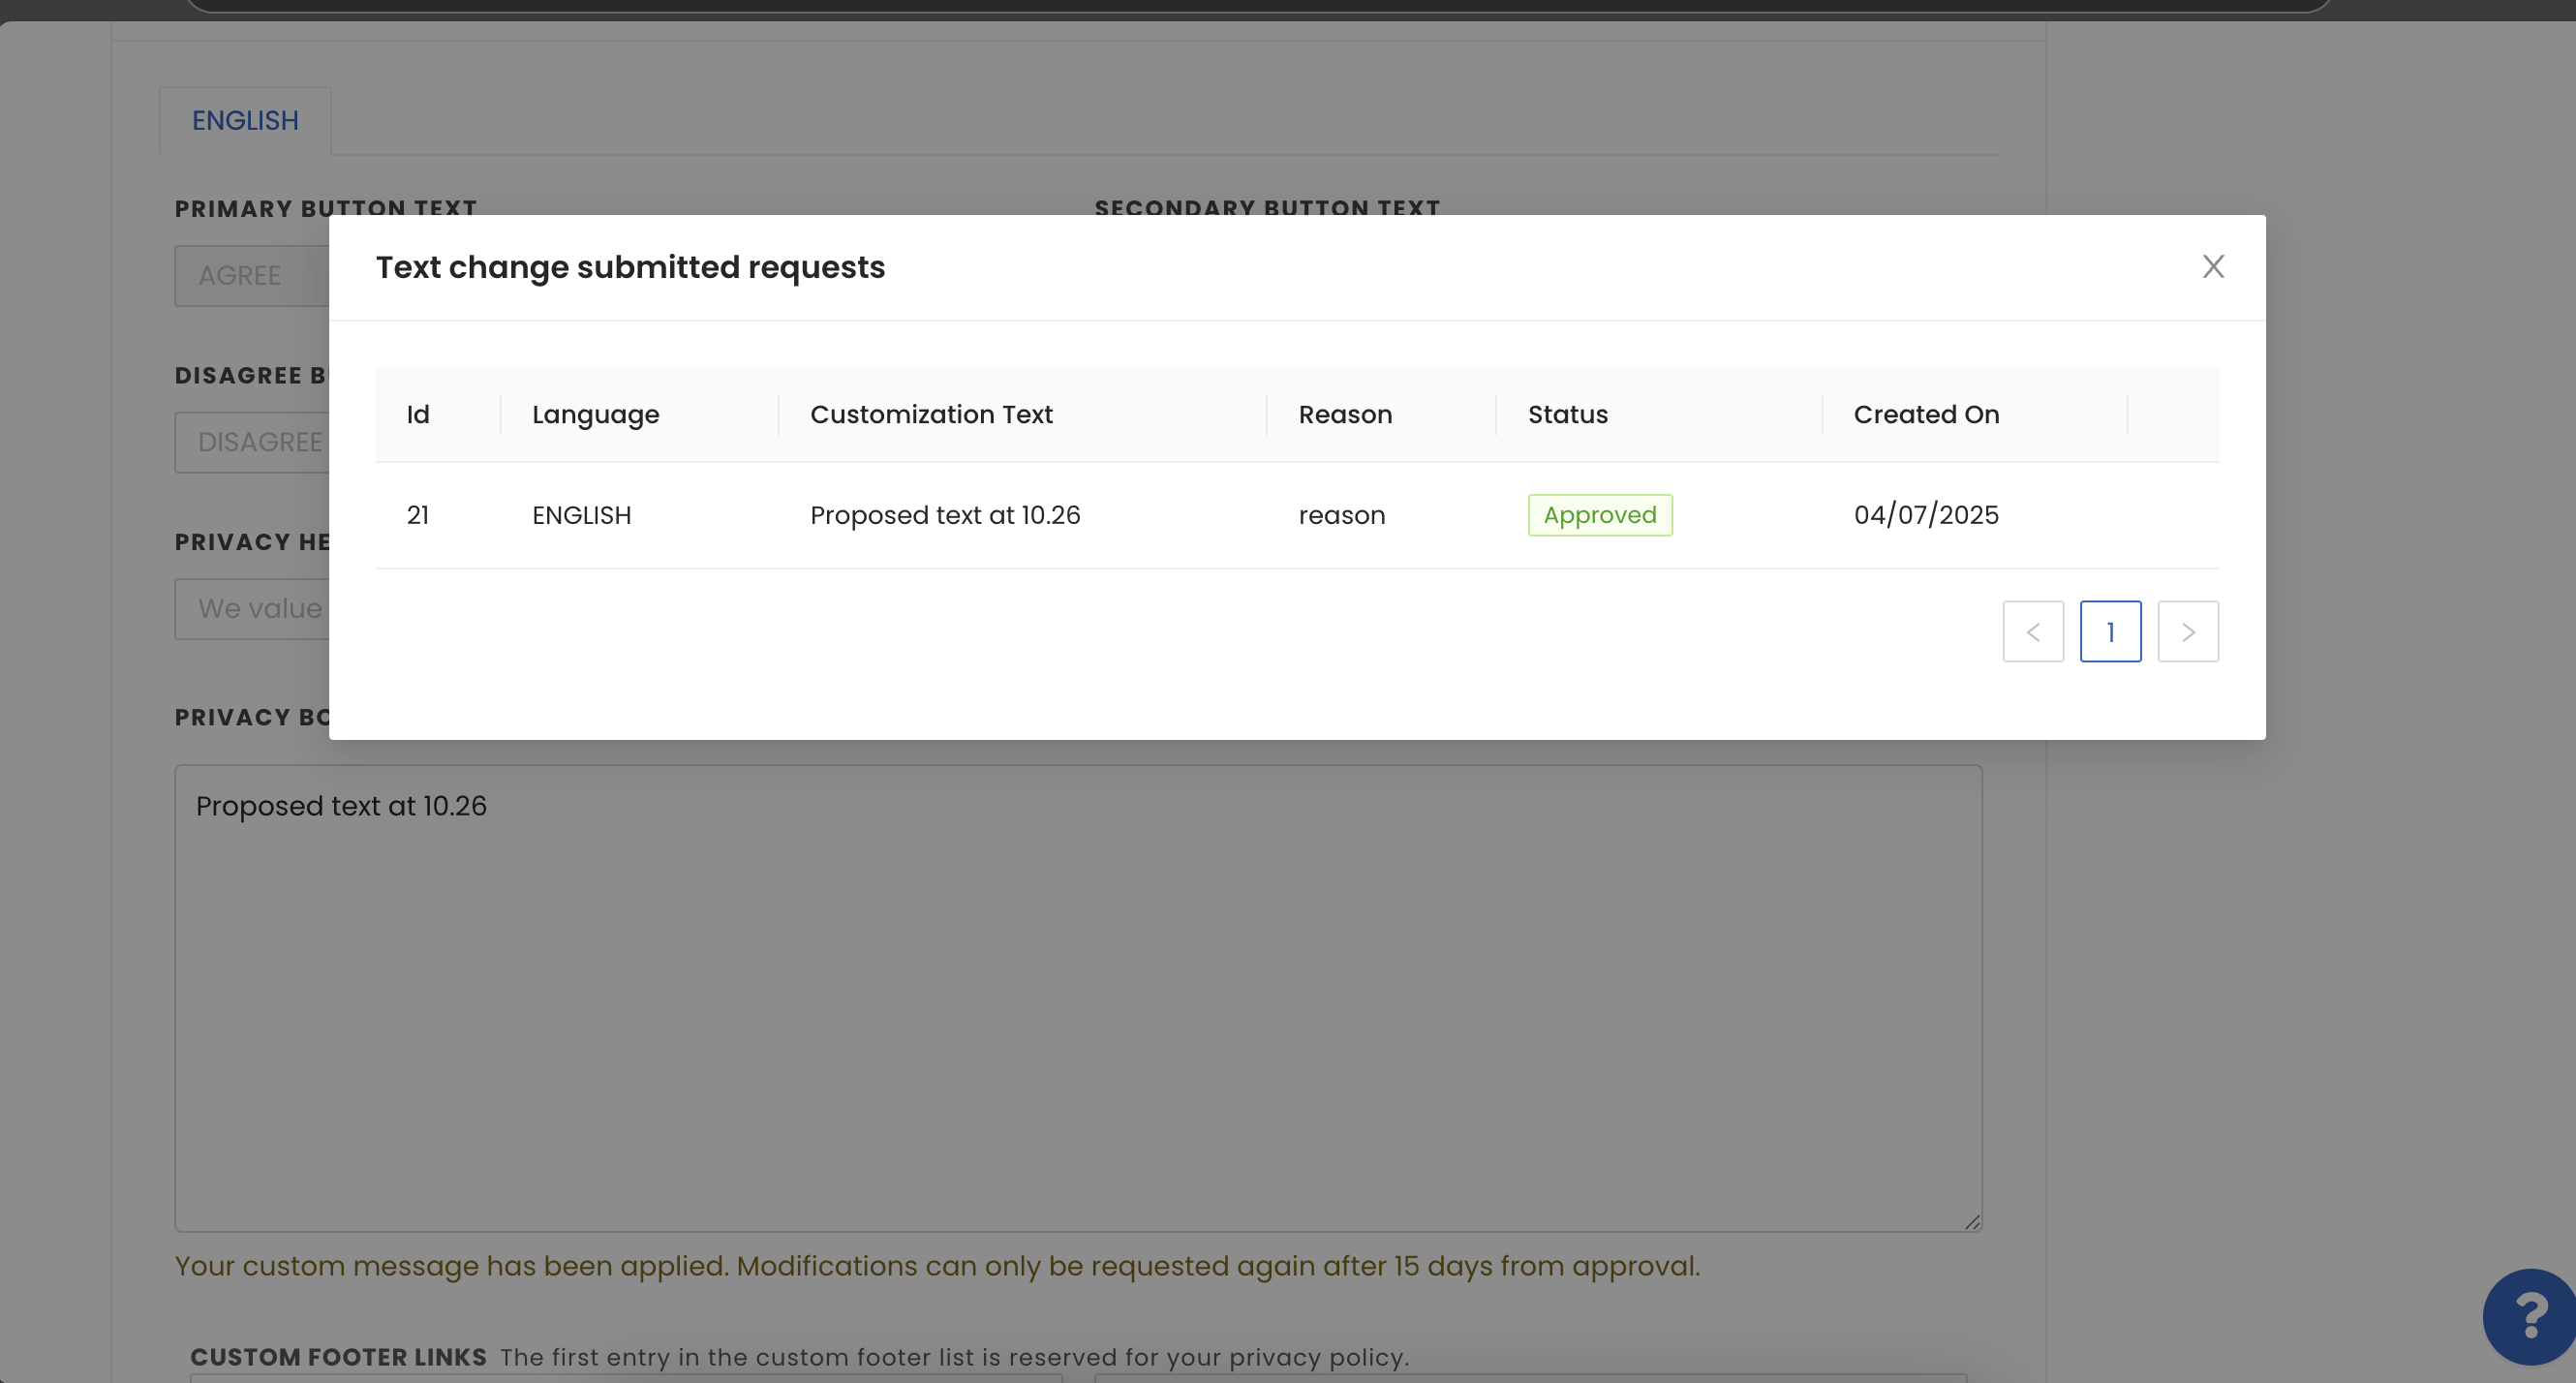
- Click View Submitted Requests to view requests and their status.
- Add your required footer links in the Custom Footer Links field.

- Click Save Theme on the top of the page to save your settings.

SDK Implementation
Android
For Android implementation and SDK-related changes, see Android.
iOS
For iOS implementation and SDK-related changes, see iOS.
Web
For Web APIs, see Handling Consent APIs.
 Support Center


