Web

This topic provides detailed instructions for implementing Google Basic Consent using the InMobi CMP. By integrating Google Basic Consent, you can manage user preferences compliantly and enhance ad personalization based on user consent status.

Compatibility Requirement

GCM is compatible exclusively with gtag.js. Advertisers must ensure the use of gtag.js for tag management. Legacy tags such as ga.js, analytics.js, or conversion.js are not supported.

Prerequisites

  • Google Tag installation for all your websites (for more information, see Set up your Google tag),
  • An active account with InMobi CMP,
  • Basic understanding of Google Consent Mode and its functionalities,
  • Access to your website's codebase for integration purposes.

Configure Google Consent Mode in InMobi CMP

  1. Log in to the InMobi CMP portal.
  2. Navigate to your Property settings:
    • For new sites: Under the Properties tab, click PROTECT A SITE for your sites, and enter all the necessary information. For more information, see Protect A Site.
    • For existing sites: Under the Properties tab and from the list of properties, click the edit icon for the desired site and enter all the information required on the Edit a Site page.
    • Bulk Update: Under the Properties tab, click BULK UPDATE, and select Yes in the Google Basic Consent field to enable GBC. For more information, see Bulk Update.

    Note

    You must mention version 52 or above in the CMP VERSION field to view the ENABLE GOOGLE BASIC CONSENT field.

  3. In the ENABLE GOOGLE BASIC CONSENT field, select Yes, and a popup window appears.

  4. Select the target location in the WHICH USERS SHOULD BE ASKED FOR CONSENT field.
  5. Select the purpose(s) and default value(s).
  6. Click SAVE PROPERTY.

    Note

    After selecting GBC on the portal for the AMP sites and saving it, you should copy the final AMP tag and update it on your AMP site. Unlike the non-AMP sites, you should manually update the AMP sites' tags after any configuration changes.

Verify Google Consent Mode

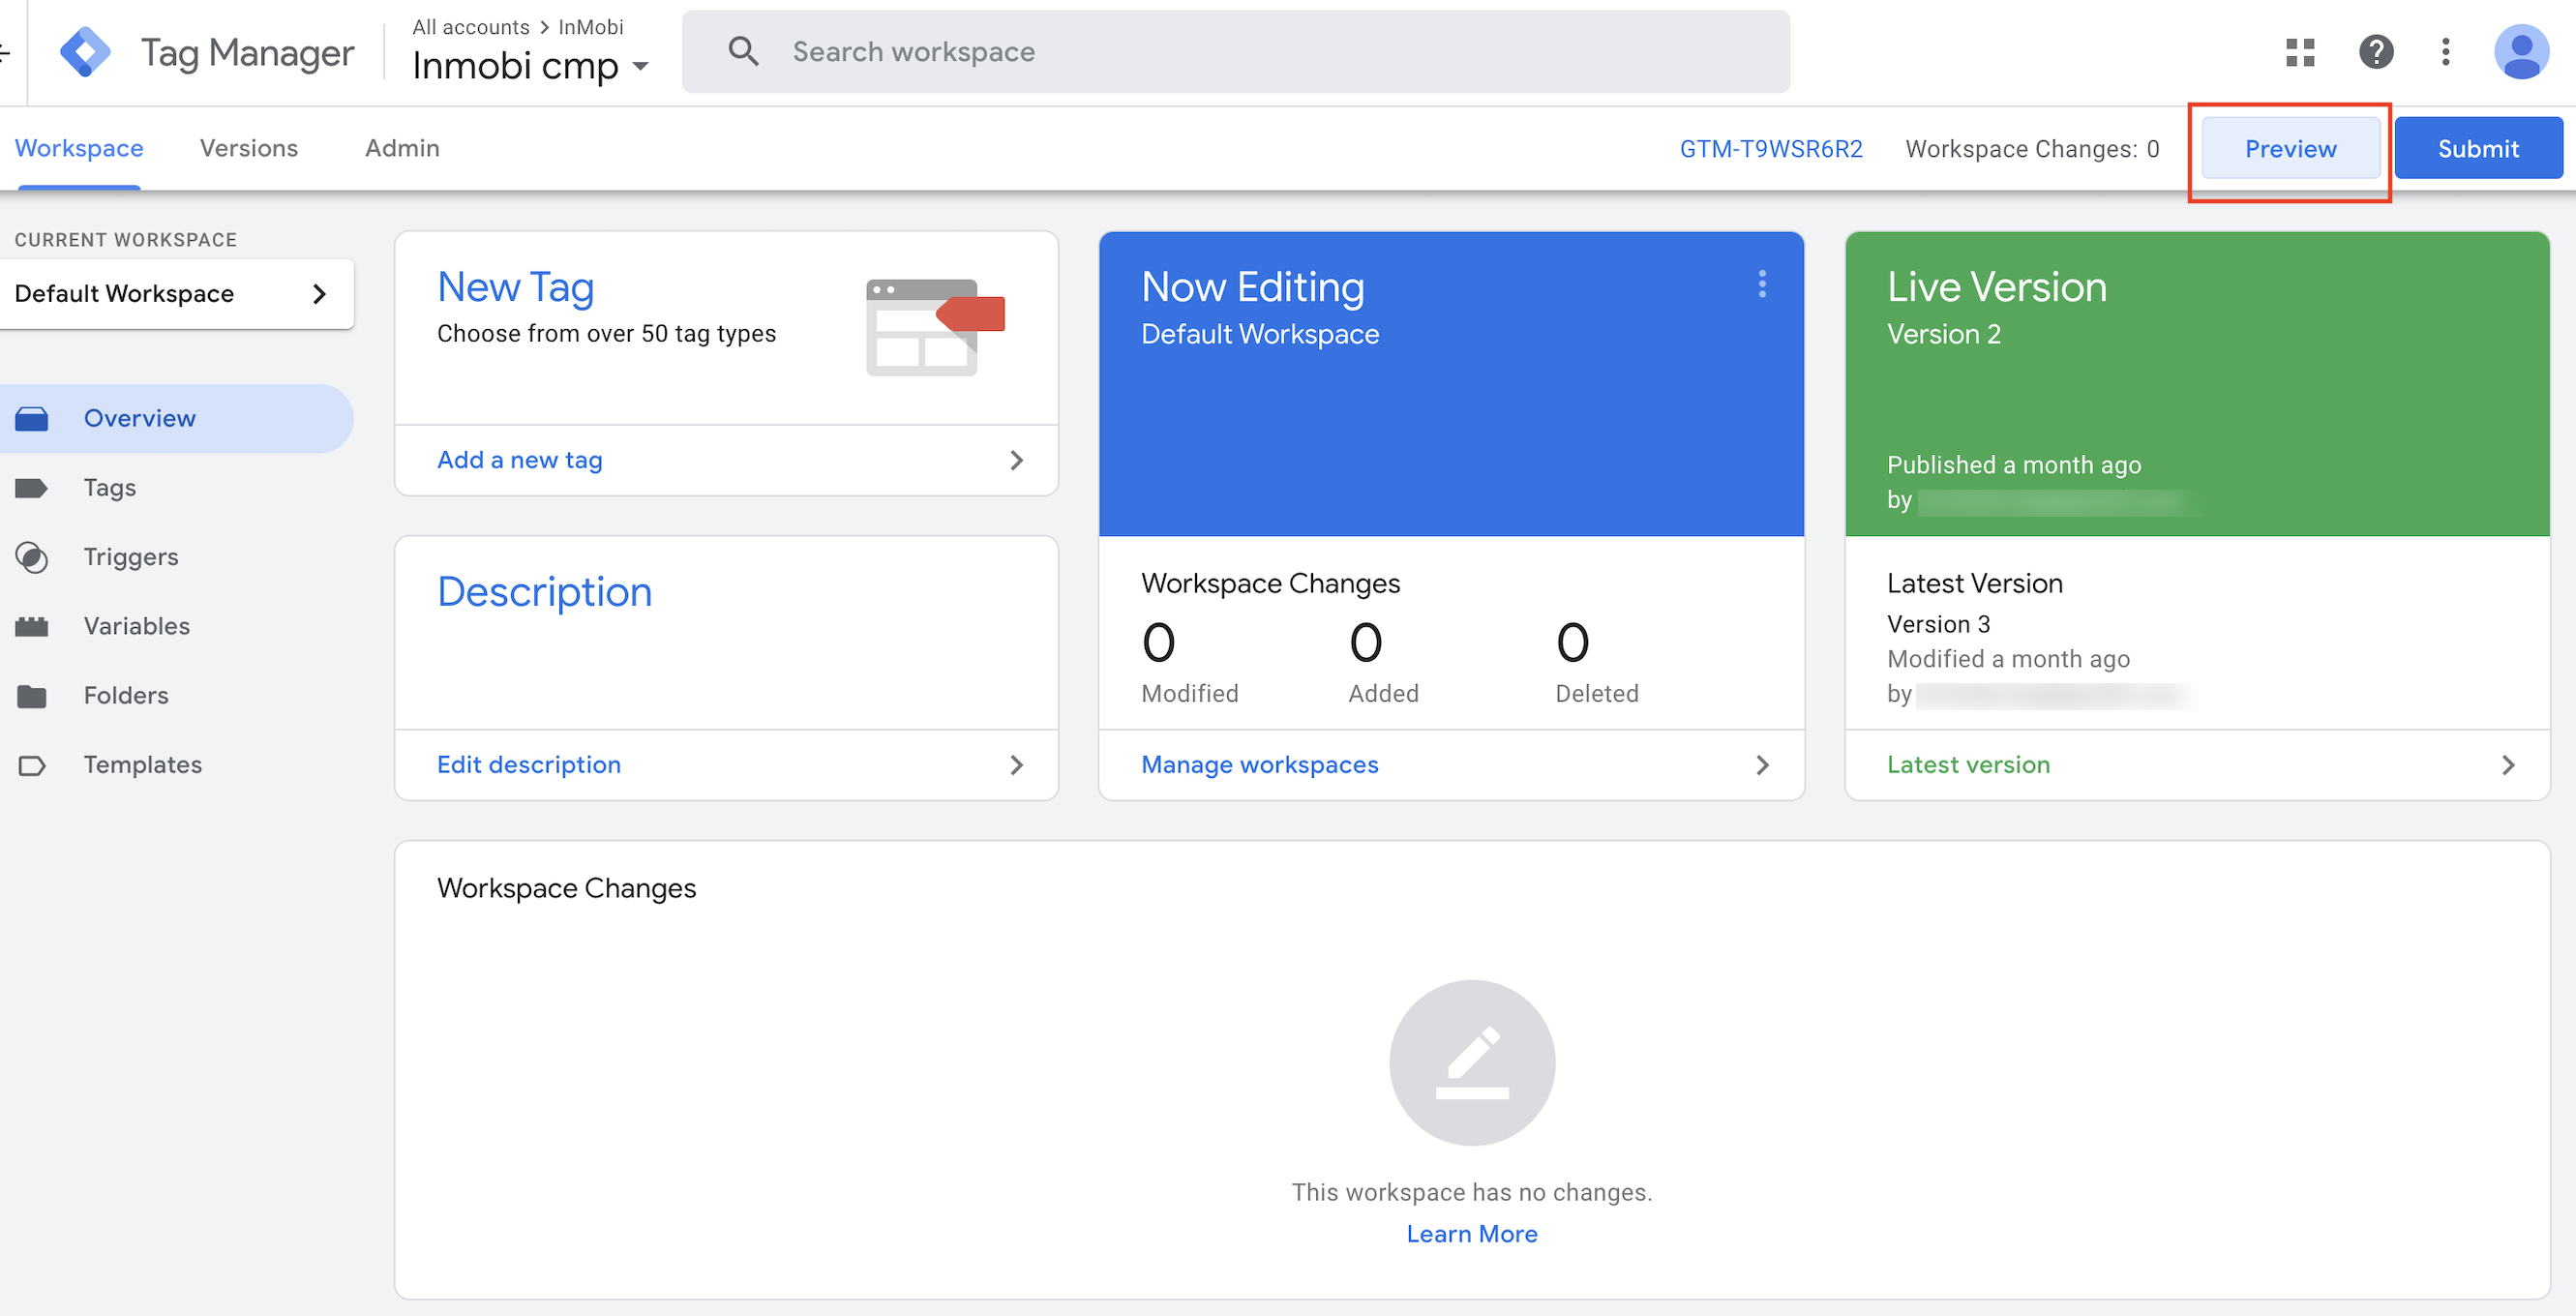
There are two methods to verify your Google consent mode.

Method 1

  1. Navigate to Preview Mode: In your GTM interface, navigate to the relevant container and click the Preview button in the top right corner, and it will activate the Preview mode.

  2. Connect Tag Assistant to your site and give consent: In the GTM preview mode interface, enter the URL of your website containing GTM tags and initiate the connection process. Upon successful connection, your website will automatically launch. Subsequently, engage with your website in the capacity of an end-user and proceed to provide consent as needed.
  3. Verify Consent Status: Utilize the GTM preview mode interface to inspect the functionality of the desired tag. If the consent tags are successfully activated (as shown below), it depicts the accurate capture of consent data.

Method 2

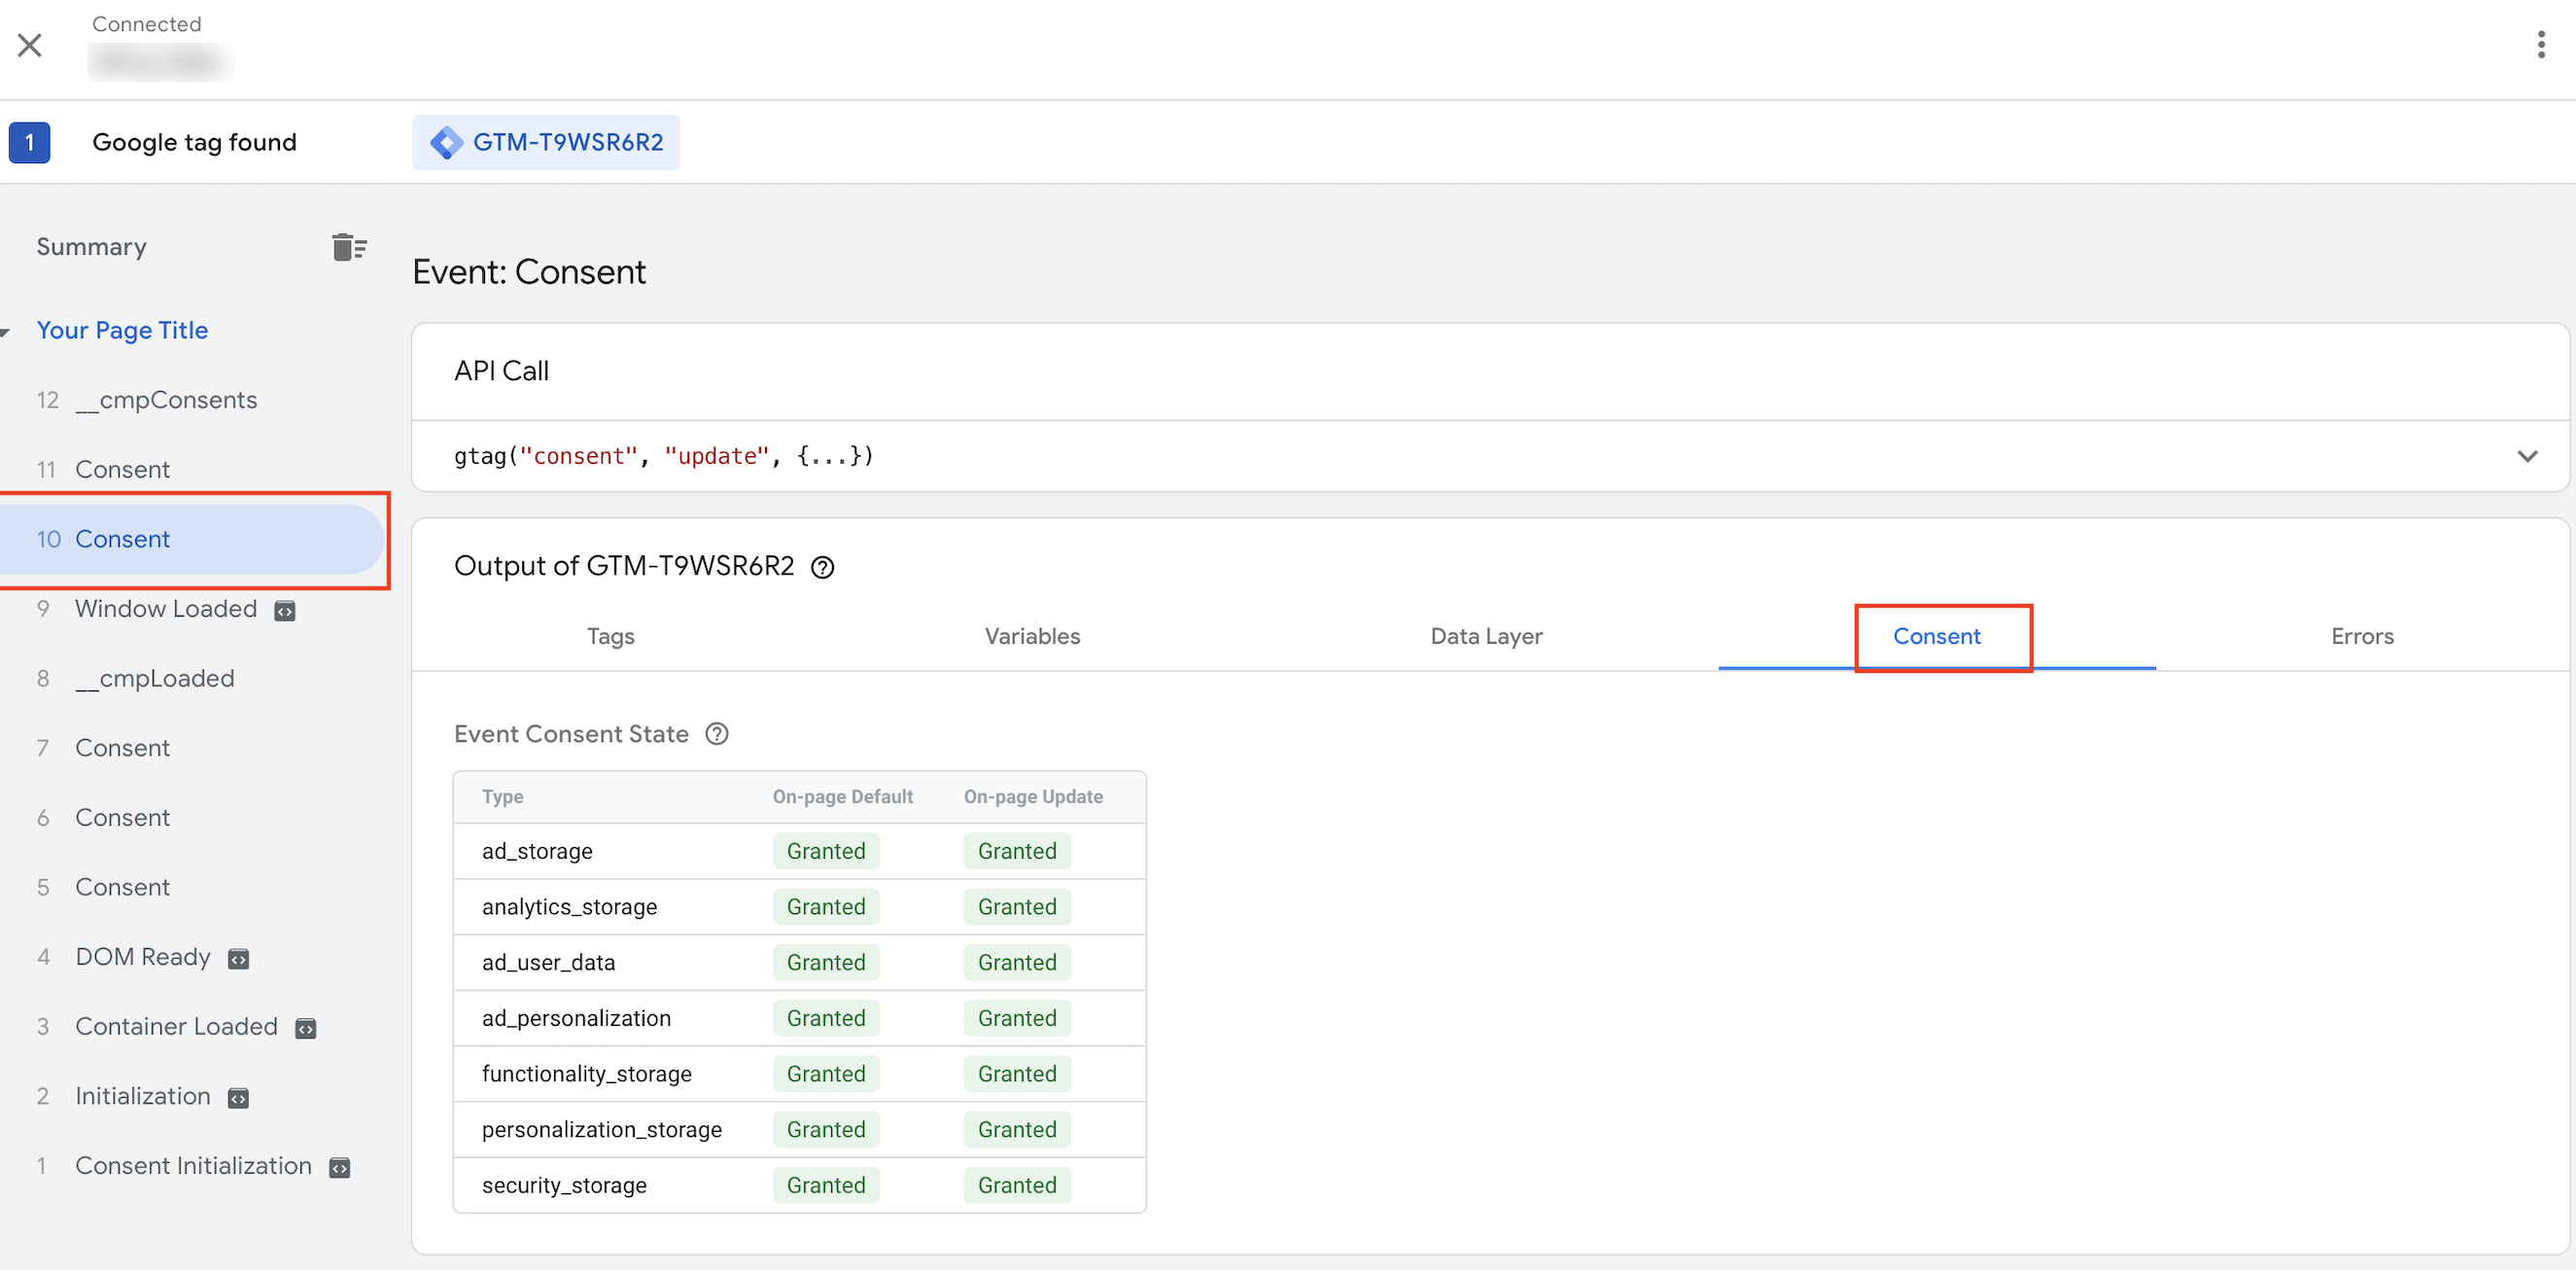
To verify your Google Consent mode setup, open your browser's console and use window.dataLayer = window.dataLayer || [];.You should find the consent and update.

{
    "0": "consent",
    "1": "update",
    "2": {
        "ad_storage": "granted",
        "ad_user_data": "granted",
        "analytics_storage": "granted",
        "functionality_storage": "granted",
        "personalization_storage": "granted",
        "ad_personalization": "granted",
        "security_storage": "granted"
    }
}

Additional Events

Event-1: cookie_consent_update

Whenever a user updates or modifies their consents, the InMobi CMP generates a new event called cookie_consent_update. This event serves as a custom trigger that publishers can utilize to trigger other events.

To implement this trigger, follow the instructions:

  1. Copy the trigger name cookie_consent_update.
  2. Navigate to Triggers > New Trigger > Custom event.
  3. In the Event Name field, enter cookie_consent_update.
  4. Provide a specific name for this custom event trigger and click Save.
  5. Navigate to Tags > Select the checkbox for relevant tags and click Edit Tags > Add a new trigger > select "cookie_consent_update" trigger.
  6. Click Save.

For a better understanding, see the following video.

On This Page

Last Updated on: 27 Mar, 2024