The Advanced Customisation page allows publishers to tailor the text of their consent banners. All edits made in this section must comply with IAB standards and are subject to the CMP approval process before going live.
- Login to your InMobi CMP account here.
- Navigate to the Themes tab and click the edit icon next to the desired property.

- Under GDPR Consent Settings, go to Advanced Customization.
- Choose the languages in which you wish to translate the consent screen and button texts.

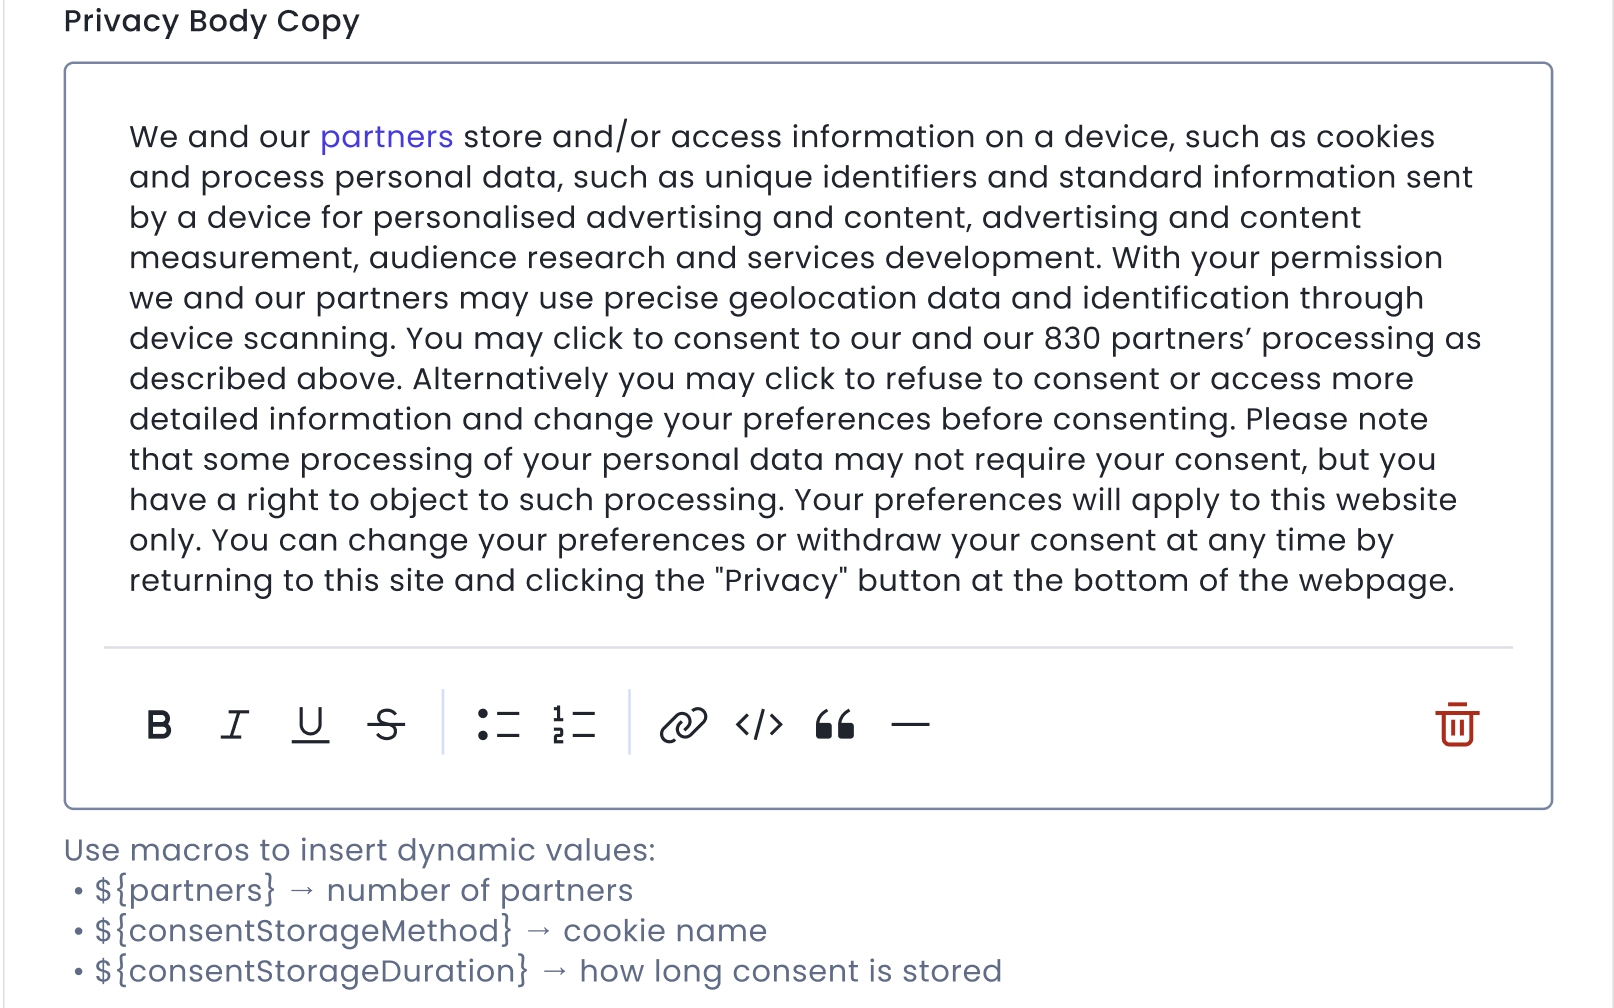
- Edit the button and consent screen texts as per the languages chosen earlier.
- Sample text contains clickable macro placeholders. Add macros to support Number and link of publishers, Cookie duration, Cookie name. It is mandatory to add them to reduce rejection.
- Use the format toolbar to customize consent body text to bold, italic, underline, and add bullet points and links.
Note
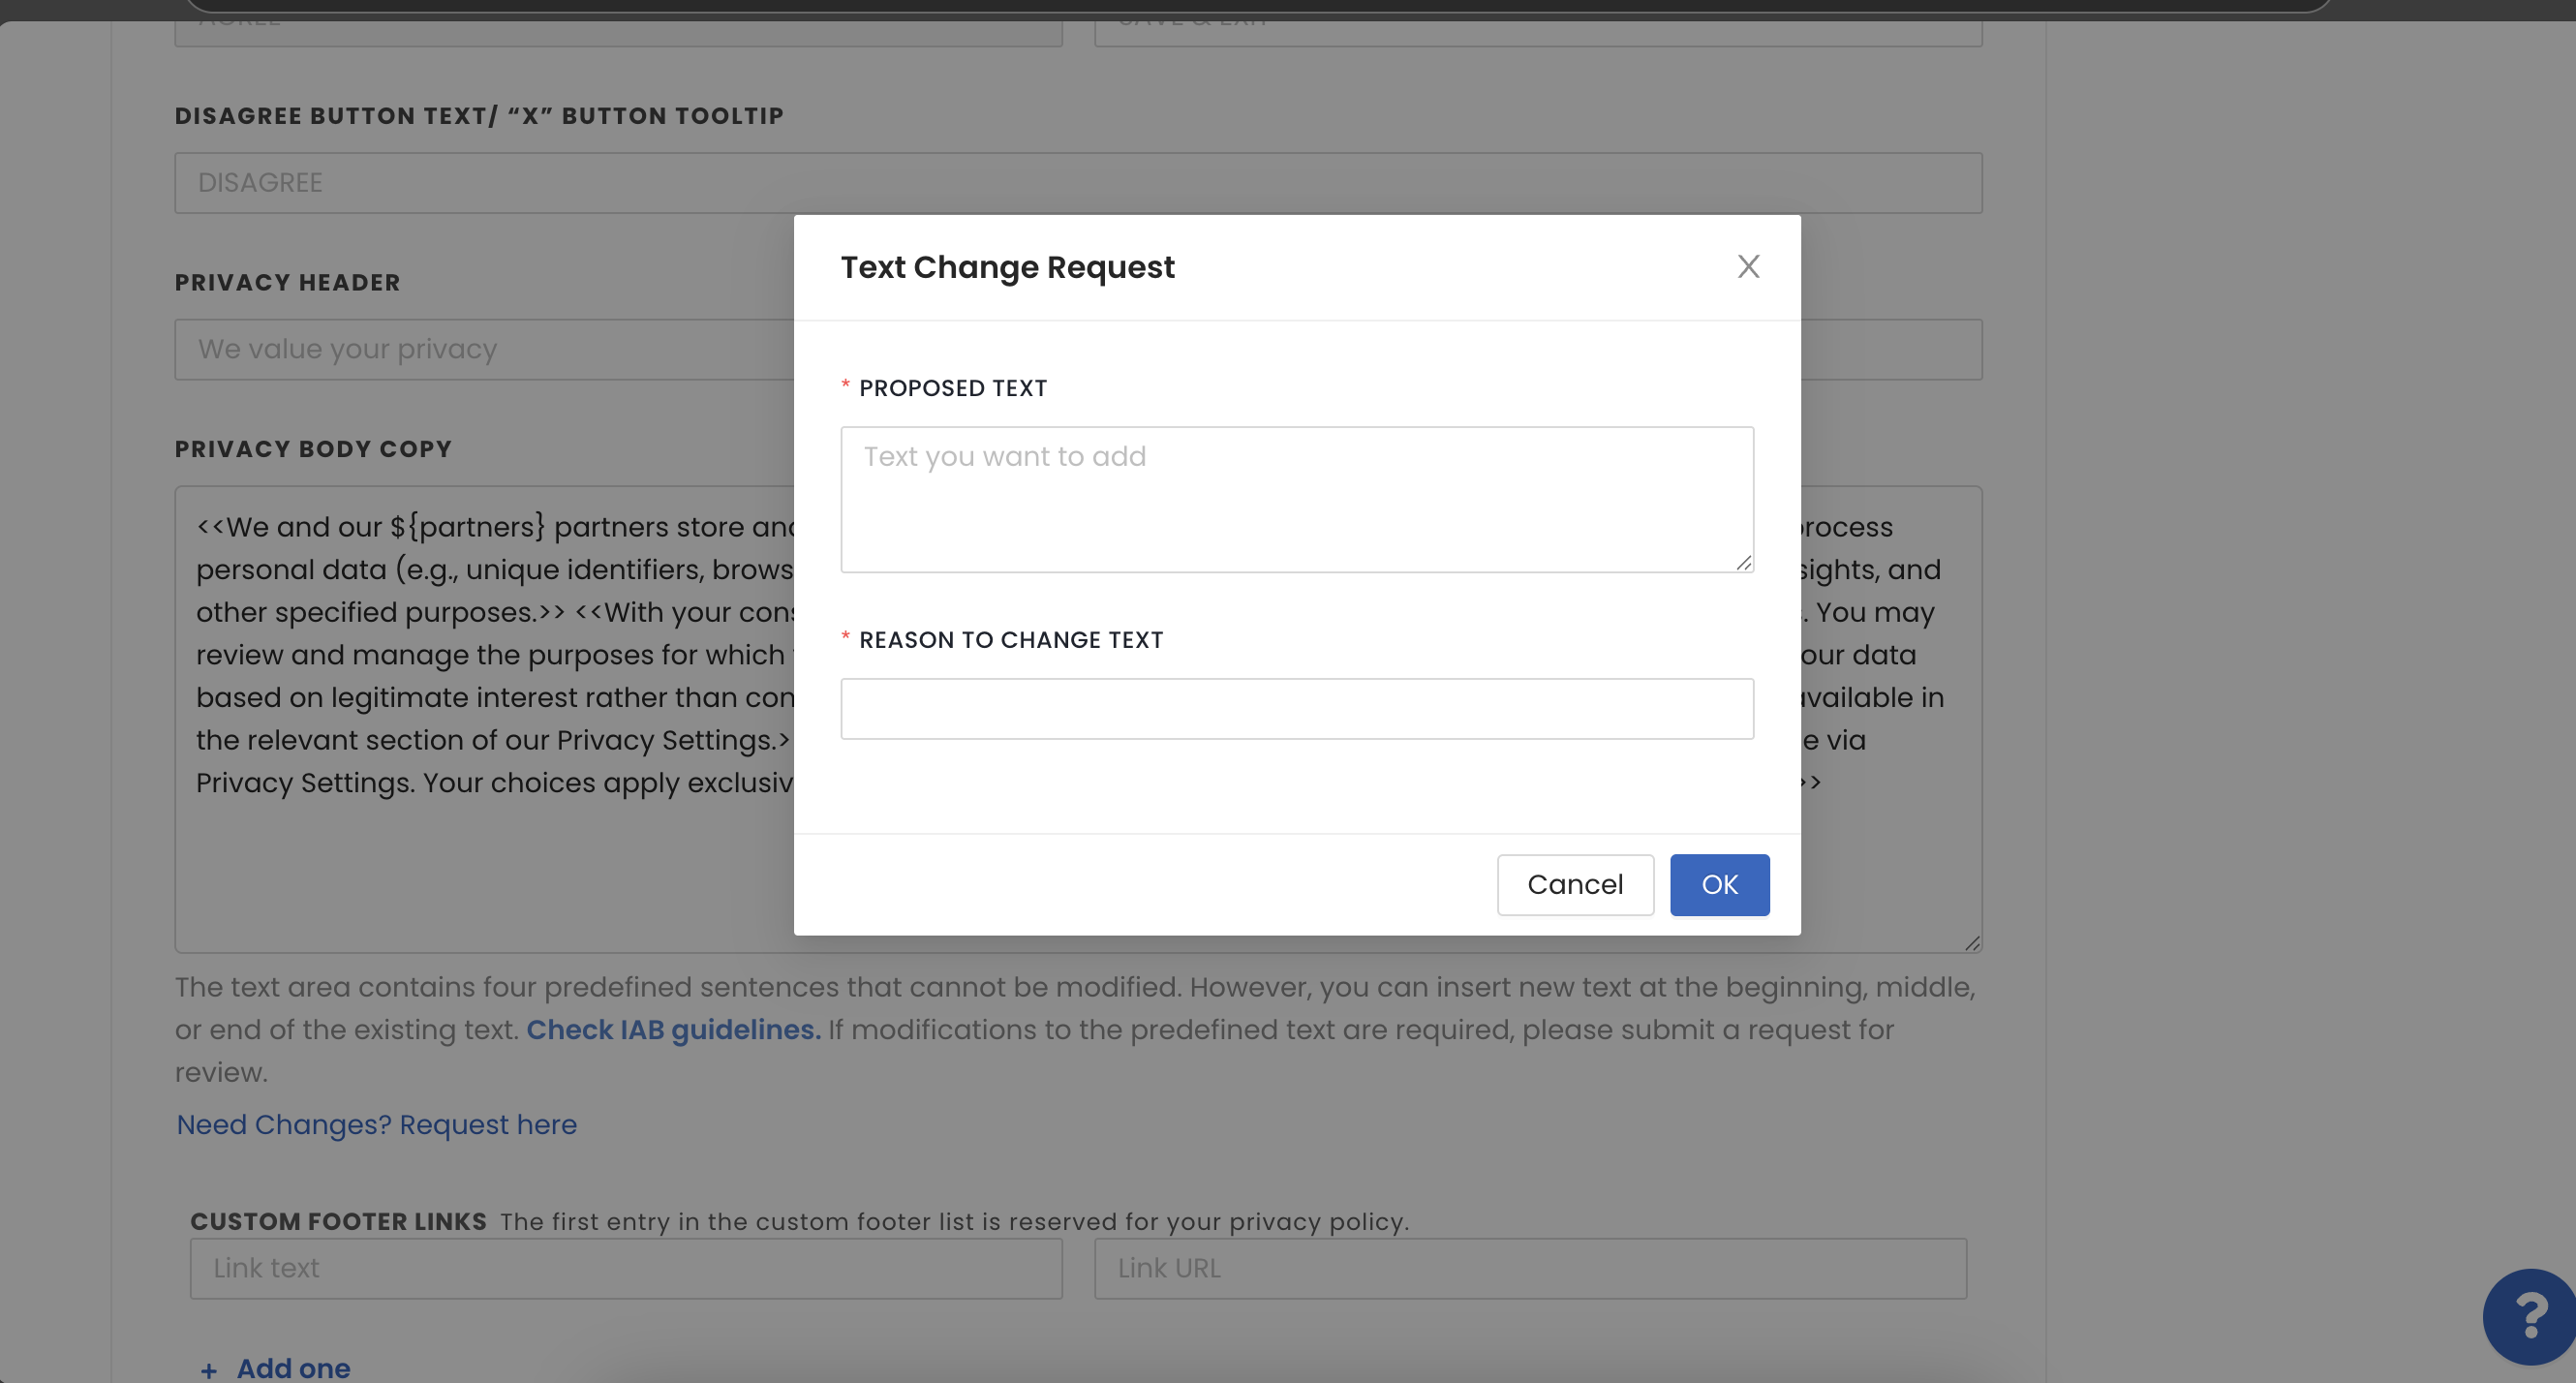
- Certain sections of the CMP banner text (L1, L2, L3, and L4) must remain unchanged to ensure compliance with IAB-TCF guidelines. However, you can add content before, after, or between these sections without requiring approval. If you attempt to edit these sections, a structured review request process will be triggered to ensure flexibility for you to have desired content but as per IAB guidelines.
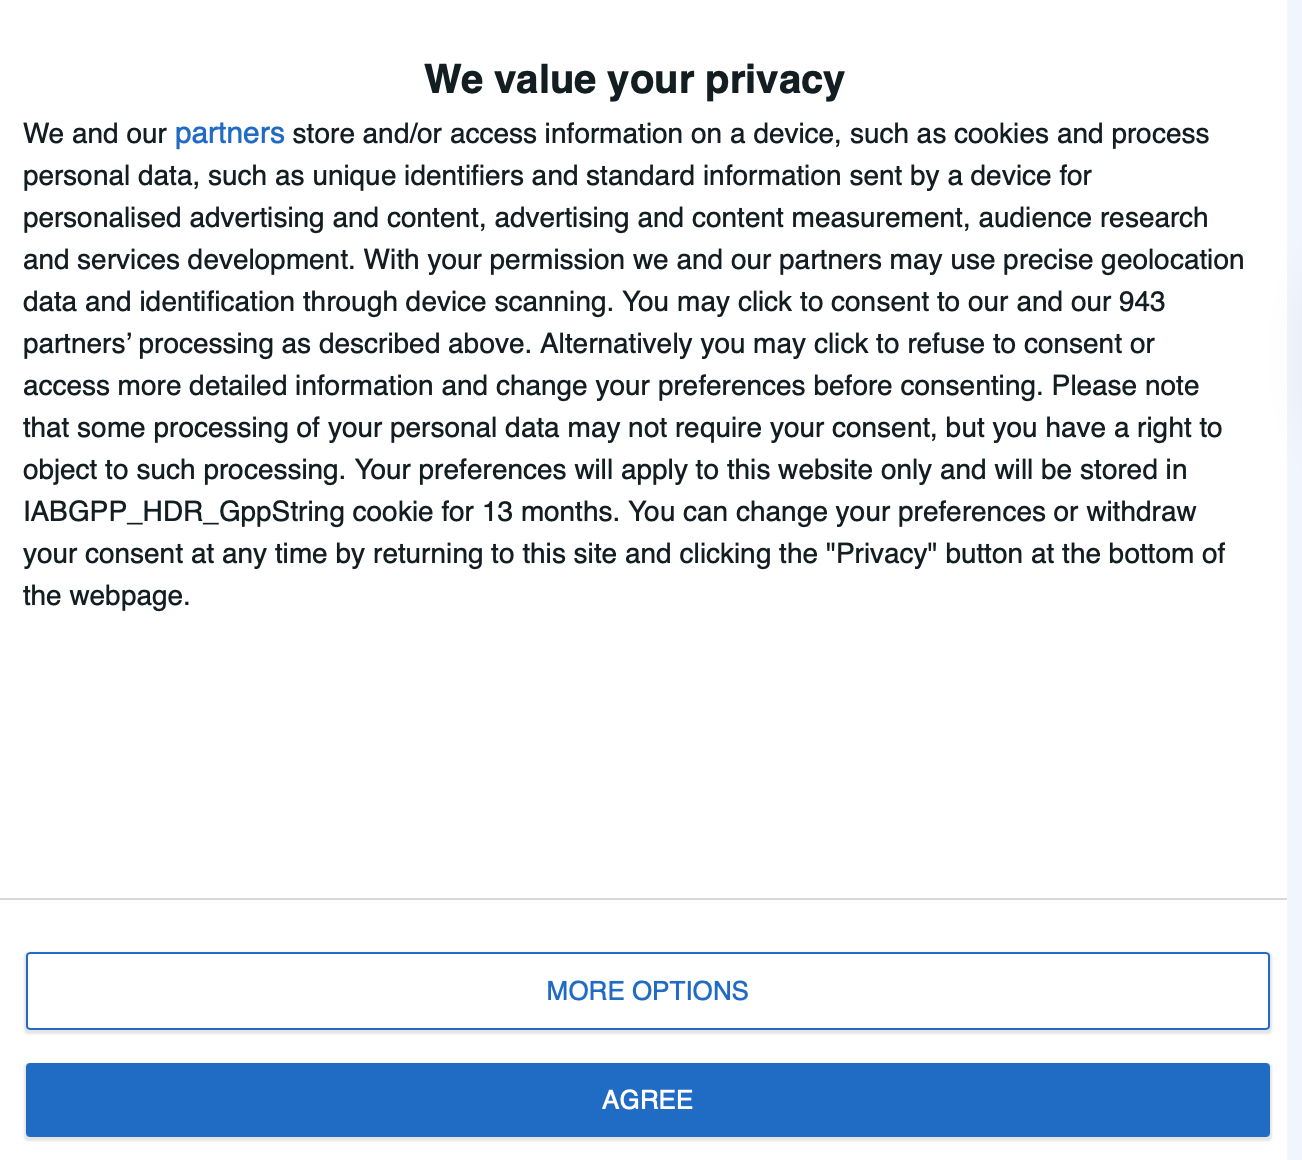
- Macros auto-populate with correct values from the CMP system at runtime. They will render correctly in the preview and live banner. Invalid macros trigger an error message before saving.
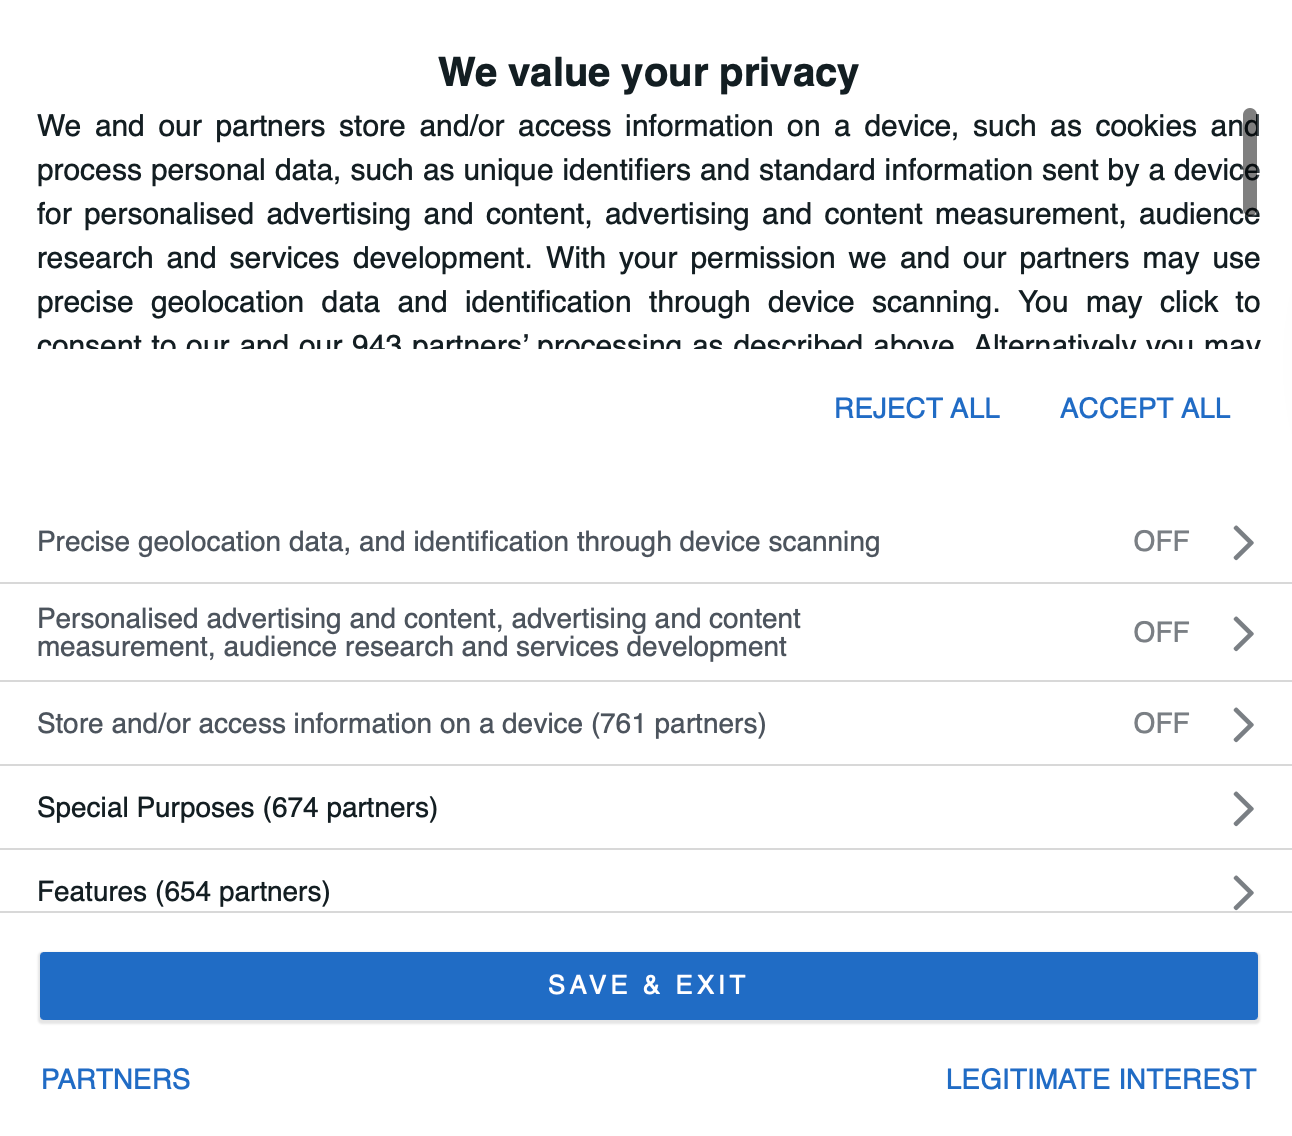
- You can also preview your theme in the preview section by selecting Advanced from the options.
- To request a text change, click Need Changes? Request here. Add details of the required text changes and the reason for the change.
Note
Once the request is raised:
- You will receive an acknowledgment via email and a unique Ticket ID will be generated.
- You can raise another request while one is in progress.
- If the text is approved, you cannot raise another request for the next 15 days.
- The advanced customizations will remain unaffected during the review process and will continue to have default text/settings.
- You will see the updated consent banner text once it is updated from the backend after approval.
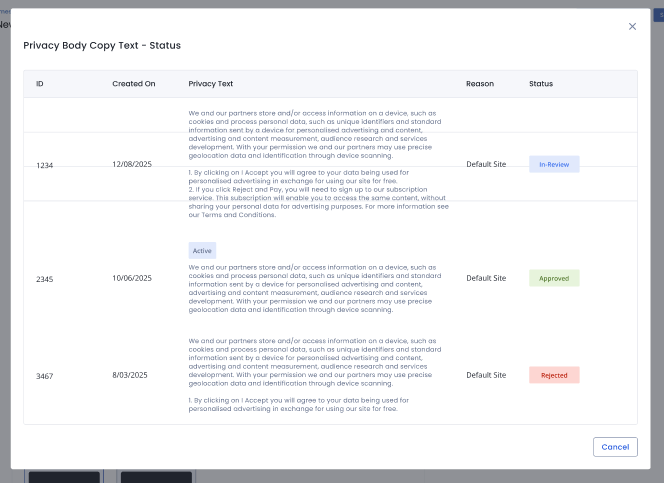
- Click View Submitted Requests to view requests and their status. You can apply one of the approved requests to your theme.
- Once the theme is approved, you can apply the advanced customisation content to your property by selecting Use Customised Text option in your property settings.

Note
This is a premium feature and will be applied only if a property is premium; else it will default to standard text applied to them/es.
- Add your required footer links in the Custom Footer Links field.

- Click Create Theme at the bottom of the page to save your settings.
 Support Center


