If AppsFlyer is your preferred MMP, you need to integrate it with Glance before the campaign starts.
Glance and AppsFlyer are exclusive Pre-load Referrer Attribution partners and offer seamless integration.
The integration starts with activating Glance as your partner on your AppsFlyer account, followed by changing the required configuration and enabling the pre-load attribution option. You can generate and share the attribution links with the Glance team.
Before the integration, make sure you have:
Follow the steps to integrate Glance and AppsFlyer to enable attribution for Android app campaigns:
The integration starts with the activation of the Glance on your AppsFlyer dashboard using the following steps:
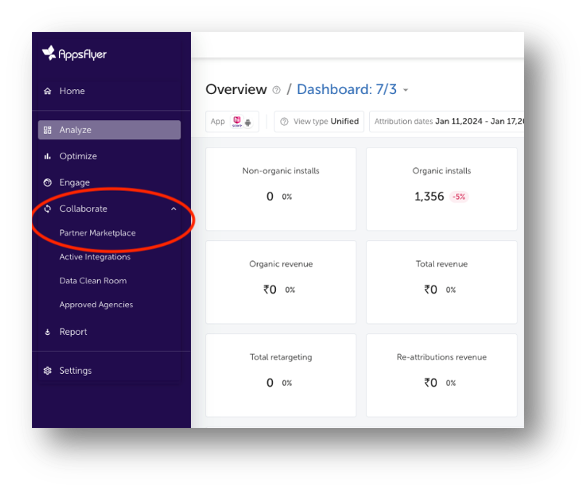
Go to Collaborate > Partner Marketplace in the left menu bar.
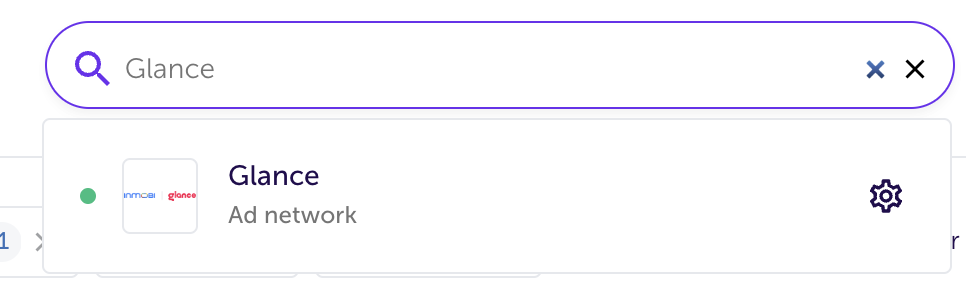
In the search bar, search for Glance and select it. You move to the Integration setup page.
After you activate Glance, you need to configure the integration setting for InMobi DSP as follows:
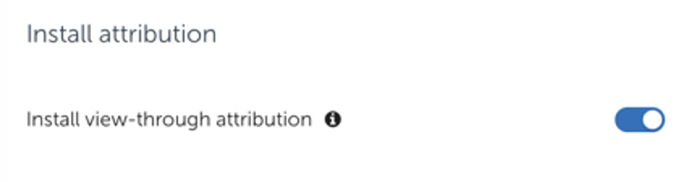
Enable the Preload attribution toggle and keep the Preload lookback window to 90 days.<Add screenshot>
In the Default postbacks section, select All media sources, including organic against Install (Event Name) in the for users from drop-down.
Organic refers to the advertiser’s unattributed data.
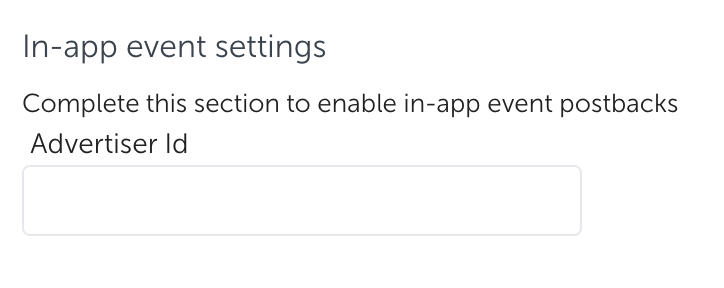
Under the In-app event settings section, enter the Advertiser ID value provided by the Glance team, which is the same as in General settings.
Enable the In-app event postbacks toggle. Glance recommends the value to be Lifetime. The minimum value is 6 months.
Click Add event to add postbacks for in-app events. Add all the funnel events and their details.

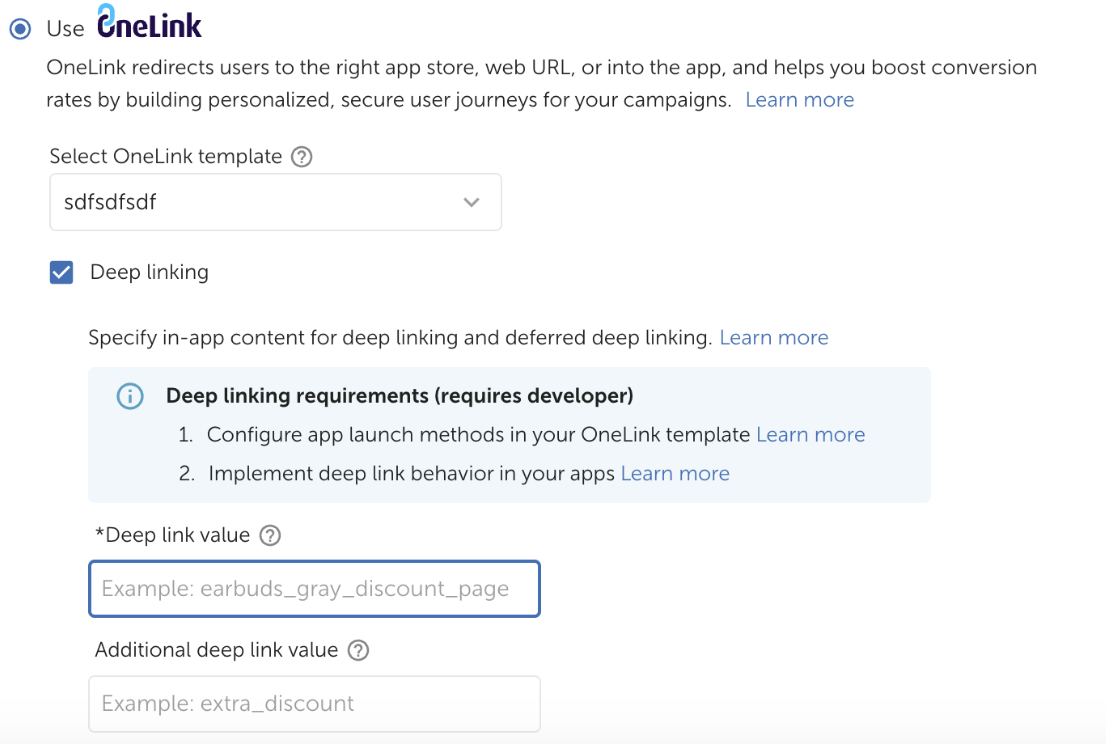
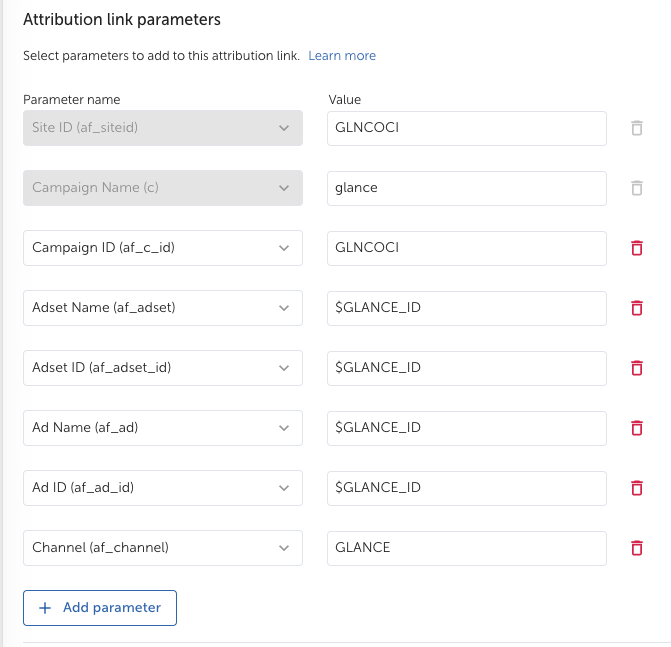
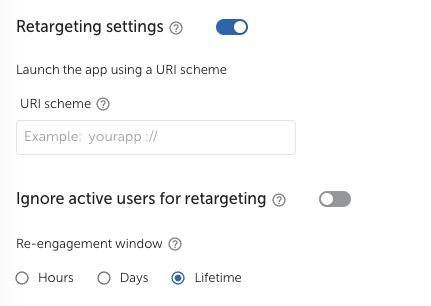
You can generate the attribution link for UA campaigns, which the Glance team uses while creating the campaign, as follows:
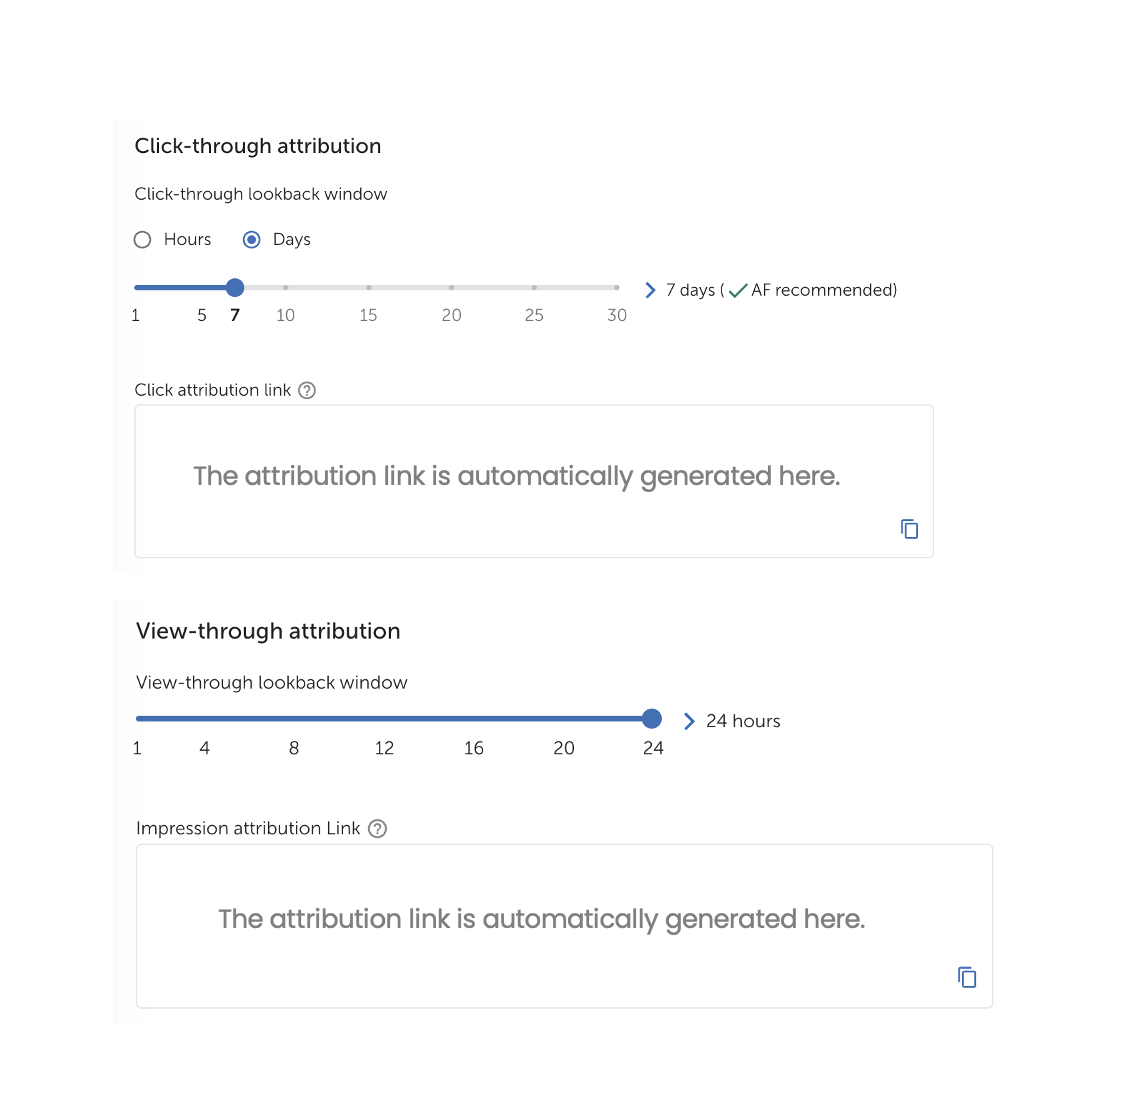
You can generate the attribution link for REM campaigns, which the Glance team uses while creating the campaign, as follows:
You need to provide the following permissions to Glance on the AppsFlyer dashboard:
Switch on the Ad network permissions toggle.
Enable the following permission toggles:

Check the settings done in the previous steps and click Save.
By installing this SDK update, you agree that your Children Privacy Compliance setting remains accurate or that you will update that setting, whenever there is a change in your app's audience. You may update the app's Children Privacy Compliance settings at https://publisher.inmobi.com/my-inventory/app-and-placements.
 Support Center


