If AppsFlyer is your preferred MMP, you need to integrate it with InMobi DSP before the campaign starts.
For running campaigns on iOS devices, the integration starts with activating InMobi DSP as a partner and changing the required configuration on the advertiser’s AppsFlyer dashboard. Post configuration, enable Probabilistic attribution. Advertisers need to generate and share the attribution links with InMobi account managers. Considering InMobi's recommendation, advertisers must enable and configure SKAN (Store Kit Ad Network) for their campaigns.
Before the integration, make sure you have:
Follow the steps to integrate the InMobi DSP and AppsFlyer to enable attribution (Probabilistic and Deterministic) for iOS app campaigns:
The integration starts with the activation of the InMobi DSP on your AppsFlyer account using the following steps:
Go to Collaborate > Partner Marketplace in the left menu bar.
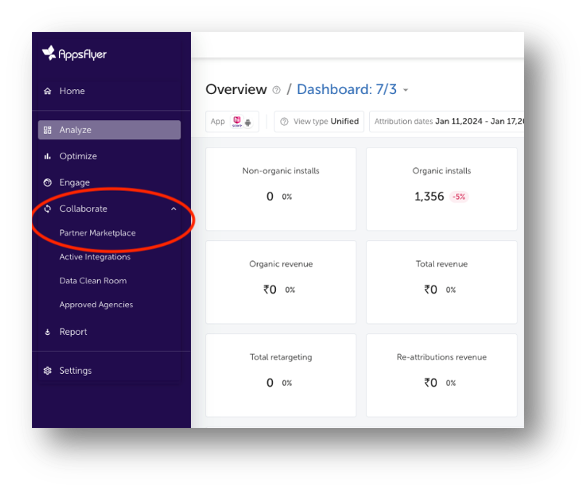
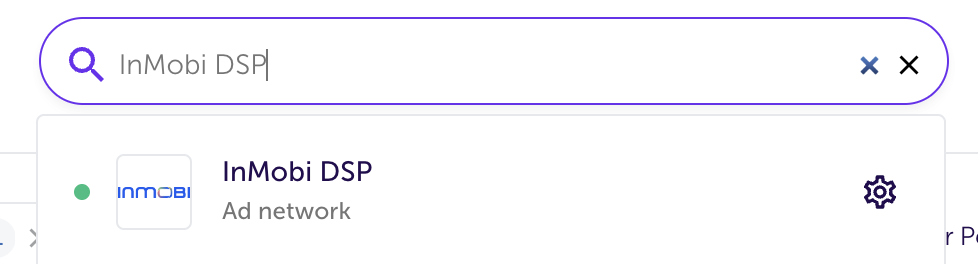
In the search bar, search for InMobi DSP and select it. You move to the Integration setup page.
After you activate InMobi DSP, you need to configure the integration settings for InMobi DSP as follows:
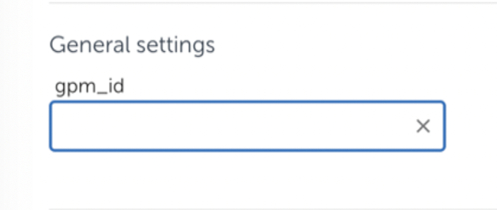
In gpm_id, enter the GPMID value provided by your InMobi Account Manager.
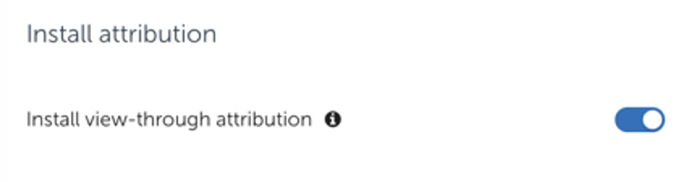
In the Install attribution section, turn on the Install view-through attribution toggle.
In the Default postbacks section, select All media sources, including organic* against Install (Event Name) in the for users from drop-down.

*Organic refers to the advertiser’s unattributed data.
Under the In-app event settings section, enter the GPMID value provided by your InMobi account manager, which is the same as in General settings.
Enable the In-app event postbacks toggle. InMobi recommends Lifetime as the value of the In-app event postback window. The minimum value is 6 months.
Click Add event to add postbacks for in-app events. Add all the funnel events and their details.
Click Save integration.
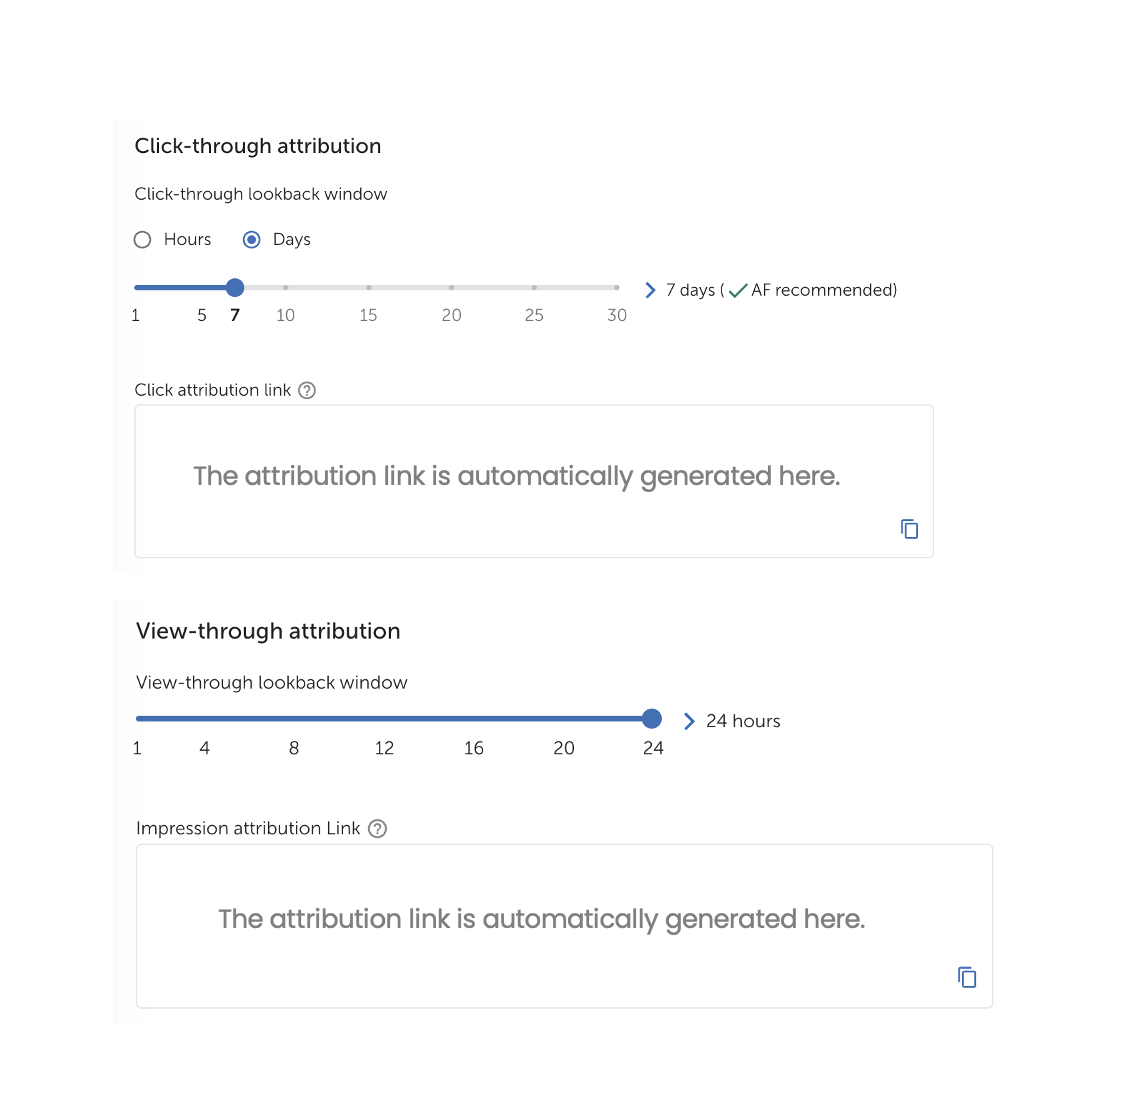
Enabling probabilistic attribution as follows:
Switch on the Enable view-through attribution via probabilistic modeling toggle.

You can generate the attribution link, which your InMobi Account Manager uses while creating the campaign, as follows:
You need to provide the following permissions to InMobi DSP on the AppsFlyer dashboard:
Enable the following permission toggles:

You can activate the SKAN for your iOS campaigns as follows:
Click •
•
• and turn on the SKAN measurement toggle.
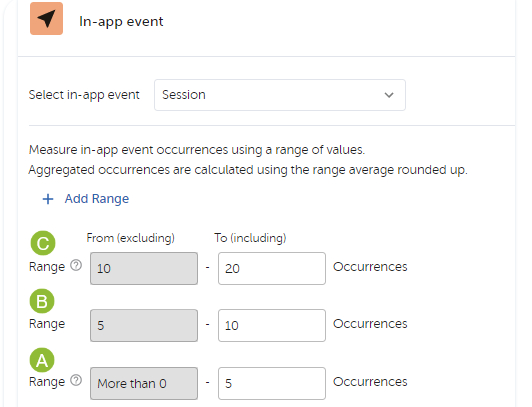
After selecting the measurement mode, decide which in-app events you want to capture for campaigns. Select in-app events and their range.
You can add a maximum of six unique in-app events.
Click the Download mapping file to save the Conversion Value mapping locally.
(Optional) You can upload your custom Conversion Values by clicking Upload Custom Decode Mapping File.
Learn more about Custom Decode. Refer to AppsFlyer’s SKAN Conversion Studio help for more details on setting up SKAN.
Check the settings done in the previous step and click Save.
InMobi recommends you set up SKAN Conversion Values as follows for the best attribution results:
The integration for the Android campaigns starts with activating InMobi DSP as your partner on your AppsFlyer dashboard and changing the required configuration. You can then generate and share the attribution links with your InMobi account manager.
For any queries related to the integration, please contact your InMobi Account manager.
Before starting the integration, make sure:
Follow the steps to integrate the InMobi DSP and AppsFlyer to enable attribution for Android app campaigns:
The integration starts with the activation of the InMobi DSP on your AppsFlyer dashboard using the following steps:
Go to Collaborate > Partner Marketplace in the left menu bar.
In the search bar, search for InMobi DSP and select it. You move to the Integration setup page.
After you activate InMobi DSP, you need to configure the integration setting for InMobi DSP as follows:
In gpm_id, enter the GPMID value provided by your InMobi Account Manager.
In the Install attribution section, turn on the Install view-through attribution toggle.
In the Default postbacks section, select All media sources, including organic against Install (Event Name) in the for users from drop-down.
Under the In-app event settings section, enter the GPMID value provided by your InMobi account manager, which is the same as in General settings
Enable the In-app event postbacks toggle. Do not change the default value of the In-app event postback window.
Click Add event to add postbacks for in-app events. Add all the funnel events and their details.
You can generate the attribution link your InMobi Account Manager uses while creating the campaign as follows:
You need to provide the following permissions to InMobi DSP on the AppsFlyer dashboard:
Enable the following permission toggles:
Check the settings done in the previous steps and click Save.
By installing this SDK update, you agree that your Children Privacy Compliance setting remains accurate or that you will update that setting, whenever there is a change in your app's audience. You may update the app's Children Privacy Compliance settings at https://publisher.inmobi.com/my-inventory/app-and-placements.
 Support Center


